Make this sweet ragdoll cat ornament this holiday season! This ornament doubles as a great little gift with the option of adding a little pocket on the back for a gift card or a small treat!
I think this might be my favorite little make for the holiday season this year! This adorable ragdoll cat ornament is sweet, simple, and the perfect size for hanging on the tree, tucking into a gift, or using as a cute stocking stuffer. It works up quickly which is great if you are a last minute gift maker, like me!
This ragdoll cat ornament has the fun addition of a tiny pocket on the back! This is to slip in a gift card, a small treat, note, or another small surprise. Whether you are making one for yourself or gifting them to friends and family, this little ragdoll kitty is sure to create smiles!


This sweet little crochet Ragdoll Cat Ornament is the second pattern released in our 2022 Christmas in July event! Stephanie of Grace and Yarn and I have been teaming up for Christmas in July for 5 years now, so be sure to check out all of our previous Christmas in July event posts, starting from 2021!
Head to the Christmas in July page to see all of our events and the four patterns released each year! Each blog post includes all of the links to the other patterns released in this event!

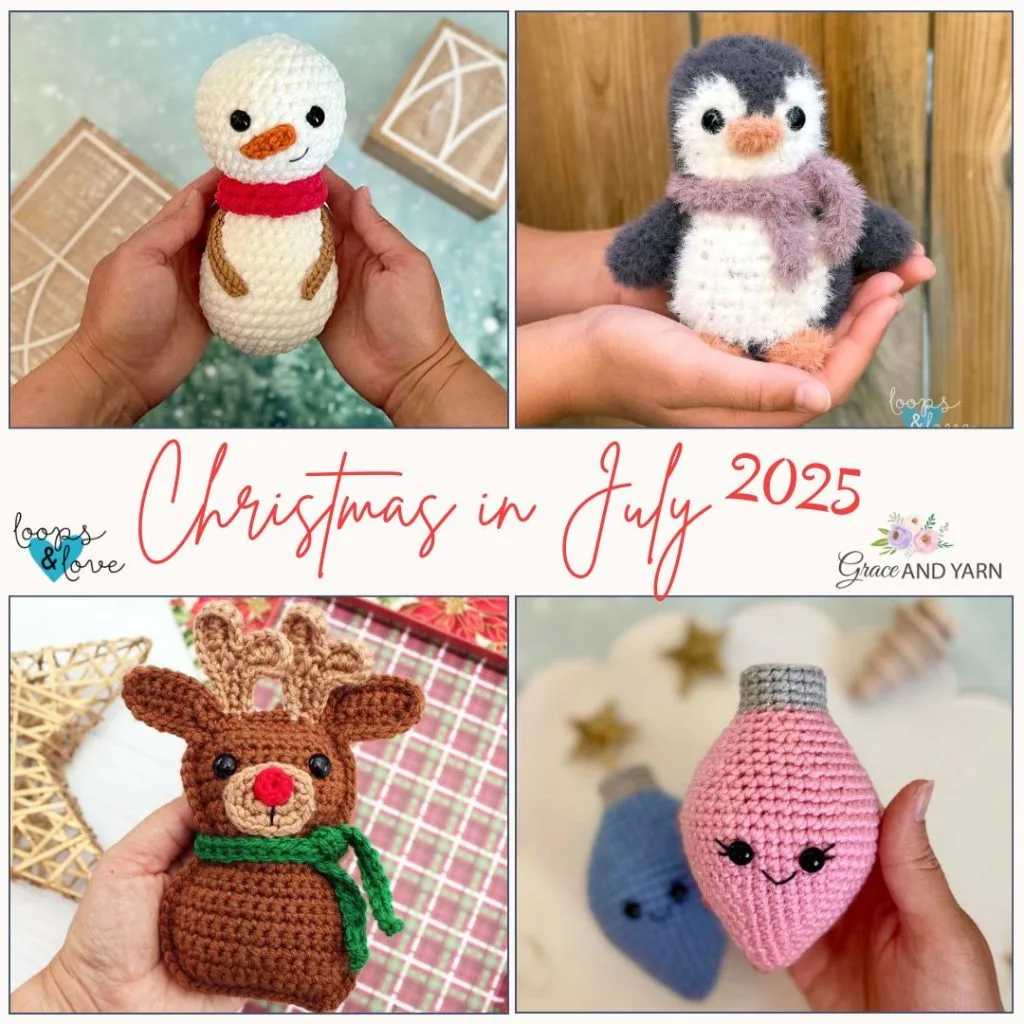
This Ragdoll Cat Ornament is the third ragdoll-style animal ornament in our collection. If you’re loving ragdoll style ornament crochet projects, you’ll also find a few others on the blog! Check out our Ragdoll Snowman, Ragdoll Reindeer, and Ragdoll Penguin! Each of these patterns are free on the blog or you can get the whole ornament PDF pattern bundle (or each pattern separately) in our shops!
These ragdoll style ornaments are such fun and quick crochet projects to work up for winter and the holidays! Add them to your home décor by making a garland of cats, or mix them up with the penguins, reindeer, and snowmen too!
To make your cat into a hanging tree ornament, just add a loop to the top. Another fun idea is to sew a little pocket on the back for an extra cute gift card or small treat holder!
To make this Ragdoll Cat, first, you’ll start by working up the body in two separate panels. Then you’ll add the eyes and nose. Next, the panels will be joined together, and the scarf is added at the end of a fun festive accessory! Enjoy working up this crochet pattern!
Remember to like Loops and Love Crochet on Facebook and join the Loops and Love Crochet Group for sharing your finished projects! I’d also LOVE it if you followed @loopsandlovecrochet on Instagram! If you like crochet video tutorials, check out (and subscribe to) my Loops and Love Crochet YouTube Channel!
PIN the Ragdoll Cat Ornament crochet pattern to your favorite Pinterest board to save it for later!


Disclosure: This post may contain affiliate links, which means I may receive a small commission if you click a link and purchase something that I have recommended. This is done at no extra cost to you. Thank you for supporting Loops & Love Crochet!
The Ragdoll Cat Ornament crochet pattern is available for FREE on this website. If you’d like an ad-free, printable PDF version, you may purchase it for a small fee from my Etsy or Ravelry shops. Thank you so much for supporting Loops & Love Crochet!
Materials:
- Worsted-weight (#4) yarn – Any worsted-weight #4 yarn can be used for this project. I used WeCrochet/Knit Picks Dishie yarn in Silver (cat), Begonia (nose), Festive Red (scarf), and White (pompom). This ragdoll cat requires approx. 65yds of yarn in the main cat color. You’ll also need just couple yards of the red and white for the scarf and a short strand of pink for the nose.
- Crochet Hook – 3.5mm crochet hook
- Safety Eyes – two 9mm safety eyes
- As an alternative to safety eyes, here is a great tutorial for making crochet eyes.
- Stuffing – any fiber based stuffing
- Yarn needle – I use bent yarn needles for weaving in ends and sewing on parts.
- Embroidery thread (optional) – a small amount of black for the eyelashes.
Stitches Used:
- Ch – chain
- Sl St – slip stitch
- SC – single crochet
- INC – single crochet increase – work 2 SC stitches into the same stitch.
- DEC – single crochet decrease – work a SC decrease over the next 2 stitches. Insert hook into the first stitch, pull up a loop, insert hook into next stitch, pull up a loop, yarn over and pull through all three loops on hook.
Gauge
- 2”x2” = approx. 10 rows of 8 stitches
Important Notes:
- Worked in Rows – This pattern is worked up in rows. After each row you will be chaining 1 and turning. Make the first stitch of the next row in the same stitch as the chain 1. The chain 1 does not count towards the stitch count for each row.
- Right Side/Wrong Side – In ragdoll style patterns, there is often a “right side” and a “wrong side” to help make sure each part lines up correctly with the other parts. In this pattern, both sides of the cat panels are the same when finished and will line up properly when stacked on top of each other for joining. If you want to make sure the stitches are facing the same way, you can line up your pieces so the end where you started with the slip knot is on the same side for each piece when you stack them.
Finished Size
- When complete, your cat will measure approx. 5” tall from the bottom of the body to the top of the ear.
The Pattern
Cat Panels – make two (one for the front and one for the back)


Row 1: In grey yarn, ch 11, INC in 2nd ch from hook, SC in next 8 sts, INC in last st, ch 1, turn (12)
Row 2: SC in each stitch across, ch 1, turn (12)
Row 3: INC, SC next 10 sts, INC, ch 1, turn (14)
Rows 4-8: SC in each stitch across, ch 1, turn (14)
Row 9: DEC, SC next 10 sts, DEC, ch 1, turn (12)
Row 10: SC in each stitch across, ch 1, turn (12)
Row 11: DEC, SC next 8 sts, DEC, ch 1, turn (10)
Row 12: DEC, SC next 6 sts, DEC, ch 1, turn (8)
Row 13: SC in each stitch across, ch 1, turn (8)
Row 14: DEC, SC next 4 sts, DEC, ch 1, turn (6)
Row 15: SC in each stitch across, ch 1, turn (6)
Row 16: INC, SC next 4 sts, INC, ch 1, turn (8)
Row 17: INC, SC next 6 sts, INC, ch 1, turn (10)
Row 18: INC, SC next 8 sts, INC, ch 1, turn (12)
Rows 19-21: SC in each stitch across, ch 1, turn (12)
Row 22: DEC, SC next 8 sts, DEC, ch 1, turn (10)
Row 23: SC in each stitch across, ch 1, turn (10)
These next few rows will only be worked part of the way across to form one of the cat’s ears.
Row 24: SC 4 sts, ch 1, turn (4)
Row 25: DEC, DEC, ch 1, turn (2)
Row 26: DEC, fasten off, cut yarn (1)
Making the second ear:
Lay your cat panel flat with the completed ear on the right. Skip two stitches to the left of the ear, then join your yarn in the third stitch, chain 1 and repeat the instructions for rows 24-26 above, starting with your first SC in the same stitch as the join/chain 1. (See photos on next page).
Repeat all the instructions above to make the second cat panel.
Weave in all ends on your panels. Choose one of the panels to be the front of the cat. Next, you will add the eyes and nose before they are joined together.


Eyes
If you are using safety eyes, insert them between rows 21 and 22. Line them up in the center of the head about 4 stitches apart. If you are having trouble finding rows 21 and 22, they are the 2nd and 3rd row down from the top center of your cat.
If you are adding eyelashes, do this before you secure the safety eyes. First, place your safety eyes where you’d like them to be, but don’t secure them yet. Next, remove the eyes and use your yarn needle to stitch on the eyelashes. Then insert the eyes again and secure the back.
Nose
Using a strand of pink (or color of your choice) and your yarn needle to stitch on the nose. Find the 3-4 stitches centered between the eyes, but between the first and second row down from the bottom of the eyes. Pass your yarn needle and yarn around these stitches about 3 times, depending on how thick you’d like the nose to be. When you are happy with the nose, continue using your yarn and needle to make a larger stitch straight down about 2 rows from the middle of the nose. Weave in or tie off the yarn tails on the back of the front panel. This will be hidden inside the cat when the panels are joined together.


Joining the Cat Panels
Lay the top panel of the cat on top of the bottom panel, lining up each of the edges. Make a slip knot with your grey yarn.
With the front of the cat facing you, insert your crochet hook through one of the bottom corner stitches, passing through the same stitch on both panels. Place the slipknot on your hook and pull it through to the front of your project. Then, chain 1 and make a SC in the same stitch. Continue around making one SC in each stitch around the outside of the cat. Work [SC, ch 1, SC] in the top stitch of each of the ears, and 2SC into the corner stitches at the bottom of the body.
When you are about 2/3 of the way around, start adding stuffing to the inside. Stuff up into the head section first when you are finished crocheting around it. Then slowly stuff the body as you continue to work the SC stitches around.
Make sure you have added enough stuffing before the opening gets too small. When you get back around to the corner stitch you started at, make one more SC in that stitch (you should now have 2 SC in that stitch), then join with a slip stitch to the first SC. Pull the slip stitch tight, fasten off, and weave in ends.


Scarf
The scarf is made from a chain with SC stitches worked in. Then two pompoms are made to sew onto the ends.
In red yarn, work a chain long enough to go around the cat’s neck with extra to tie and hang down as a scarf. For the cats pictured, the chain was 40 stitches long. Work a SC in the 2nd chain from your hook and in each stitch across. Fasten off, weave in all ends.


Pompoms (make 2)
Round 1: In white yarn, magic circle, ch 1, make 4 SC into ring (4)
Round 2: SC in each stitch around (4)
Fasten off, cut yarn, leaving a tail for sewing the pompom closed and attaching it to the end of the scarf.
Sew the top of the pompom closed by passing your yarn needle through the front loop of each of the 4 stitches and then pulling the end tight. Weave in one of the yarn tails and use the other to sew the pompom to the end of the scarf. Then weave in the other yarn tail.


Cat Ornament
If you are making this ragdoll cat as an ornament for a Christmas tree, you can add a loop of yarn to the top for hanging. Attach a piece of yarn or string (approximately 6 inches long) through the top of your cat to make it into a hanging ornament.


Gift Card or Treat Pocket
If you’d like to make a pocket on the back of your ragdoll cat for a gift card or small candy cane or treat, follow the instructions below.
Row 1: In grey yarn, ch 13, SC in 2nd ch from hook and in each st across (12)
Rows 2-11: SC in each st across (12)
Fasten off. Weave in ends. Leave a tail for sewing onto back of cat.
Position the pocket on the back of the cat, with the bottom of the pocket lined up one row up from the bottom of your cat. Use your yarn needle to sew the pocket onto the back by passing your yarn needle and yarn in and out of each stitch around the pocket, passing through the stitches on the back of the cat. Keep the stitches to the back panel only, being careful not to sew right through to the front of the cat. Start at one of the top corners, then sew down one side of the pocket, across the bottom, and up the other side before weaving in the yarn tail. Remember to leave the top of the pocket open for the gift card or treat.


You are all done! I hope you have enjoyed this crochet pattern and will make many more of these cute Ragdoll Cat Ornaments!


Be sure to check out our Ragdoll Penguins and Ragdoll Snowmen too!


**Want to be kept in the loop? Be sure to like Loops and Love Crochet on Facebook and join the Loops and Love Crochet Group! Don’t forget to follow @loopsandlovecrochet on Instagram! Remember to tag Loops and Love Crochet when you post your fnished projects on social media! I’d love to see them! **
*You may make and sell any items made from my patterns, but please link back to my blog or Loops & Love Crochet as the designer. Please do not copy this pattern or photos and share as your own, in part or in whole. Instead, link back to the Loops and Love Crochet blog (especially when selling items you make from my patterns). Thank you!
Alexandra
Thursday 14th of July 2022
So cute!