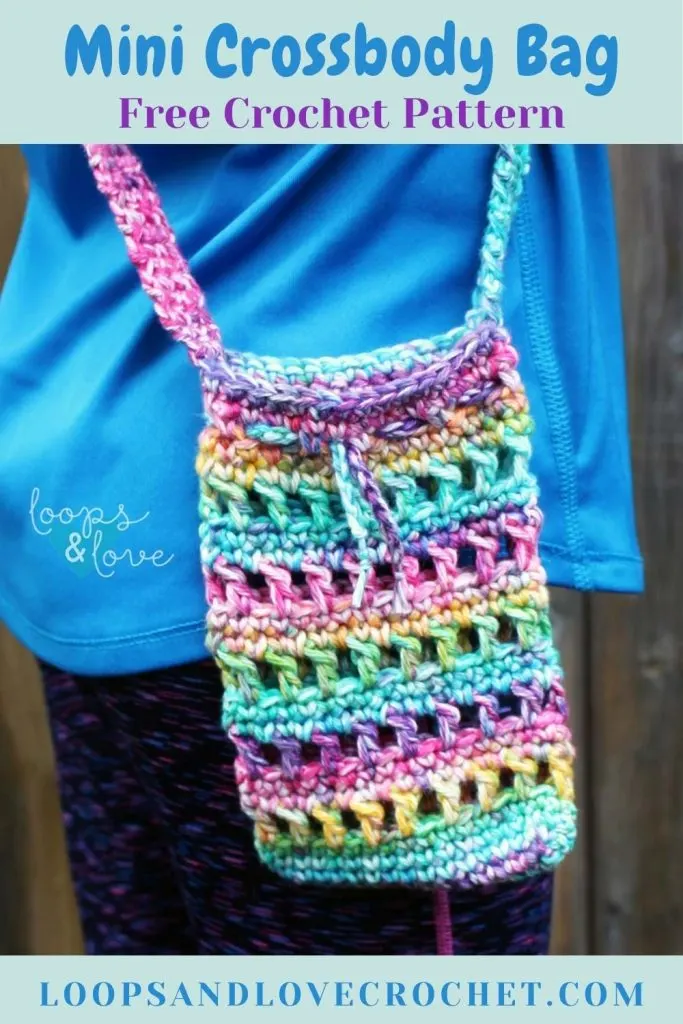
This mini crossbody bag is a fun little tote bag for carrying a few small things. It even fits a phone perfectly too!
The Mini Crossbody Bag is a fun and stylish project that’s super practical too! Measuring about 4 inches wide and 6 inches tall, this bag is just the right size to fit a few small items or also makes the perfect phone pouch, making it practical for day-to-day use. Want a bigger bag? There are instructions below to make your own bag size! You’ll just need to start with a longer starting chain!
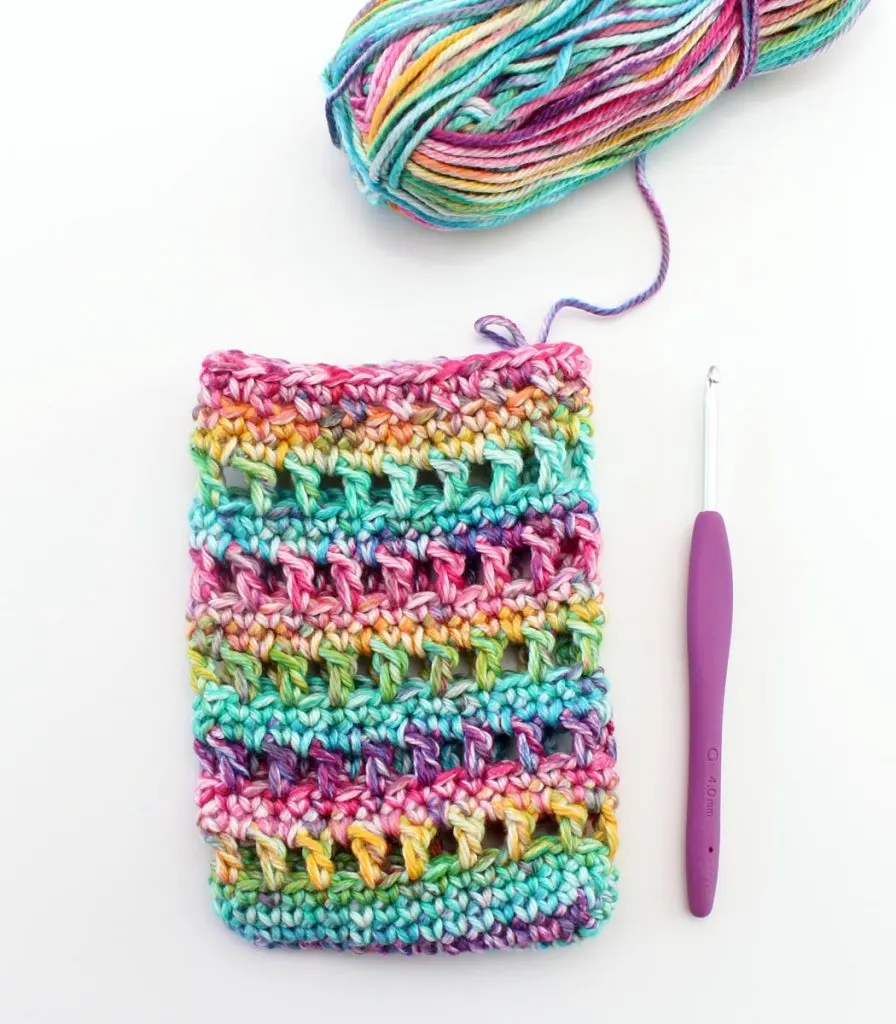
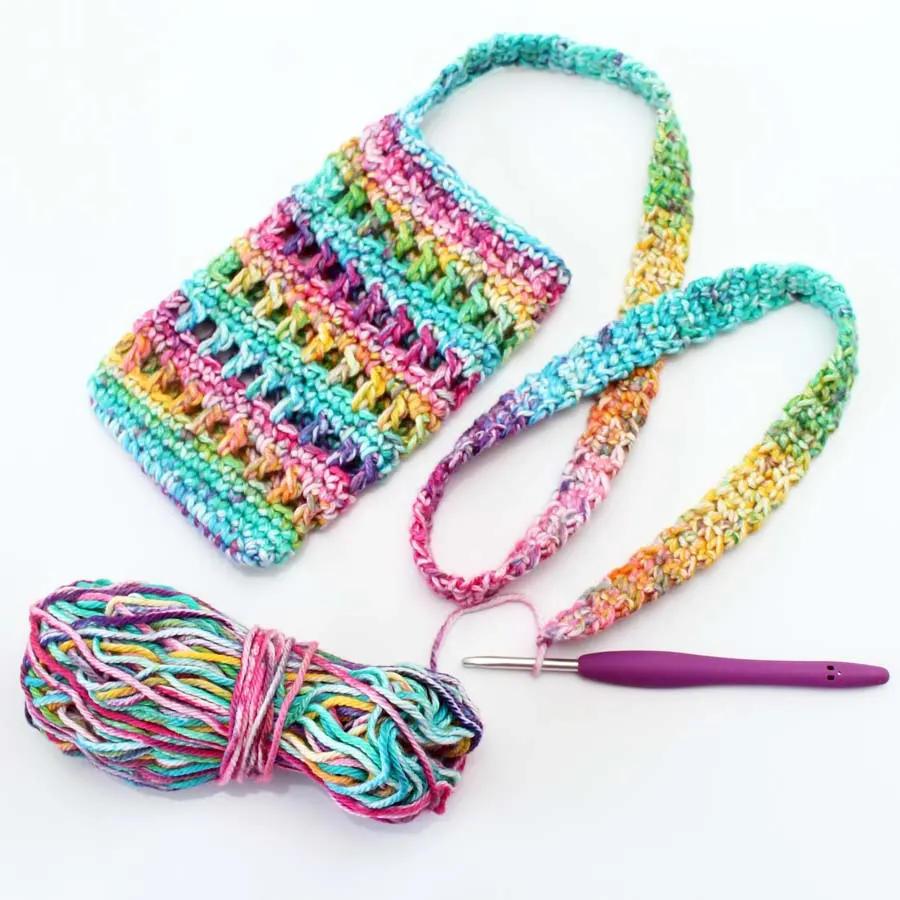
The bag pictured in this pattern was made with rainbow variegated yarn. I seem to have an addiction to rainbow yarn lately! What color(s) will you make your mini crossbody bag? This bag looks great in any color combination, whether you’re using a solid color or a variegated yarn!
Keep on reading below for all the details about this mini crossbody bag and the free crochet pattern! I hope you love working it up!
The Mini Crossbody bag is one of the many crochet bag patterns on the blog! Browse all of our bag patterns! They’re all shapes and sizes!
Pin the Mini Crossbody Bag crochet pattern on Pinterest to come back to later!


Remember to like Loops and Love Crochet on Facebook and join the Loops and Love Crochet Group for sharing your finished projects! I’d also LOVE it if you followed @loopsandlovecrochet on Instagram! If you like crochet video tutorials, check out (and subscribe to) my Loops and Love Crochet YouTube Channel!
Disclosure: This post may contain affiliate links, which means I may receive a small commission if you click a link and purchase something that I have recommended. This is done at no extra cost to you. Thank you for supporting Loops & Love Crochet!
The Mini Crossbody Bag crochet pattern is available for FREE on this website. If you’d like an ad-free, printable PDF version, you may purchase it for a small fee from my Etsy or Ravelry shops. Thank you so much for supporting Loops & Love Crochet!
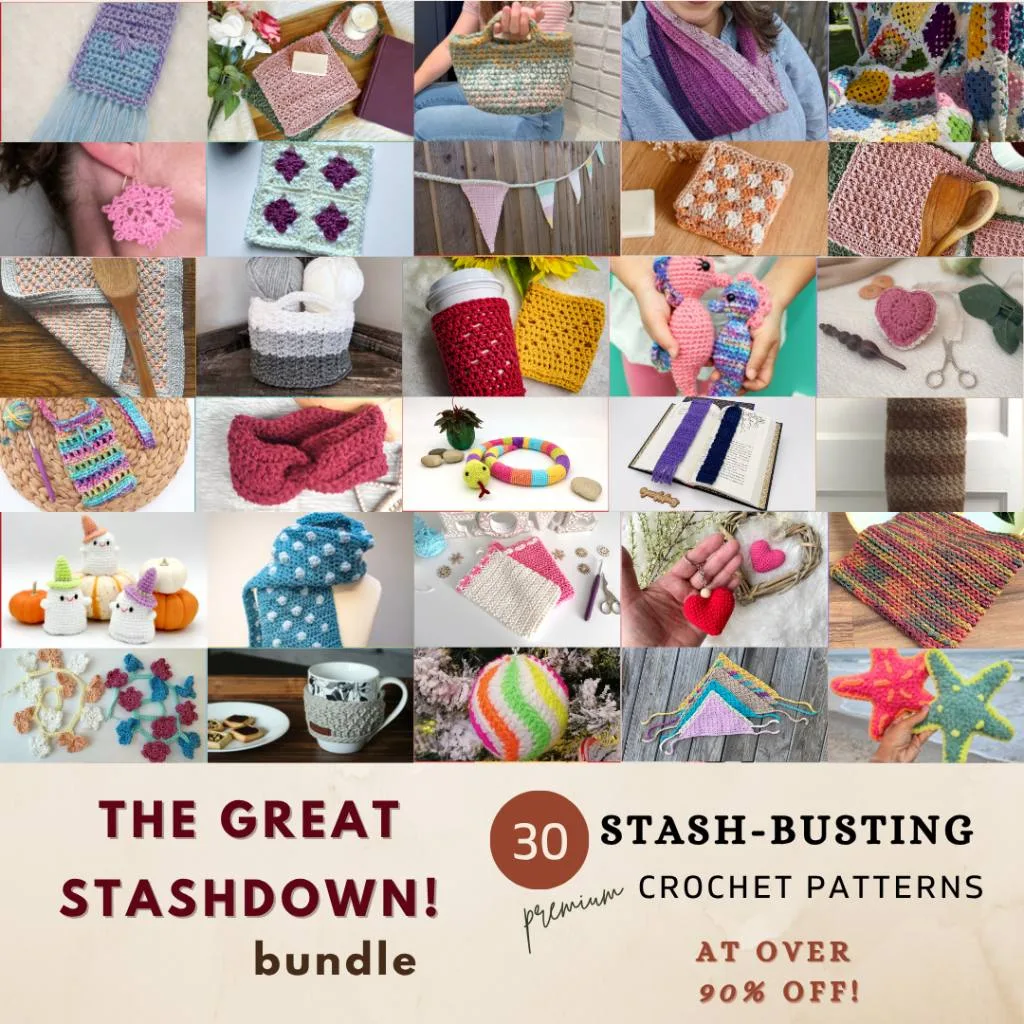
This pattern was featured in the Great Stashdown Blog Hop event hosted by RaeLynn of Itchin’ for some Stitchin’! Did you miss out on the blog hop? Still want all the patterns? Don’t worry! You can still get all 30 patterns in one convenient bundle for one low price! No waiting, no hunting for links—just instant access to every pattern so you can start crocheting your favorites right away. It’s the perfect way to catch up and make the most of this year’s blog hop fun! Visit this page for all the bundle details!

Materials:
- Worsted Weight #4 Cotton Yarn – Any worsted-weight cotton yarn (or cotton blend) can be used for this project. You’ll need approx. 80yds. The bag pictured in this pattern was made with I Love This Cotton yarn in the 340 Brights colorway.
- Crochet hook – 4 mm size
- Yarn needle for weaving in ends
- Scissors for cutting yarn
Stitches Used:
- Ch – Chain
- Sl St – Slip Stitch
- SC – Single crochet
- DC – Double crochet
Gauge:
- Gauge is not imperative for this bag to turn out. However, 2 inches square is approximately 10 rows of 9 SC stitches.
Finished Size:
- When laying flat, this bag is approx. 4 inches wide and 6 inches tall, not including the strap.
Important Notes:
- Joined Rounds – This bag is worked in joined rounds. At the end of each round, you will be joining the last stitch of the round to the first stitch with a slip stitch.
- Starting Each Round – Start the first stitch of each round in the same stitch as the chain 1 or chain 2. The chain 1 or 2 stitches at the start of each round do not count towards the stitch count of each round. However, the chain stitches between the DC stitches within the bag rounds do count towards the stitch count.
- Changing Bag Size – for a taller bag, extra repeats of rounds 5-7 can be done until you are at desired bag height. Then move to rounds 20-22 to finish the top of the bag. To make bag wider, just add more stitches to the starting chain. Keep in mind that for the stitch pattern to work, the stitch count after row/round 1 needs to be an even number. You can easily make this bag quite a bit bigger if you’d like a larger tote!
The Pattern – Make your own little crossbody bag!
Base of Bag
Row/Round 1: Ch 16, 2 SC in 2nd ch from hook, SC in next 13 sts, 4 SC in last st. Continue around so you are working on the other side of the chain. SC in next 13 sts, 2 SC in last st (this will be the other side of the same stitch with the first 2 SC of the round). Join with a sl st to first SC, ch 1. (34)
You have finished making the base of the bag. Now you will be working on the height of the bag.
Bag Body
Rounds 2-4: SC in each st around, join, ch 1 (34)
*After round 4, ch 2 (instead of ch 1).
Round 5: DC in first st, ch 1, skip next st, *DC in next st, ch 1, skip next st, repeat from * around, join to first st, ch 1. (17 DC sts)
Round 6: SC in each st and ch 1 space around, join, ch 1 (34)
Round 7: SC in each st around, join, ch 2 (34)
Rounds 8-19: Repeat rounds 5-7 four more times (or until almost at desired bag height)
*After round 19, ch 1 (instead of ch 2).
In the next three rounds, the holes for the drawstring will be created and then the top of the bag will be finished before moving onto the strap.
Round 20: SC in first st, ch 1, skip next st, *SC in next st, ch 1, skip next st, repeat from * around, join to first st, ch 1. (17 SC sts)
Round 21: SC in each st and ch 1 space around, join ch 1 (34)
Round 22: SC in each st around, join, ch 1 (34)

Next, the bag strap will be worked up continuing from the end of round 22. The strap is 3 stitches wide and is worked in turned rows.
If you are lined up on the side of the bag after round 22, continue to the section below for working up the bag strap. If your seam has traveled over a bit too much and you are not lined up to the side of the bag, you can slip stitch over a few stitches until you are lined up to start the rows for the strap. As an alternative to slip stitching over to the side of the bag, you can also fasten off after round 22 and then rejoin your yarn in a stitch on the side of the bag to start working the strap.
Bag Strap
Row 1: SC in first 3 sts, ch 1, turn (3)
Row 2-144: SC in each of the 3 sts, ch 1, turn (3)
*After row 144, do not chain 1.
Fasten off, leaving a yarn tail to attach strap on the other side of the bag.
The bag strap can be made shorter or longer by adjusting the number of rows worked up. The 144 rows made a 34” strap which was perfect for an 8 year old to wear the bag. More rows may need to be added for an adult, depending on their height.

To attach the strap to the other side of the bag, you’ll use your yarn needle and the yarn tail from where you fastened off.
Make sure the strap is sitting flat and is not twisted. Find the 3 stitches on the side edge of the bag where you’d like to attach the strap. These can be marked with stitch markers as shown below. Line up the bottom of the strap with 3 marked stitches. Sew through both layers of stitches to attach the strap to the bag. Make sure the strap is secure by passing your yarn needle through each stitch a few times before moving on to the next stitch. When the strap is attached securely, weave in ends and cut yarn.


Drawstring
Make a chain long enough to pass through the holes created at the top of the bag. This will be the drawstring for the bag. For the bag pictured, a chain of 46 worked perfectly. Fasten off and cut yarn. Tie a knot at each end of the chain so it does not come undone. Starting with one of the chain spaces at the center of the bag, pass the drawstring chain in and out of the spaces until you are fully around the bag and back in the same hole started at.
To tighten the bag, simply sinch in the drawstring and tie a knot or a bow. When it is untied, you can pull the top loose again.


You are now finished making your Mini Crossbody Bag! I hope you had fun working it up!

**Want to be kept in the loop? Be sure to like Loops and Love Crochet on Facebook and join the Loops and Love Crochet Group! Don’t forget to follow @loopsandlovecrochet on Instagram! Remember to tag Loops and Love Crochet when you post your finished projects on social media! I’d love to see them! **
*You may make and sell any items made from my patterns, but please link back to my blog or Loops & Love Crochet as the designer. Please do not copy this pattern or photos and share as your own, in part or in whole. Instead, link back to the Loops and Love Crochet blog (especially when selling items you make from my patterns). Thank you!