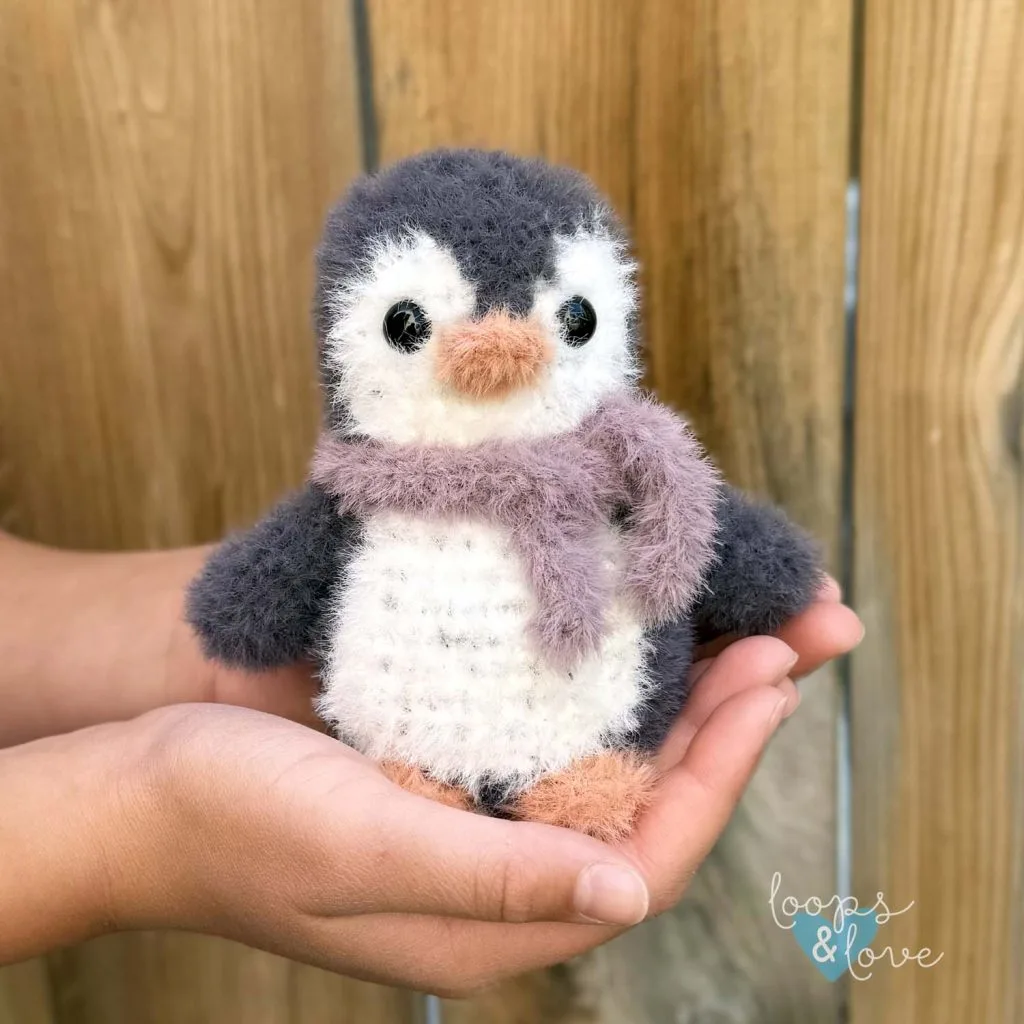
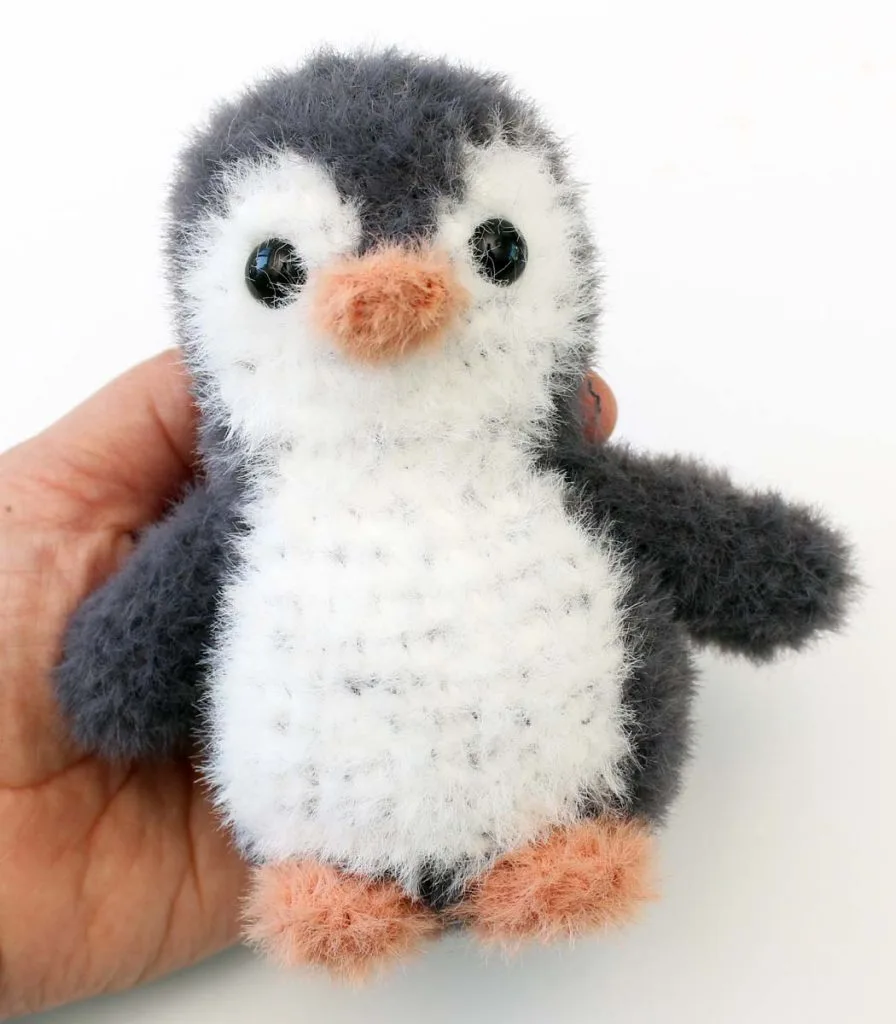
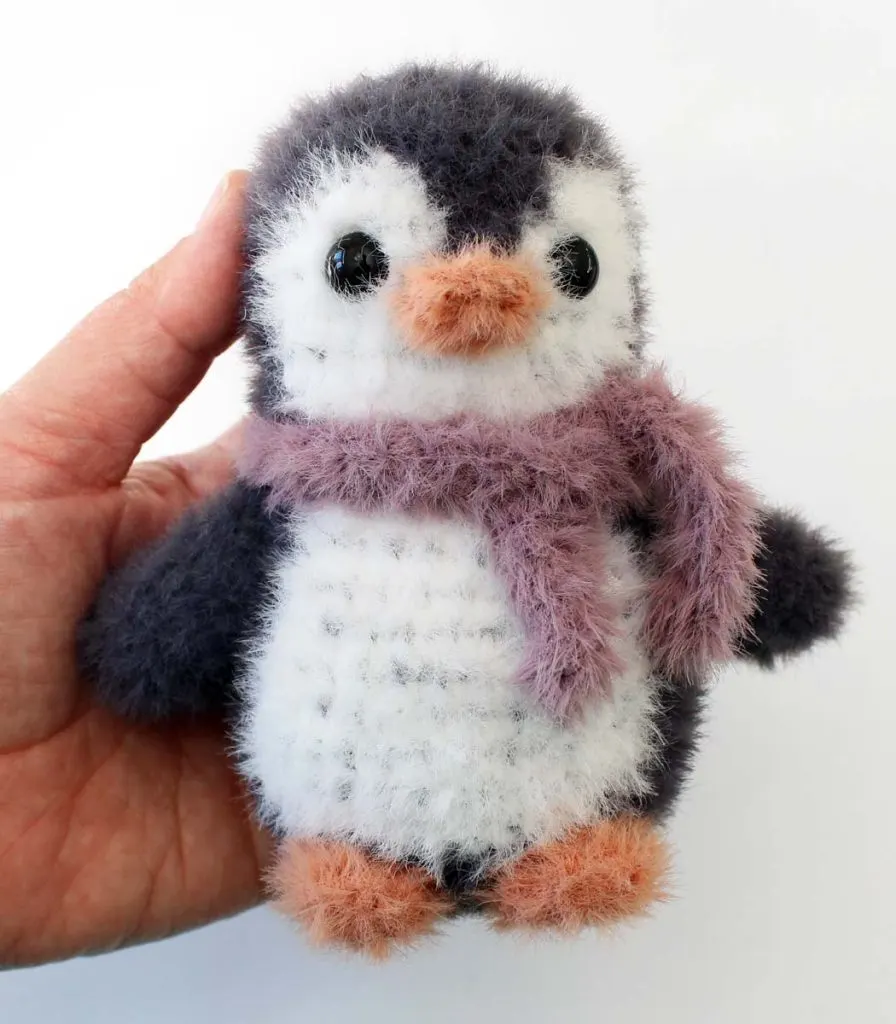
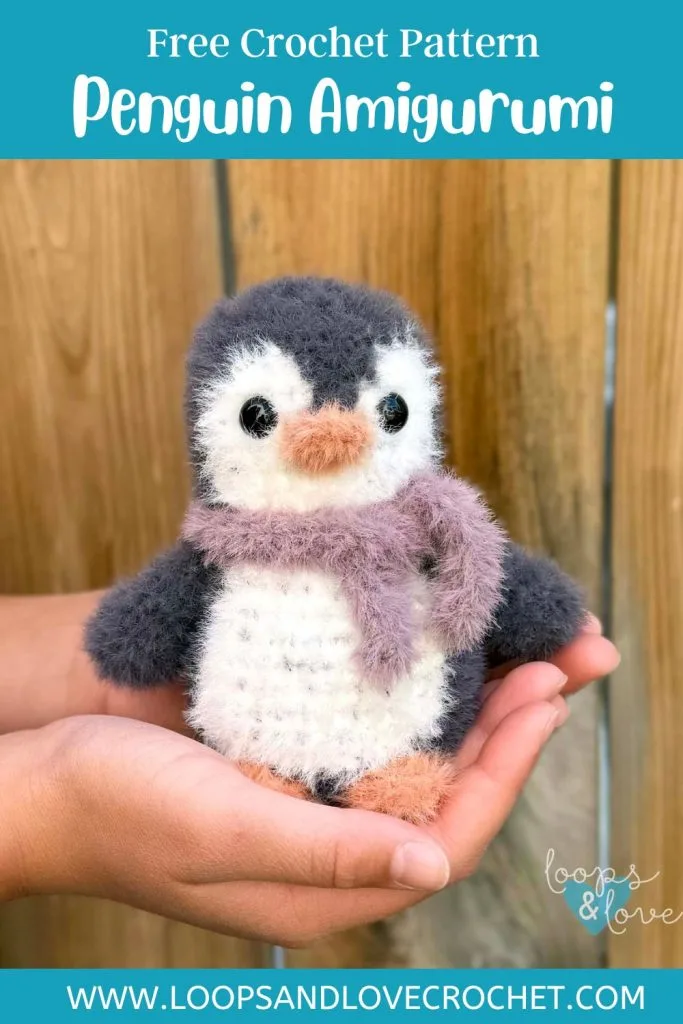
This soft and cuddly Penguin Amigurumi is a fun project to work on and just the right size for holding or gifting. Whether you’re working in plush yarn or not, you’ll love how your penguin turns out! Have fun working it up!

Happy Monday! It’s the second week of July which means it’s the second week of our Christmas in July event! Stephanie of Grace and Yarn and I are so excited to bring you four new, holiday inspired crochet patterns again this year, for the 6th year of our Christmas in July event!
Each Monday in July, we are releasing a new crochet pattern to help get you started on your holiday crocheting nice and early! Last week, Stephanie released an adorable Plush Snowman Amigurumi. If you haven’t checked it out, be sure to do that! He is the sweetest little snowman!
If you missed our Christmas in July event details, or want the links to the patterns, you can head to our main Christmas in July info post HERE!
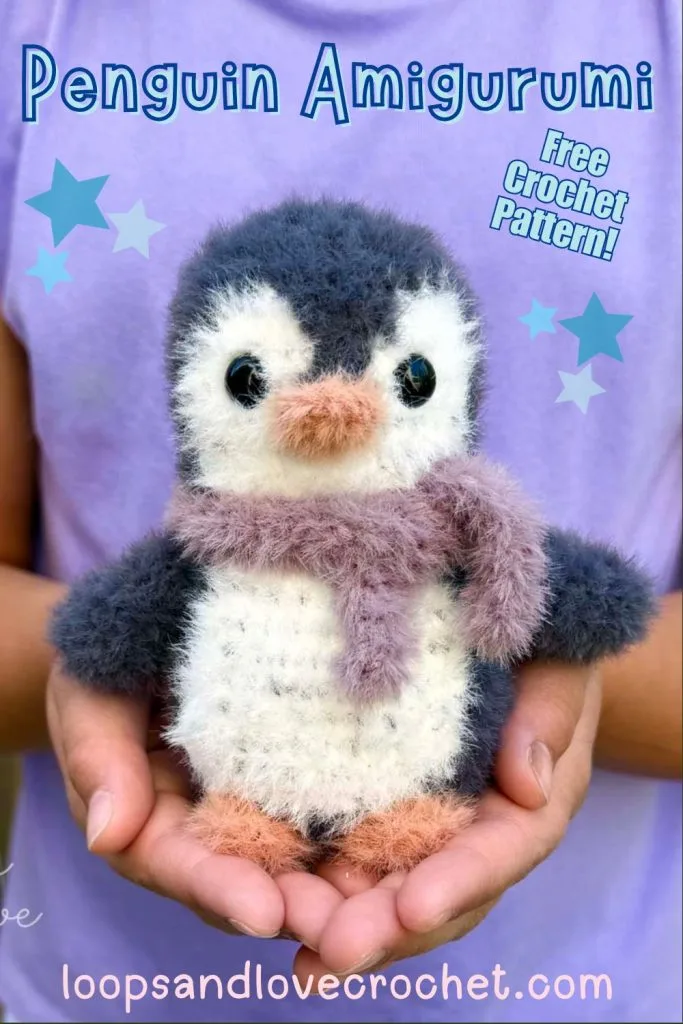
This week, for week 2, it’s our turn to release a new pattern! We are so excited to release this Penguin Amigurumi pattern on the blog today!
Remember to like Loops and Love Crochet on Facebook and join the Loops and Love Crochet Group for sharing your finished projects! I’d also LOVE it if you followed @loopsandlovecrochet on Instagram! If you like crochet video tutorials, check out (and subscribe to) my Loops and Love Crochet YouTube Channel!

Disclosure: This post may contain affiliate links, which means I may receive a small commission if you click a link and purchase something that I have recommended. This is done at no extra cost to you. Thank you for supporting Loops & Love Crochet!
The Penguin Amigurumi crochet pattern is available for FREE on this website. If you’d like an ad-free, printable PDF version, you may purchase it for a small fee from my Etsy or Ravelry shops. Thank you so much for supporting Loops & Love Crochet!
Materials:
- Super Bulky (#5) yarn – For this pattern, Lion Brand Feels Like Bliss Yarn was used. This is a nylon plush yarn that gives the penguin amigurumi pictured a fuzzy, soft texture. You will need approximately 50 yards of the main dark grey color (Slate), 20 yards of white, 5 yards of orange (Peach), and a few yards of an accent color for the scarf (Lavender). A cotton or acrylic worsted weight (#4) yarn can be substituted, which just may change the finished size of your penguin a bit.
- 4 mm crochet hook (or preferred size for amigurumi or yarn being used)
- Safety eyes – 10mm size
- Stuffing (any fiber-based stuffing like Poly-fil or Fiber Fill)
- Yarn needle to weave in ends (bent yarn needles are the best for amigurumi projects)
- Scissors for cutting yarn (these little ones are my favorite!)
Stitches Used:
- Ch – chain
- Sl St – slip stitch
- SC – single crochet
- SC DEC – single crochet decrease
Finished Size:
- When finished, this penguin amigurumi measures approximately 5” in height from the feet to top of head.
Gauge:
- Gauge is not critical for this pattern to turn out, however, for reference, 2 inches square is approximately 9 rows of 11 SC stitches.
Important Notes:
- Magic Circle – Make a circle with your yarn, insert crochet hook into circle, and draw up a loop. Chain one and then start making the stitches of round 1 into the ring. This video tutorial will show you the magic circle and working the first rounds of stitches.
- Continuous Rounds – This pattern is worked up in continuous rounds. This means that at the end of each round, you will proceed right to the stitches of the next round without joining. It is handy to have a stitch marker or piece of yarn to help you keep track of the start/end of each round. If you are working with plush yarn, it can be hard to see the stitches and rounds. Using a stitch marker will also help keep track of rounds if the stitches are hard to see.
- Color Changes – There are color changes on the penguin’s body and head worked in the middle of the rounds. You will change between dark grey and white frequently. To change colors, complete the last single crochet in the first color up until the last yarn over. Yarn over with the new color and pull through the last step of the single crochet stitch. So, your SC will go like this: insert hook into last stitch in the first color, pull up a loop, yarn over with the new color, pull through all loops on hook. Carry the inactive yarn color along under your stitches for the rounds that have both colors being used. Be sure to keep the inactive yarn towards the bottom of your stitches as you work over it and pulled tight enough so that it is less noticeable through your stitches (but not too tight to have your work start to pucker).
Crochet your Penguin Amigurumi – The Pattern
Head and Body
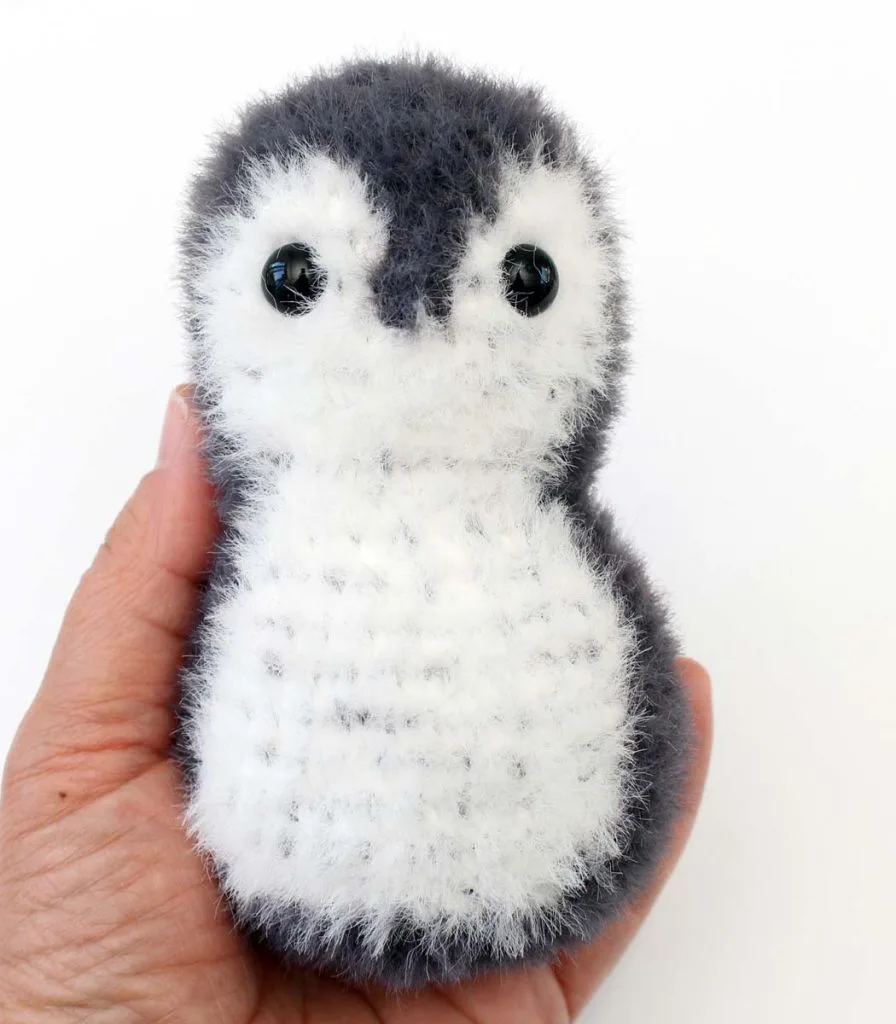
The head and body are worked together in one piece from bottom to top.
Round 1: In dark grey, magic circle, 6 SC into ring (6)
Round 2: 2 SC in each st around (12)
Round 3: *2 SC in first st, SC in next st, repeat from * around (18)
Round 4: *2 SC in first st, SC in next 2 sts, repeat from * around (24)
Round 5: *2 SC in first st, SC in next 3 sts, repeat from * around (30)
Round 6: *2 SC in first st, SC in next 4 sts, repeat from * around (36)
For the next rounds, you will be switching back and forth from dark grey to white to create the white belly and face of the penguin. Stitches may be SC or SC Dec. The number of stitches in each color is listed in brackets after the instructions for that round.
G = Grey, W = White.
Start working over the white yarn at the start of round 7 so that you can pull it up when you need it later that round. Carry the inactive yarn throughout rounds 7-22 as you switch back and forth between grey and white.
Round 7: SC in each st around (10 G, 10 W, 16 G) (36)
Round 8: SC in each st around (9 G, 12 W, 15 G) (36)
Round 9: SC in each st around (9 G, 12 W, 15 G) (36)
Round 10: SC in each st around (9 G, 12 W, 15 G) (36)
Round 11: SC in each st around (9 G, 12 W, 15 G) (36)
In the next rounds decreases will be worked to finish the top of the body. Each decrease counts as one stitch towards the stitch count for the color changes. Add stuffing to the body as the next rounds are worked.
Round 12: *SC DEC, SC next 4 sts, repeat from * around (7 G, 10 W, 13 G) (30)
Round 13: SC in each st around (7 G, 10 W, 13 G) (30)
Round 14: *SC DEC, SC next 3 sts, repeat from * around (6 G, 7 W, 11 G) (24)
Round 15: *SC DEC, SC next 2 sts, repeat from * around (4 G, 6 W, 8 G) (18)
Round 16: SC in each st around (5 G, 5 W, 8 G) (18)
In the next rounds, increases will be worked again to start forming the head.
Round 17: *2 SC in first st, SC in next 2 sts, repeat from * around (7 G, 7 W, 10 G) (24)
Round 18: *2 SC in first st, SC in next 3 sts, repeat from * around (9 G, 10 W, 11 G) (30)
Round 19: SC in each st around (8 G, 12 W, 10 G) (30)
Round 20: SC in each st around (8 G, 5 W, 2 G in FLO, 5 W, 10 G) (30)
Round 21: SC in each st around (8 G, 5 W, 2 G in FLO, 5 W, 10 G) (30)
Round 22: SC in each st around (9 G, 3 W, 4 G in FLO, 3 W, 11 G) (30)
Insert safety eyes between rounds 21 and 22, approximately 6 stitches apart. They will be in the white section on the penguin’s face, with a couple stitches of white on the outer edge of each side.
In the next rounds, decreases will be worked to finish off the top of the head. Add stuffing as you go, making sure that enough stuffing is added to the body and head before the opening gets too small.
The next rounds will only be worked in grey. If the white yarn tail is secured under the last section of grey stitches, it is safe to cut it now. It can also be worked over a little longer before cutting.
Round 23: *SC DEC, SC next 3 sts, repeat from * around (24)
Round 24: *SC DEC, SC next 2 sts, repeat from * around (18)
Round 25: *SC DEC, SC next st, repeat from * around (12)
Round 26: *SC DEC in each st around (6)
Fasten off. Use your yarn needle to sew the top of the head closed. Weave in ends and cut yarn. Set aside while working up the remaining penguin pieces.

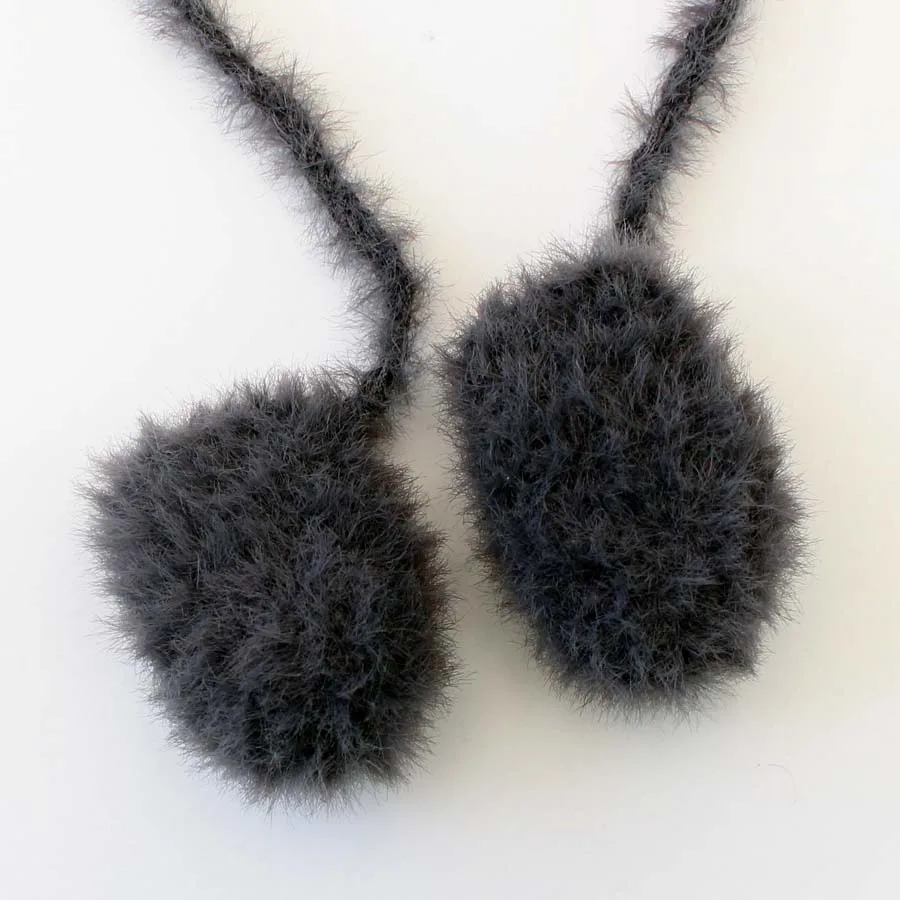
Wings (make 2)
Round 1: In dark grey, magic circle, 6 SC into ring (6)
Round 2: 2 SC in each st around (12)
Rounds 3-7: SC in each st around (12)
Round 8: *SC DEC, SC next 2 sts, repeat from * around (9)
Round 9: SC in each st around (9)
Fasten off, leave a long tail and cut yarn. Flatten the wing and sew closed by passing your yarn needle through both layers of the stitches across the top. Repeat instructions above for the second wing. Set aside for assembly later.

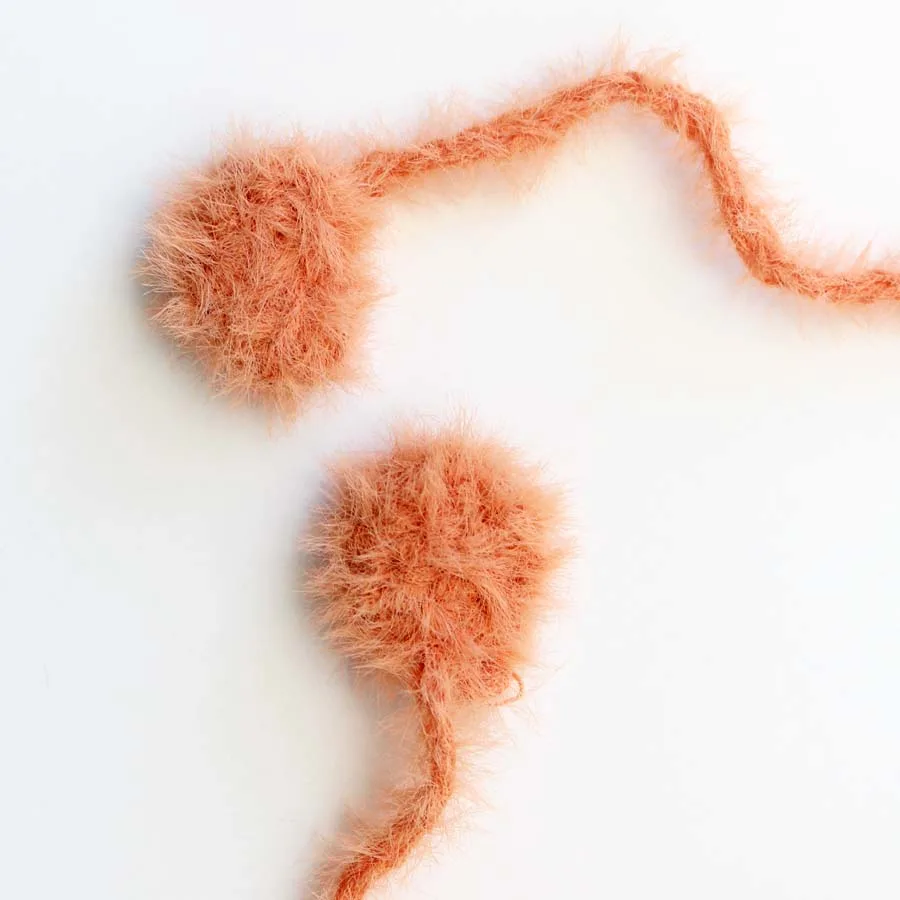
Beak
Round 1: In orange, magic circle, 6 SC into ring (6)
Fasten off, cut yarn leaving a long tail for sewing. Flatten and sew closed by passing your yarn needle through both layers of the stitches across the top. Set aside for assembly later.

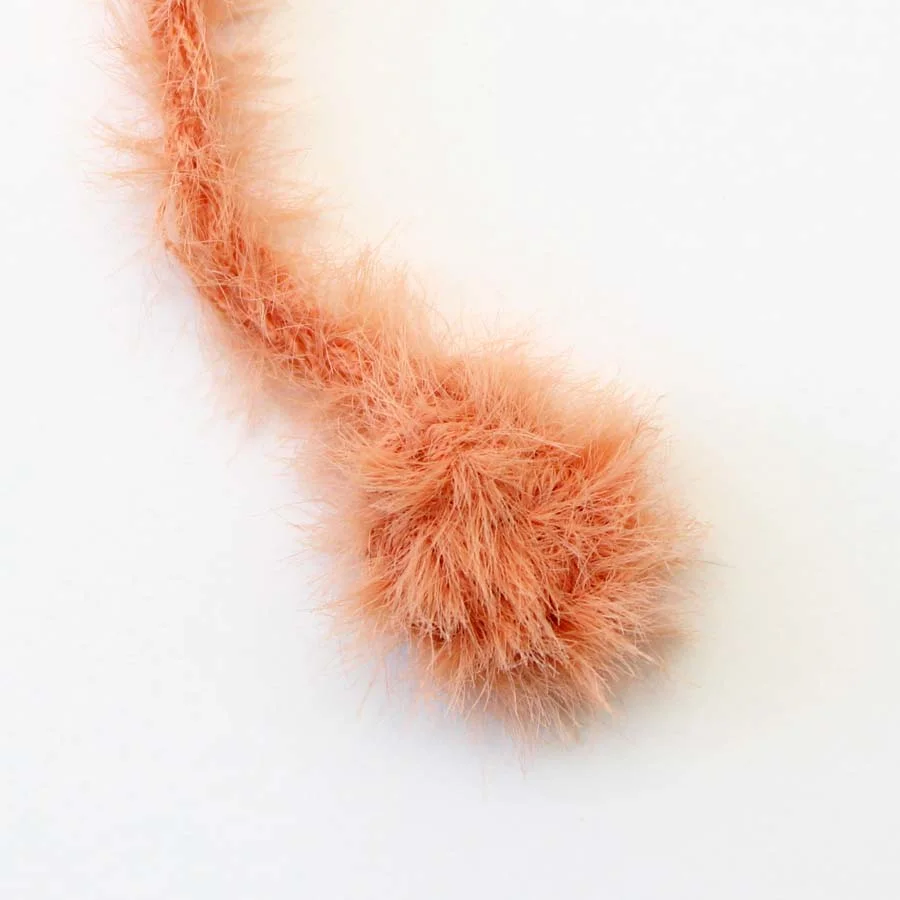
Feet (make 2)
Round 1: In orange, magic circle, 6 SC into ring (6)
Round 2: *2 SC in first st, SC next two stitches. Repeat from * around (8)
Round 3: SC in each st around (8)
Fasten off, cut yarn leaving a long tail for sewing. Flatten and close the top by passing your yarn needle through Repeat instructions above for the second foot. Set aside for assembly later.

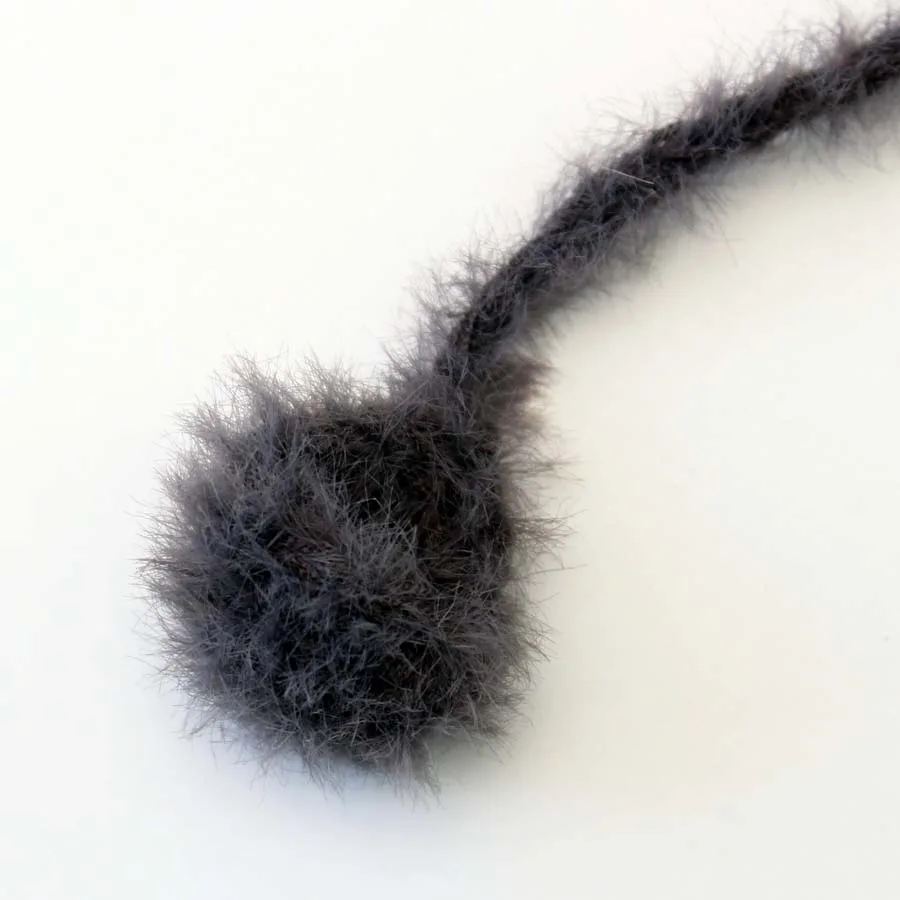
Tail
Round 1: In dark grey, magic circle, 6 SC into ring (6)
Round 2: *2 SC in first st, SC next two stitches. Repeat from * around (8)
Round 3: SC in each st around (8)
Fasten off, cut yarn leaving a long tail for sewing. Set aside for assembly later.

Scarf
Row 1: In accent color, chain 50, SC in 2nd ch from hook and in each ch across.
Fasten off, cut yarn, and weave in ends. The scarf needs to be long enough to tie around the penguin’s neck. For the penguin pictured, the scarf measured approximately 10” in length. To have the scarf your desired length, add or remove chains as needed.
Penguin Amigurumi Assembly Instructions
Step 1: Sew wings to the sides of the penguin’s body, one round below the neck.
Step 2: Sew feet to bottom of penguin’s body towards the front so they stick out a bit.
Step 3: Sew the beak to the penguin’s face at the bottom of the grey strip in the center.
Step 4: Sew the tail to the bottom of the penguin at the back. The tail placement can help the penguin’s stability so it can stand.

Step 5: Tie scarf around the penguin’s neck.

That’s it! You are all finished your penguin amigurumi!

**Want to be kept in the loop? Be sure to like Loops and Love Crochet on Facebook and join the Loops and Love Crochet Group! Don’t forget to follow @loopsandlovecrochet on Instagram! Remember to tag Loops and Love Crochet when you post your finished projects on social media! I’d love to see them! **
*You may make and sell any items made from my patterns, but please link back to my blog or Loops & Love Crochet as the designer. Please do not copy this pattern or photos and share as your own, in part or in whole. Instead, link back to the Loops and Love Crochet blog (especially when selling items you make from my patterns). Thank you!
Pauline
Monday 14th of July 2025
He is so adorable, you always make the most wonderful pattern, a big thank you, can’t wait to finish my owl crochet pattern to start the little penguin :)
Loops and Love Crochet
Monday 14th of July 2025
You're so kind! Thank you so much!