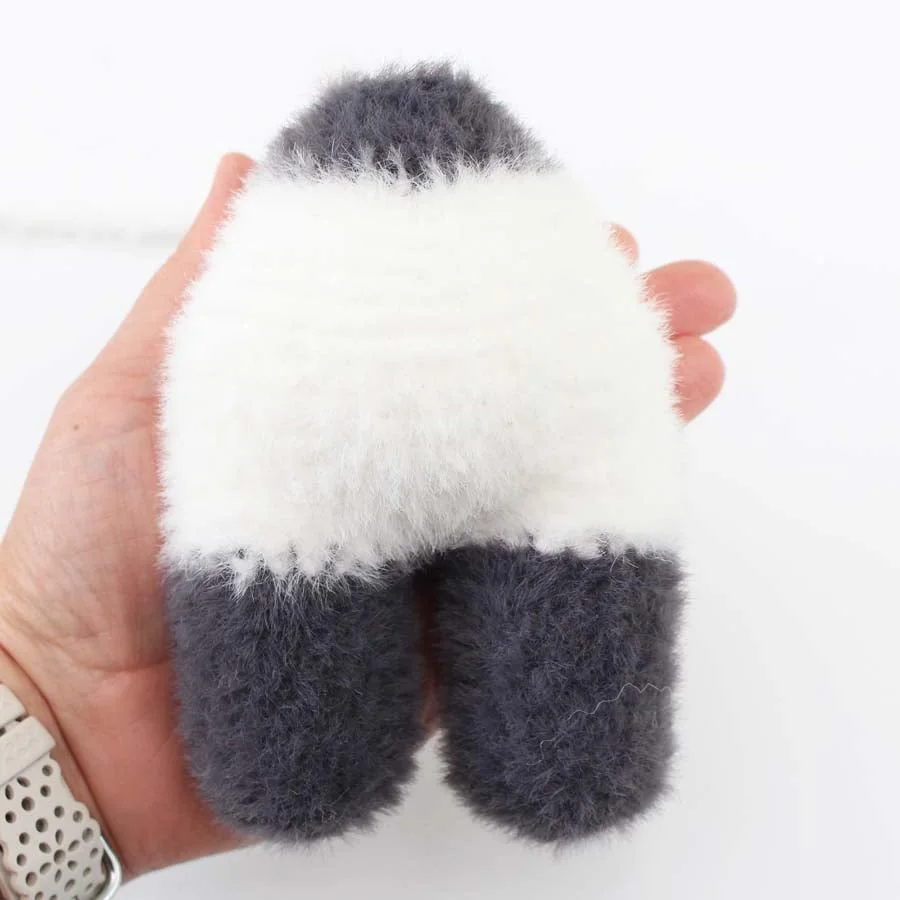
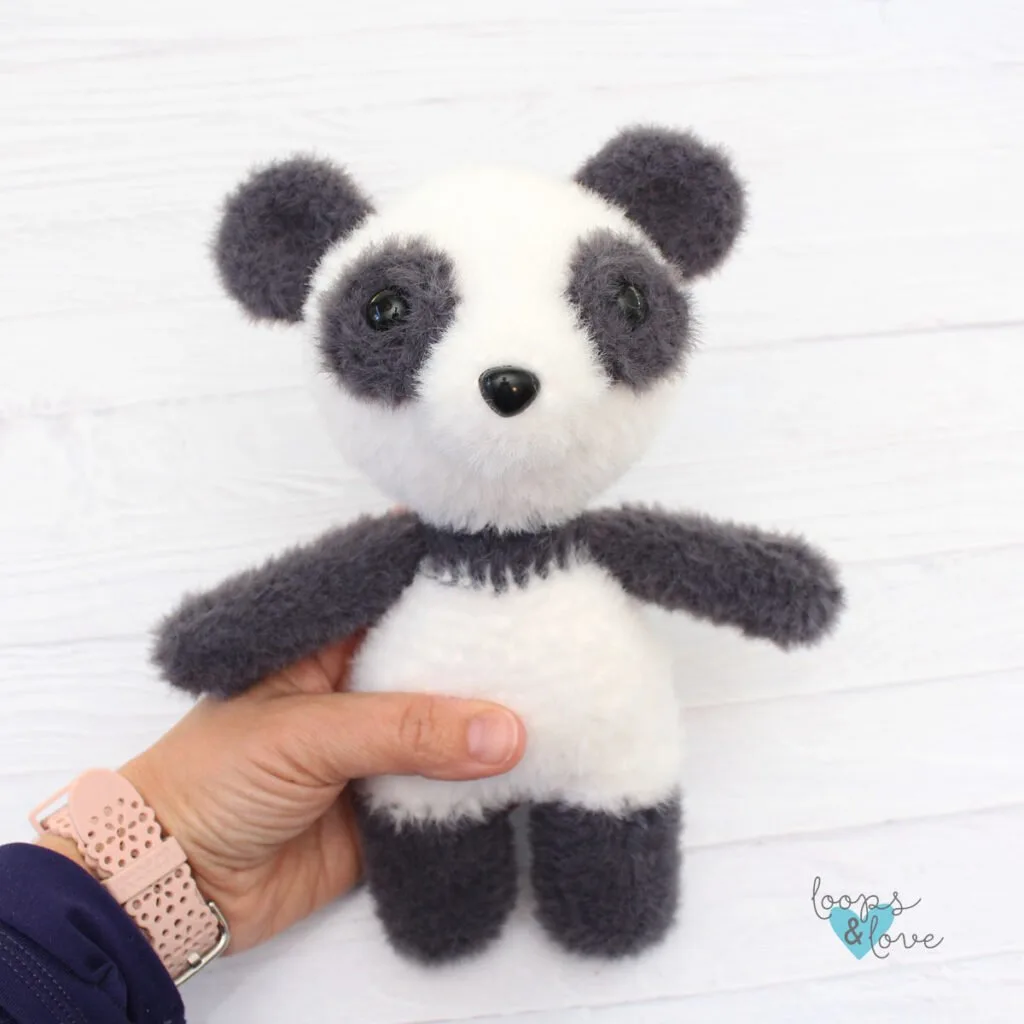
Meet your new cuddly companion! This panda amigurumi is extra cuddly with soft, fluffy yarn, but also would be just as huggable made with plush or regular yarn too! It also makes a great gift, a cozy decoration, or a snuggly friend. Have fun working up your cute panda amigurumi!
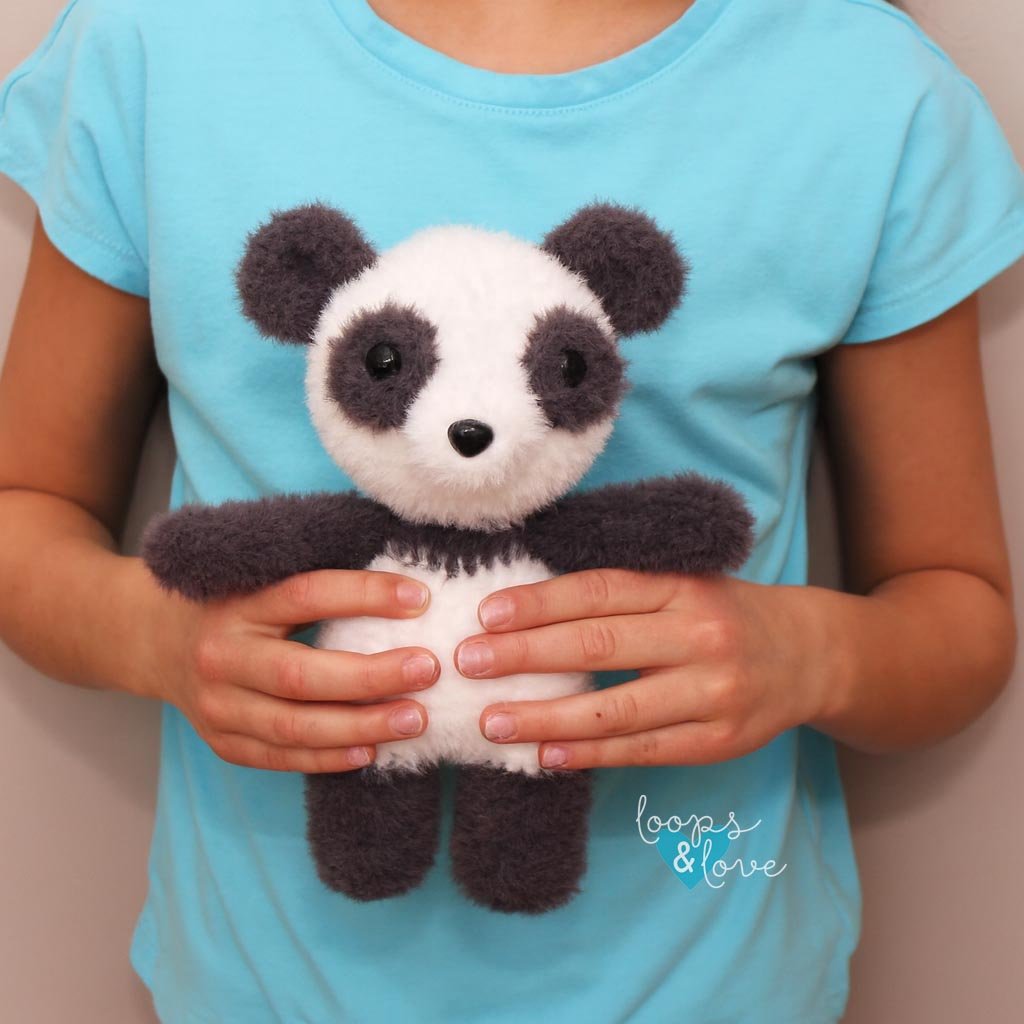
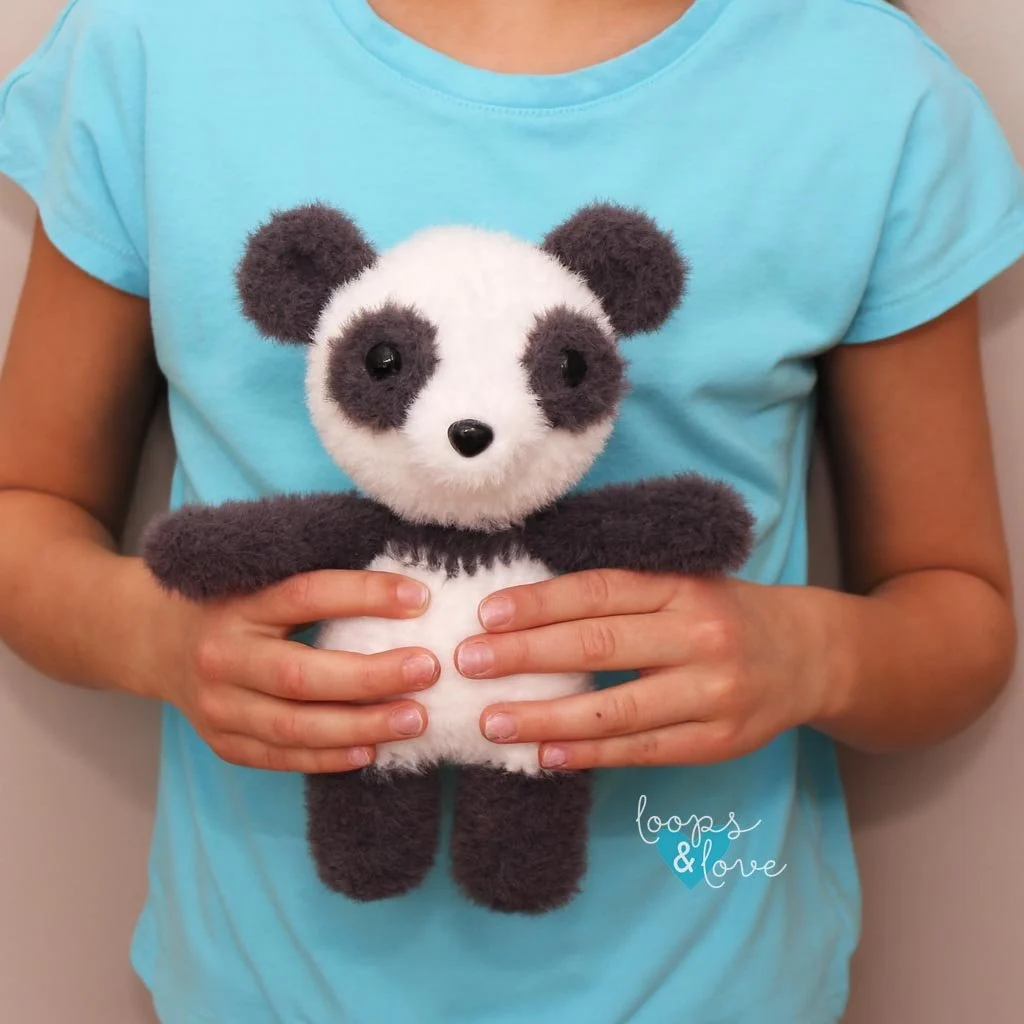
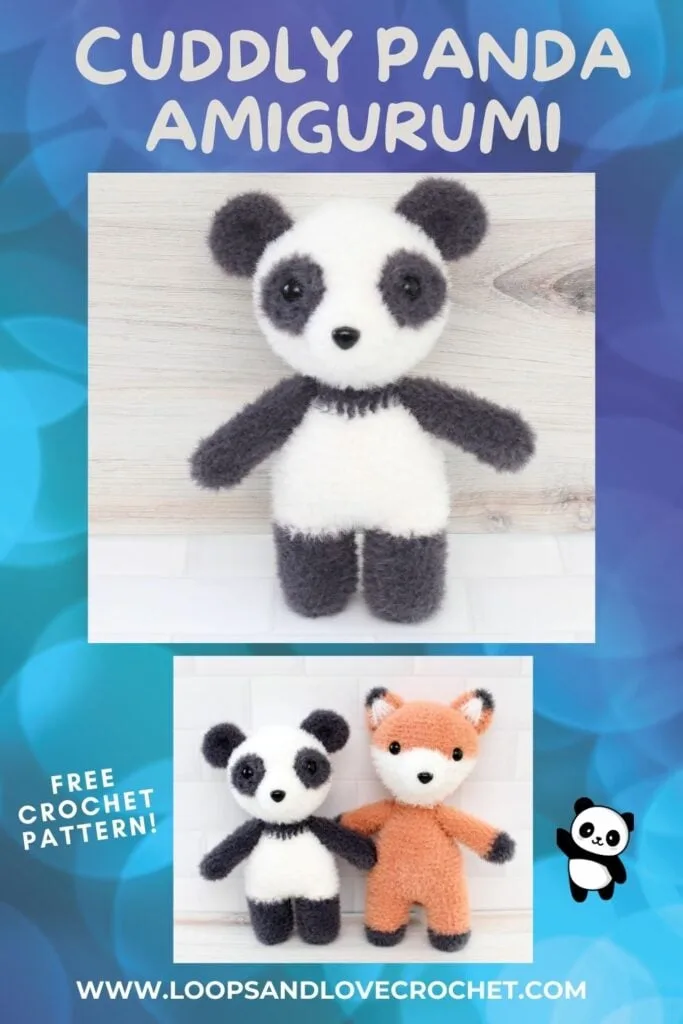
Meet Pip the Panda! He’s soft, cuddly, and fun to make, whether you choose plush, fuzzy, or regular yarn! This free panda amigurumi crochet pattern is intermediate-beginner friendly and will work with whatever yarn you have in your stash. Just note that the size of your panda may change depending on the weight of your yarn substitution.
Pandas are known for their gentle nature and cozy naps, which makes Pip the perfect cuddly crochet project. Whether you’re making this panda amigurumi as a handmade gift, a cozy toy, or just because you love pandas (who doesn’t?!), this pattern will create an adorable, irresistible companion.
Tips for Working with Fuzzy Yarn
If you’re using Feels Like Bliss yarn, the stitches can be a little tricky to see at first. As you work, you’ll start to rely more on feel than sight, which becomes easier with practice. Using a piece of yarn as a stitch marker to mark the beginning or end of each round is especially helpful. Working in a bright space also makes a big difference when it comes to seeing your stitches. The extra effort is completely worth it—the finished piece is incredibly soft and cuddly.

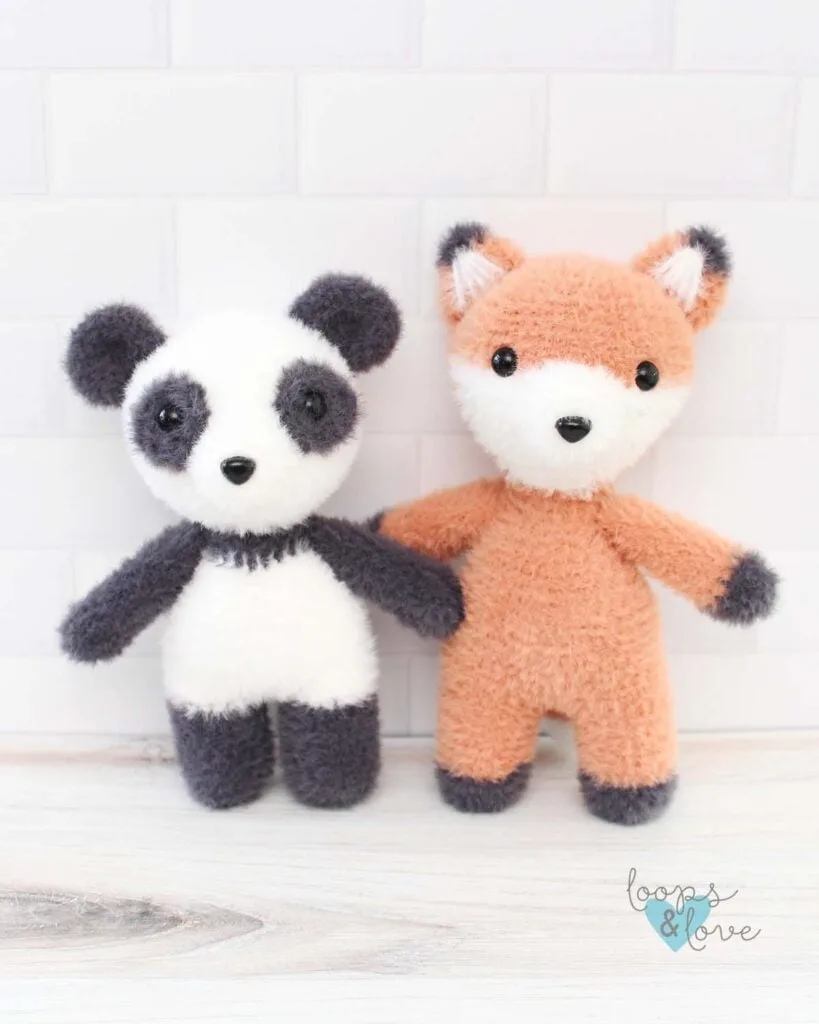
If you’re looking for another cute project with this yarn, check out our Fox Amigurumi or Penguin Amigurumi.
Remember to like Loops and Love Crochet on Facebook and join the Loops and Love Crochet Group for sharing your finished projects! I’d also LOVE it if you followed @loopsandlovecrochet on Instagram! If you like crochet video tutorials, check out (and subscribe to) my Loops and Love Crochet YouTube Channel!
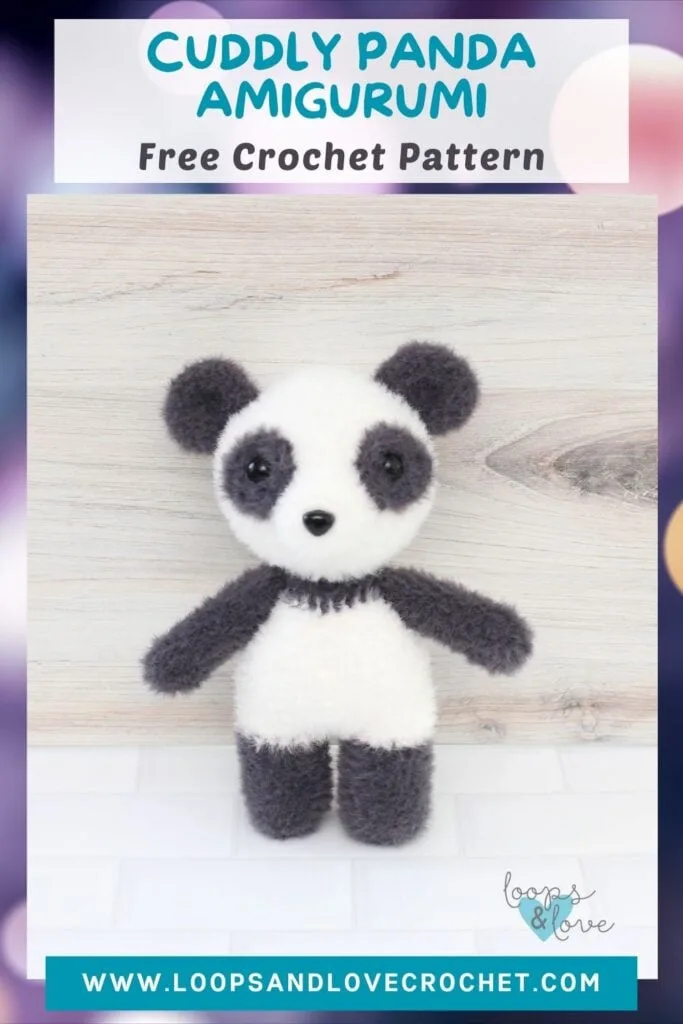
Pin this post to Pinterest to come back this panda amigurumi crochet pattern later.

Disclosure: This post may contain affiliate links, which means I may receive a small commission if you click a link and purchase something that I have recommended. This is done at no extra cost to you. Thank you for supporting Loops & Love Crochet!
The Panda Amigurumi crochet pattern is available for FREE on this website. If you’d like an ad-free, printable PDF version, you may purchase it for a small fee from my Etsyor Ravelryshops. Thank you so much for supporting Loops & Love Crochet!
Materials
- Bulky/Chunky (#5) yarn – For this pattern, Lion Brand Feels Like Bliss Yarn was used. This is a lighter nylon plush yarn that gives the panda a fuzzy, soft texture. A total of approximately 150 yards of yarn is needed for this project. This breaks down to about 90 yards of white and 60 yards of the dark grey color (Slate). A non-plush worsted weight (#4) yarn can be substituted, which just may change the yardage amounts and the finished size of the panda a little bit.
- 4 mm crochet hook (or preferred size for amigurumi or yarn being used)
- Safety eyes – 12mm size
- Stuffing (any fiber-based stuffing like Poly-fil or Fiber Fill)
- Yarn needle (bent yarn needles are great for amigurumi projects)
- Scissors for cutting yarn (these little ones are my favorite!)
Stitches Used:
- Ch – chain
- Sl St – slip stitch
- SC – single crochet
- SC DEC – single crochet decrease
- BLO SC – single crochet in the back loops only
Finished Size:
When finished, this panda amigurumi measures approximately 9.5” in height from bottom of feet to top of ears.
Gauge:
Gauge is not critical for this pattern to turn out, however, for reference, 2 inches square is approximately 9 rows of 11 SC stitches.
Important Notes:
- Magic Circle – This pattern starts with a magic circle. This video tutorial will show you the magic circle and working the first rounds of stitches.
- Continuous Rounds – This pattern is worked up in continuous rounds. This means that at the end of each round, you will proceed right to the stitches of the next round without joining. It is handy to have a stitch marker or piece of yarn to help you keep track of the start/end of each round, especially for plush yarn when the stitches and rounds can be hard to see.
- Color Changes – To change colors, complete the last single crochet in the first color up until the last yarn over. Yarn over with the new color and pull through the last step of the single crochet stitch. Carry the inactive yarn color along under your stitches until it is secure before cutting.
Are you ready to crochet your own Cuddly Panda Amigurumi?
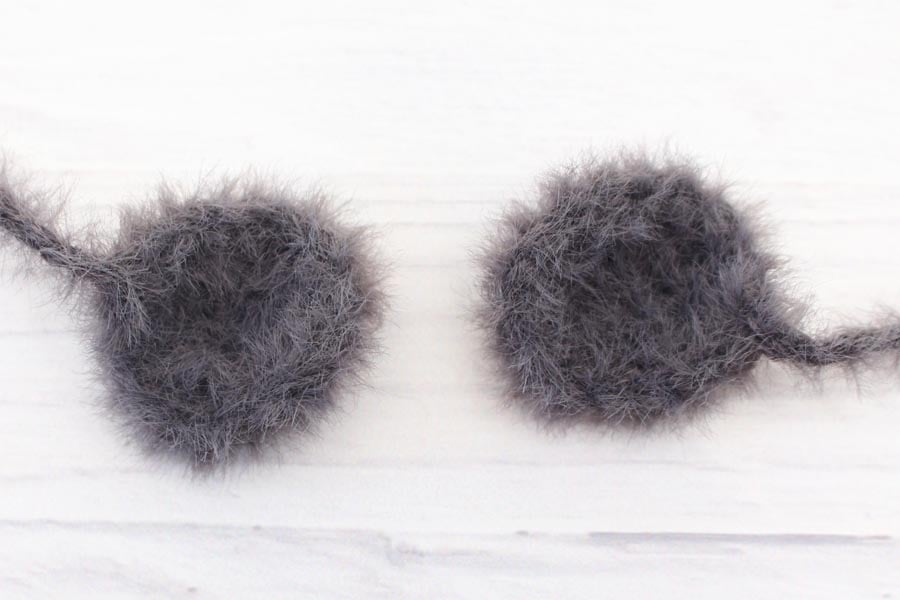
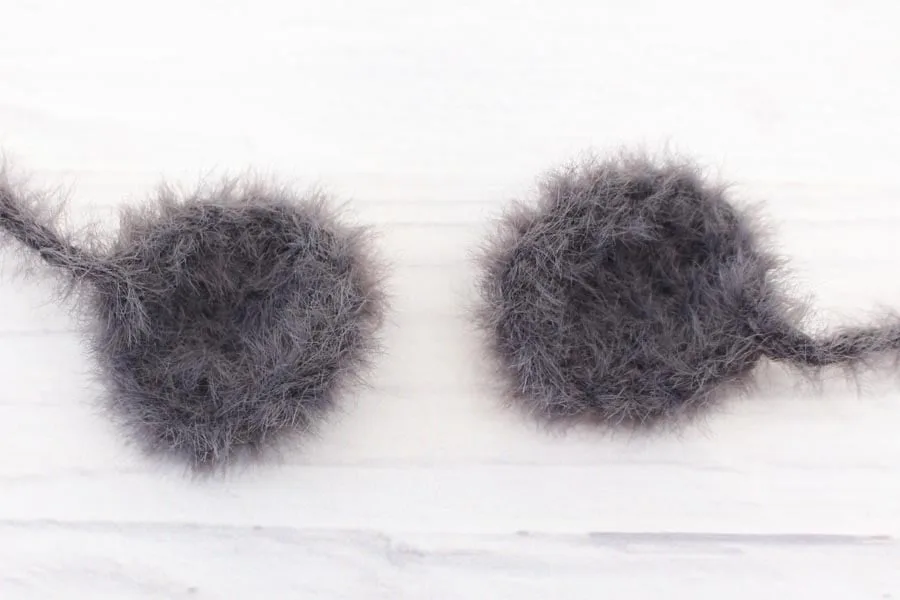
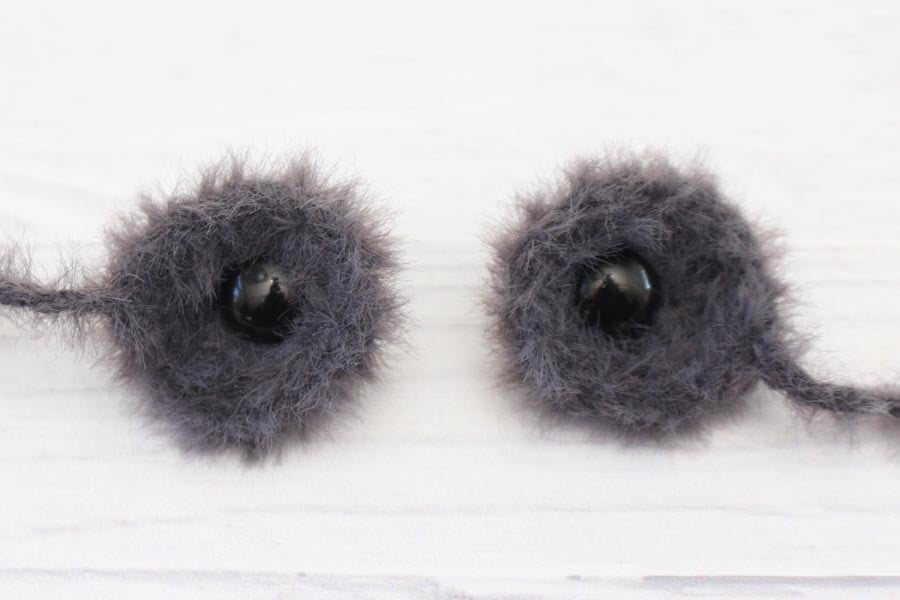
Eye Patches (make 2)
Round 1: In grey, ch 3, 2 SC in 2nd ch from hook, 4 SC in last ch. Continue around so you are working on the other side of the chain. 2 SC in next st (this is the last stitch and will be the other side of the same stitch as the first 2 SC of the round). Sl st join to first st, ch 1. (8)
Round 2: 2 SC in each st around, sl st join to first st. (16)
Fasten off, cut yarn leaving a long enough tail for sewing. Set aside for now.
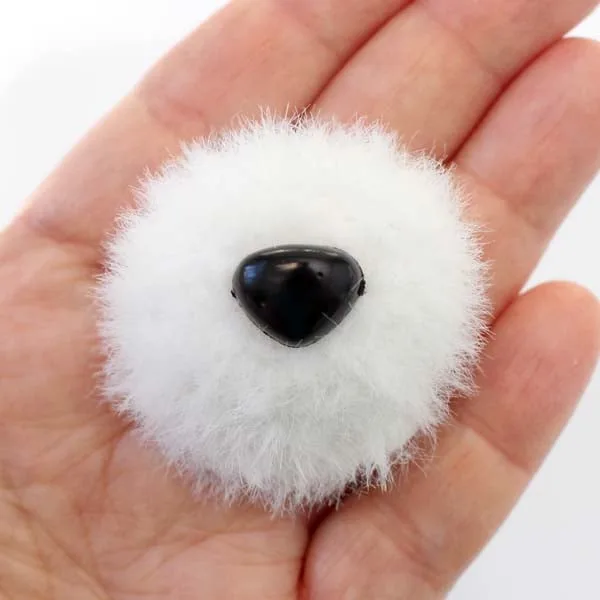
Snout/Nose
Round 1: In white yarn, magic circle, 6 SC into ring (6)
Pull ring in tight, leaving room for a safety nose to go through the center (if using). If not using a safety nose, pull ring tight so you can stitch on the nose later.
Round 2: 2 SC in each st around (12)
Round 3: *2 SC in first st, SC in next st, repeat from * around (18)
Rounds 4-5: SC in each st around (18)
Sl st to next stitch and fasten off leaving a tail to sew onto face. Place a safety nose into the center of the circle and secure back. Set snout aside for now.

Legs, Body, and Head
The legs are worked up first and then joined together. Then the body and head will be worked up from the legs in one piece. The arms, nose, ears, and tail will be sewn on after.
Legs
Round 1: In grey, magic circle, 6 SC into ring (6)
Round 2: 2 SC in each st around (12)
Round 3: *2 SC in first st, SC in next st, repeat from * around (18)
Rounds 4 – 12: SC in each st around (18)
Fasten off and set aside. Repeat rounds 1-12 to work up the second leg. When you finish working up the second leg, do not fasten off. Continue to the body instructions below to join the legs and work up the body.
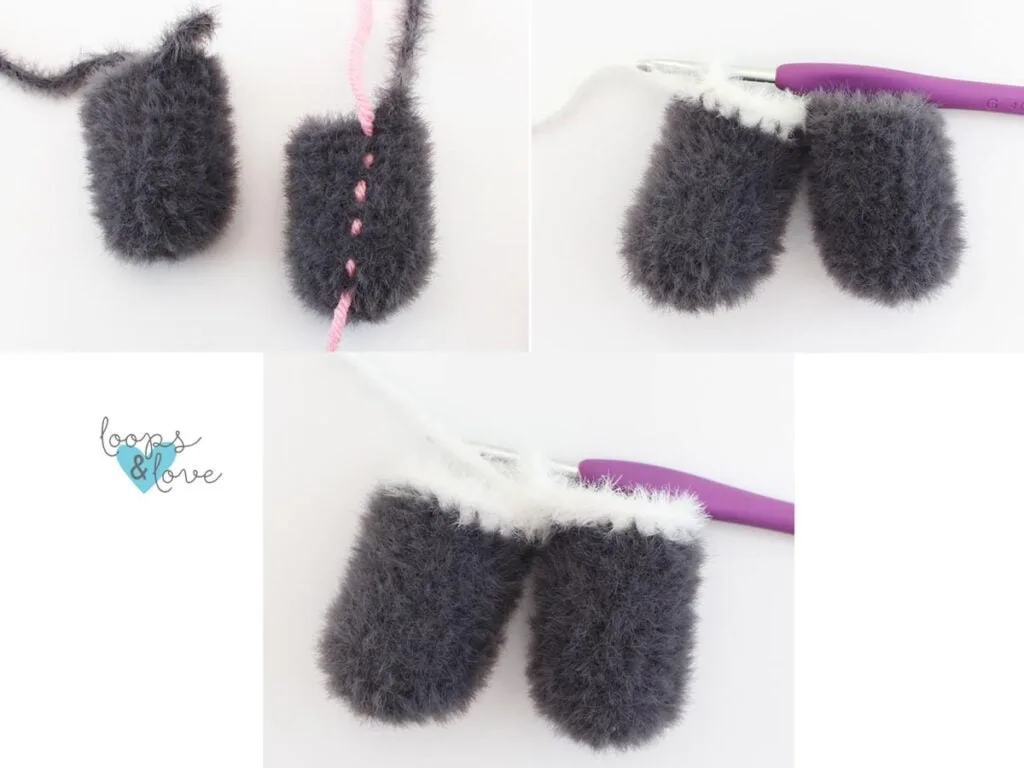
Body and Head
Round 1: Joining the legs: On the second leg, change color to white in the last stitch of the previous round, chain 2, and then join the legs with a SC in the next stitch on the first leg (after where you fastened off). Continue to SC in each stitch around the first leg. When you are around to the chain stitches, SC in each of the 2 chains and then continue to SC in each of the stitches on the second leg. Lastly, SC in each of the 2 chain stitches again (this will be on the other side of the chain). You’ll have made a total of 40 SC stitches this round.
This is the end of round 1 of the body. Use a stitch marker or piece of yarn to keep track of where your rounds start and end. (40)

For a visual on joining the legs, watch this video tutorial from another one of our patterns. The only difference in the video is that there are no chain stitches between the legs, otherwise the steps will be the same.
Stuff the bottom third of the legs. Keep stuffing the legs/body as the next rounds are worked up. Be sure to keep the stuffing a few rounds below the stitches that are being worked. This is so the stuffing isn’t getting picked up in the new stitches and in the way while working.
Rounds 2-10: SC in each st around (40)
Round 11: *SC DEC, SC in next 8 sts, repeat from * around (36)
Round 12: *SC DEC, SC in next 4 sts, repeat from * around (30)
Rounds 13-14: SC in each st around (30)
Round 15: *SC DEC, SC in next 3 sts, repeat from * around (24)
Change color to grey
Round 16: SC in each st around (24)
Round 17: *SC DEC, SC in next 2 sts, repeat from * around (18)
Round 18: SC in each st around (18)
Round 19: *SC DEC, SC in next st, repeat from * around (12)
Round 20: SC in each st around (12)
Change color to white
This is the end of the body.

Next, we will start increasing again to form the head.
Round 21: *2 SC in first st, SC in next st, repeat from * around (18)
Round 22: *2 SC in first st, SC in next 2 sts, repeat from * around (24)
Round 23: *2 SC in first st, SC in next 3 sts, repeat from * around (30)
Round 24: *2 SC in first st, SC in next 4 sts, repeat from * around (36)
Round 25: *2 SC in first st, SC in next 5 sts, repeat from * around (42)
Round 26: *2 SC in first st, SC in next 6 sts, repeat from * around (48)
Round 27: *2 SC in first st, SC in next 7 sts, repeat from * around (54)
Add more stuffing to the body neck area. To prevent neck wobble, make sure the neck area is well stuffed. Leave the next rounds unstuffed until the facial features are attached.
Rounds 28-34: SC in each st around (54)
Round 35: *SC DEC, SC next 7 sts, repeat from * around (48)
Round 36: *SC DEC, SC next 6 sts, repeat from * around (42)
Add the Panda Facial Features
Add the facial features before working up the rest of the head because it’s easier for sewing when both sides can be accessed. Sew on the eyes (eye patches) first and then the snout.
Eyes
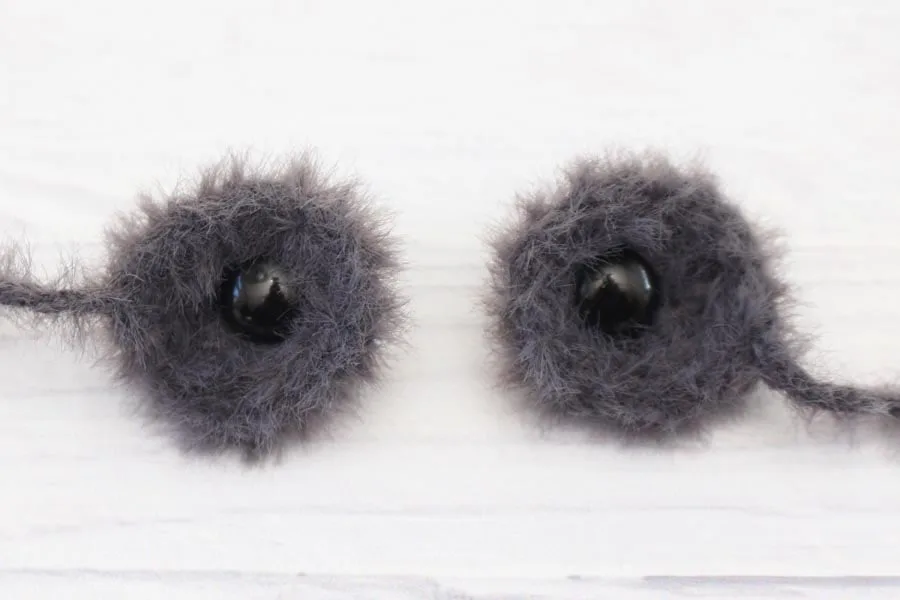
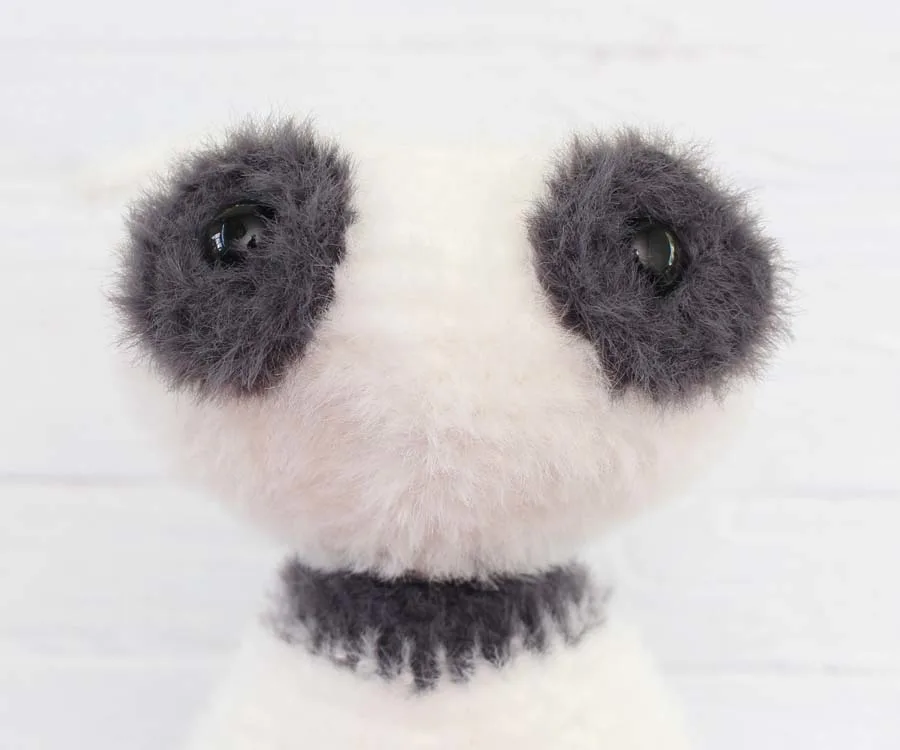
Place a safety eye in each eye patch in the last stitch of the starting chain (so the eyes are closer to one side of the patch and not in the center). Do not secure the backs of the safety eyes yet.
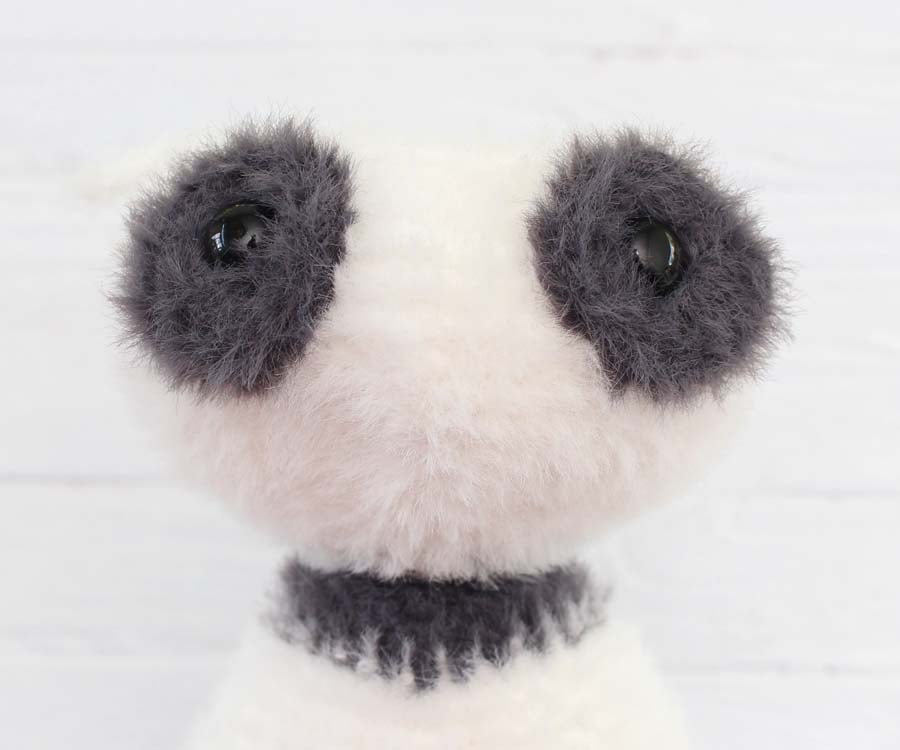
Place the eye patches on the face lined up on either side. Poke the safety eyes through the stitches between rounds 32-33 on the head (this is between the fourth and fifth round from the top) approximately 12 stitches apart. Angle the patches so they are tilted downwards on an angle towards the outside of the head. The tops of the patches should be 1-2 round below the top round of stitches.
Before securing the backs of the safety eyes and sewing, check the location of the patches by placing the snout in the center to make sure you are happy with the placement. You can easily move the eyes/eye patches up or down at this point.
Secure the backs of the safety eyes. Use your yarn needle to sew around each stitch around the patches, passing through the head each stitch. When the patches are secure, weave in ends inside the head.
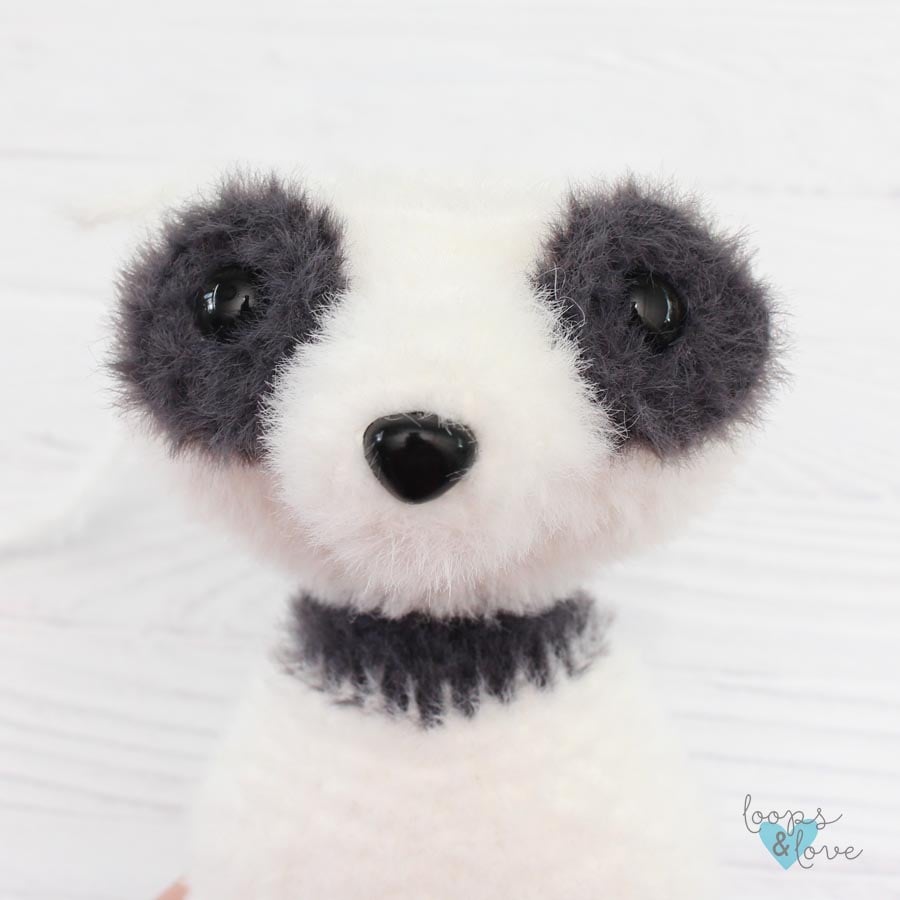
Snout
Add a little stuffing to the snout before sewing to the face. Place the snout in the center of the face with the top lining up with the center of the eyes. Using your yarn needle, sew in and out of each stitch around the outside of the snout, passing through a stitch on the face. When secured, weave yarn tail and cut yarn.
In the next rounds, decreases will be worked to finish off the top of the head. Add stuffing as you go, making sure that enough stuffing is added to the body and head before the opening gets too small.
Round 37: *SC DEC, SC next 5 sts, repeat from * around (36)
Round 38: *SC DEC, SC next 4 sts, repeat from * around (30)
Round 39: *SC DEC, SC next 3 sts, repeat from * around (24)
Round 40: *SC DEC, SC next 2 sts, repeat from * around (18)
Round 41: *SC DEC, SC next st, repeat from * around (12)
Round 42: *SC DEC in each st around (6)
Fasten off. Use your yarn needle to sew the top of the head closed. Weave in ends and cut yarn. Set aside while working up the remaining panda pieces.
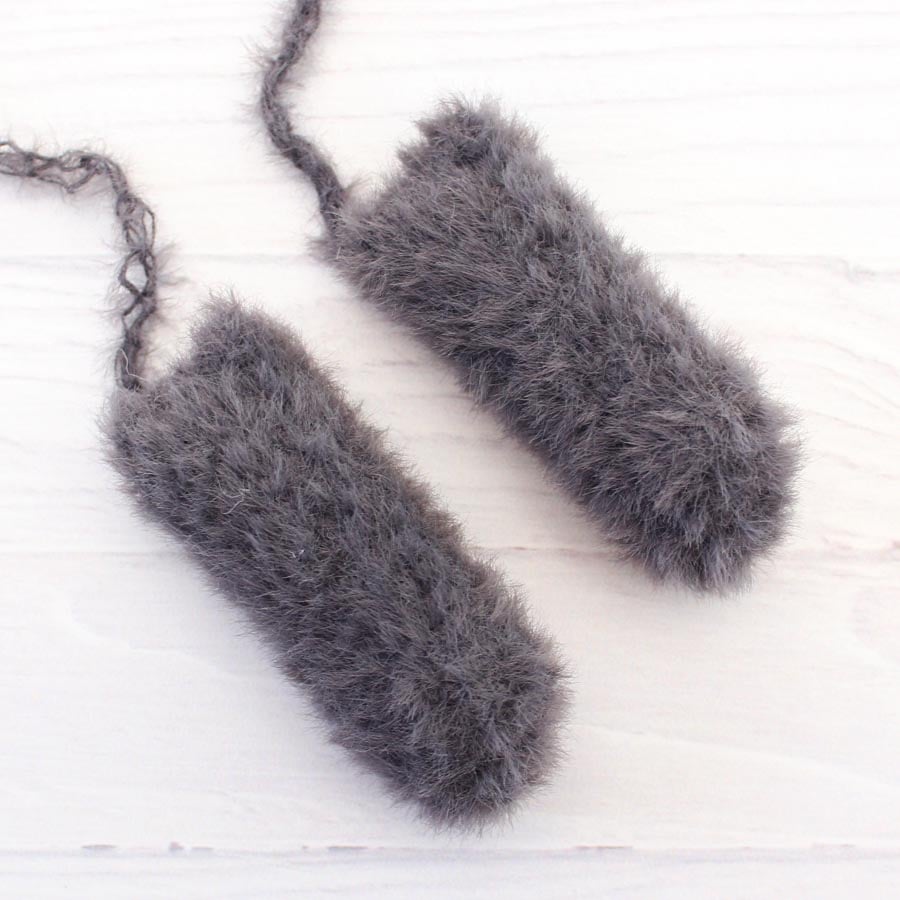
Arms (make 2)
Round 1: In grey, magic circle, 6 SC into ring (6)
Round 2: 2 SC in each st around (12)
Rounds 3 – 15: SC in each st around (12)
Fasten off, leave a long tail and cut yarn. Gently stuff the lower two-thirds of the arm. Flatten the arm and sew closed by passing your yarn needle through both layers of the stitches across the top. Repeat instructions above for the second arm. Set aside for assembly later.
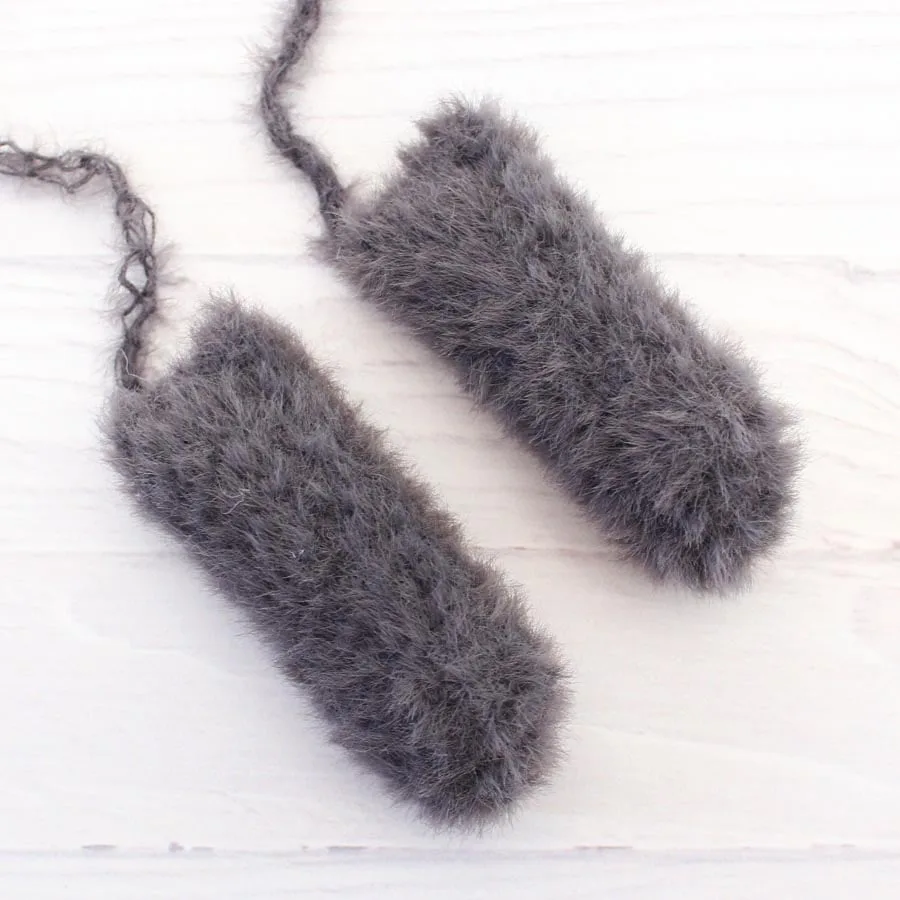
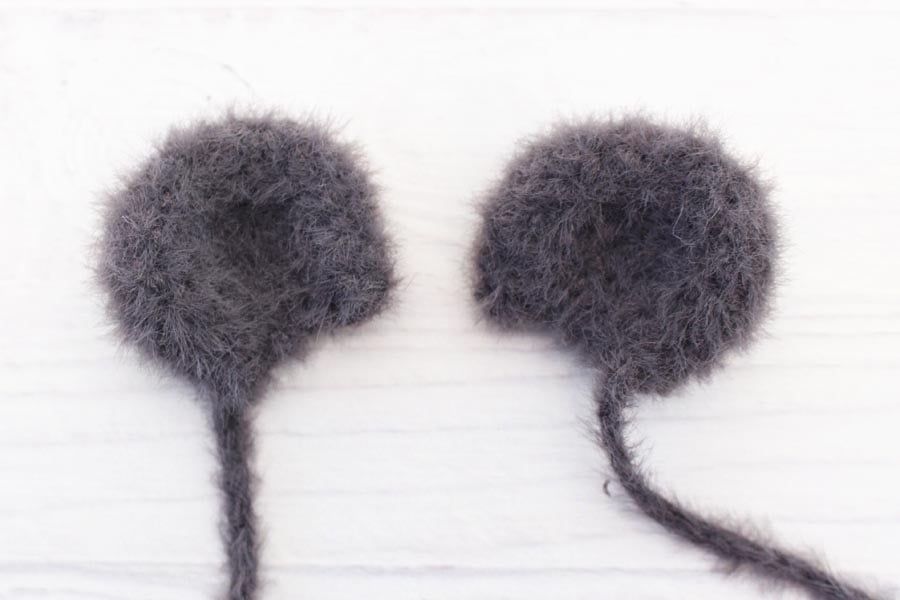
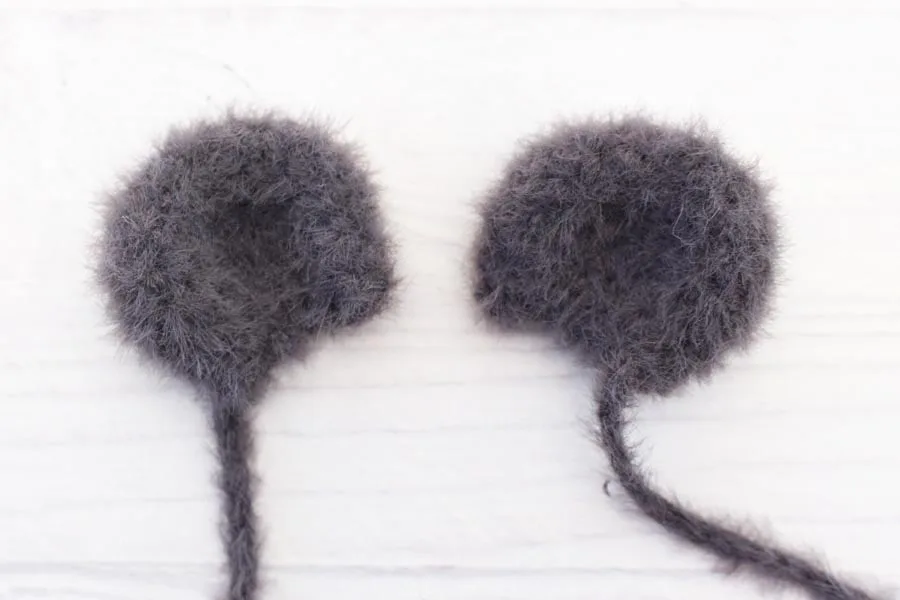
Ears (make 2)
Round 1: In grey, magic circle, 6 SC into ring (6)
Round 2: 2 SC in each st around (12)
Round 3: *2 SC in first st, SC in next st, repeat from * around (18)
Rounds 4 – 5: SC in each st around (18)
Round 6: *SC DEC, SC in next st, repeat from * around (12)
Round 7: SC in each st around (12)
Fasten off, cut yarn leaving a long tail for sewing. Flatten and close the top by passing your yarn needle through both layers of the stitches across the top. Repeat instructions above for the second ear. Set aside for assembly later.
Tail
Round 1: In grey, magic circle, 6 SC into ring (6)
Round 2: 2 SC in each st around (12)
Round 3: SC in each st around (12)
Round 4: *SC DEC in each st around (6)
Fasten off, cut yarn leaving a tail for sewing. Set aside for assembly later.
Panda Assembly Instructions
Step 1: Sew arms to the sides of the panda’s body, one round below the neck.
Step 2: Sew ears to top of panda’s head in rounds 4-10 from the top/center.
Step 3: Sew the tail to the bottom of the panda at the back approximately 3 rounds above the top of the legs.

That’s it! You are all finished your panda amigurumi!
If you’ve enjoyed working up the Panda Amigurumi, you’ll also love our Fox Amigurumi crochet pattern! You can find it in our shops or on the blog!

**Want to be kept in the loop? Be sure to like Loops and Love Crochet on Facebook and join the Loops and Love Crochet Group! Don’t forget to follow @loopsandlovecrochet on Instagram! Remember to tag Loops and Love Crochet when you post your finished projects on social media! I’d love to see them! **
*You may make and sell any items made from my patterns, but please link back to my blog or Loops & Love Crochet as the designer. Please do not copy this pattern or photos and share as your own, in part or in whole. Instead, link back to the Loops and Love Crochet blog (especially when selling items you make from my patterns). Thank you!
Monica
Thursday 29th of January 2026
So cute! I’m hoping to make the hedgehog and maybe even this Panda!
I’ve almost completed all the Ocean friends for my grand daughters and other little ones.
Thank you for so many adorable patterns!
Loops and Love Crochet
Thursday 29th of January 2026
That's awesome! So happy to hear! I bet all of the little ones love their little animals that were crocheted with love. :)