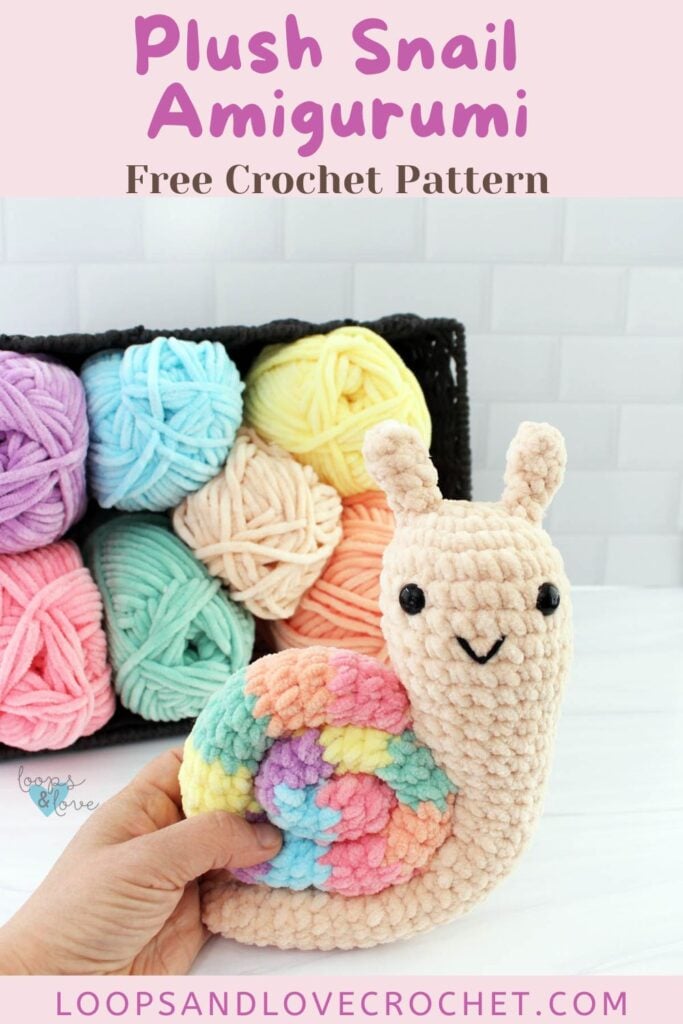
This plush snail amigurumi is such a fun and cuddly project, with its soft texture and playful spiral shell. It works up in simple shapes and pieces and comes together easily into a cute, squishy make that’s perfect for gifting or adding to your collection.
Plush vs Non-Plush Yarn for Snail Amigurumi
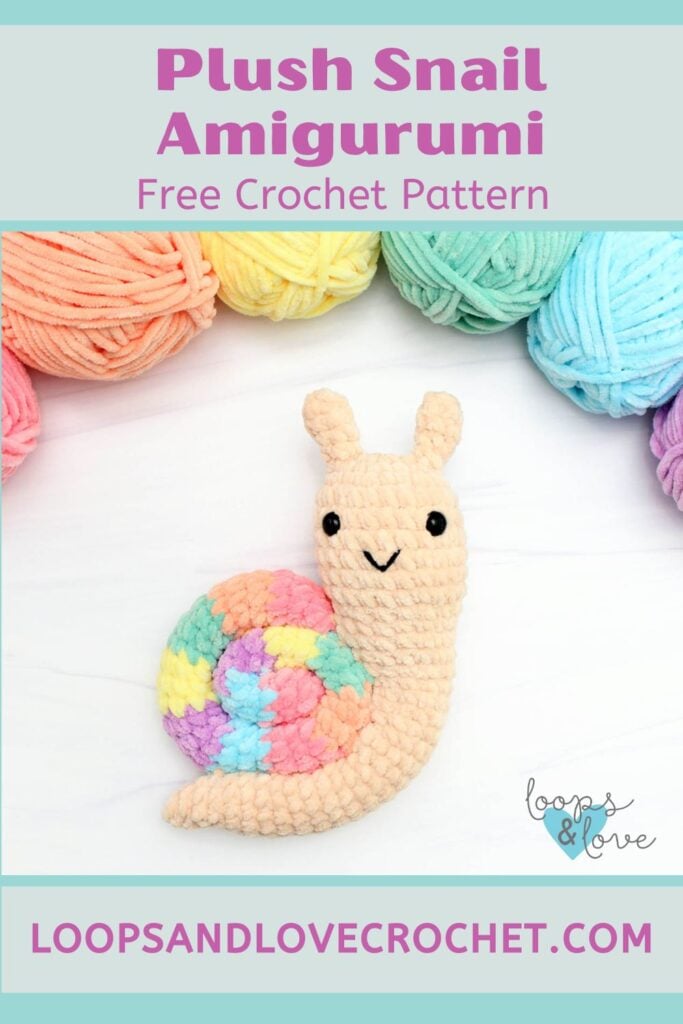
The snail amigurumi pictured was made with plush yarn for an extra soft, cuddly feel. However, a worsted-weight yarn can be substituted for a more classic amigurumi look. Plush yarn will make it larger and gives it a rounder and squishier shape while non-plush yarn will give you a smaller finished project with more defined stitches and structure. Both options work well for this pattern, so you can choose based on the look you want or what’s in your yarn stash.
Customizing Your Snail Amigurumi Shell
One of the most fun parts of this plush snail amigurumi is customizing the shell. I chose to use multiple colors and create a bright, playful spiral because I love vivid colors. Whether you choose many colors, just a couple colors, a solid yarn, or variegated yarn, your snail is going to turn out beautiful.
Ready to start? Choose your favorite colors, or what you have in your stash, and let’s get working on stitching up your cute snail amigurumi!
Want to save this post for later? Pin it to your favorite Pinterest boards so it’s easy to come back to!
For this snail amigurumi, the shell and body are worked up separately and sewn together. The antennae are attached at the very end.
If you’re looking for more plush animal amigurumi crochet patterns, our Mini Elephant Amigurumi or Plush Axolotl are great choices. Or browse all our crochet patterns here!
Remember to like Loops and Love Crochet on Facebook and join the Loops and Love Crochet Group for sharing your finished projects! I’d also LOVE it if you followed @loopsandlovecrochet on Instagram! If you like crochet video tutorials, check out (and subscribe to) my Loops and Love Crochet YouTube Channel!
Disclosure: This post may contain affiliate links, which means I may receive a small commission if you click a link and purchase something that I have recommended. This is done at no extra cost to you. Thank you for supporting Loops & Love Crochet!
The Plush Snail Amigurumi crochet pattern is available for FREE on this website. If you’d like an ad-free, printable PDF version, you may purchase it for a small fee from my Etsy or Ravelry shops. Thank you so much for supporting Loops & Love Crochet!
Materials
- Super Bulky (#6) yarn – Approximately 100 yards of super bulky plush polyester yarn was used for the plush snail amigurumi pictured. This breaks down to roughly 55 yds of the main head/body color and 45 yds for the shell (either solid or split between multiple colors). Hobbii Toucan yarn was used for this project (Beige, Cotton Candy, Peach, Pastel Yellow, Light Turquoise, and Mint colorways).
- 5mm crochet hook – or your hook size for yarn choice and preference.
- Safety eyes – 12mm safety eyes (or eyes can be embroidered on as an alternative).
- Stuffing – any fiber-based stuffing.
- Yarn needle for sewing pieces together and weaving in ends. Bent yarn needles work the best for sewing amigurumi pieces together.
- Scissors for cutting yarn and weaving in ends.
Finished Size
- When finished, this plush snail amigurumi measures approximately 8.5” tall from bottom of body to top of antennae. The width is approximately 6.5.” If you use different yarn or hook size, the size may be larger or smaller.
Stitches Used
- Ch – chain
- Sl St – slip stitch
- SC – single crochet
- INV DEC – invisible single crochet decrease (video tutorial here)
Important Notes
- Magic Circle – This pattern starts with a magic circle. Magic Circle video tutorial here.
- Continuous Rounds – This pattern is worked up in continuous rounds. When you finish working the stitches for one round, continue right to working the stitches of the next round without joining. It is useful to use a stitch marker (or a piece of yarn) to mark the start or end of each round to help you keep track.
- Color Changes – There are a few color changes in this crochet pattern, depending on how many colors used for the shell. To change colors, work the last stitch of the round as you would normally right up until the last yarn over. Then yarn over in the new color and pull through, finishing the stitch. Continue in the new color until your next color change. Making the first stitch of the round a slip stitch can help make the color change less visible. Work over the yarn tails for a few stitches so they are secure before cutting them or weave them in later.
Let’s Get Started on your Cute Crochet Snail!
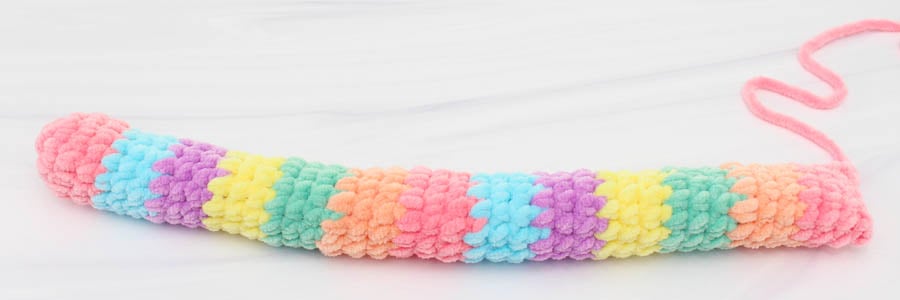
Shell
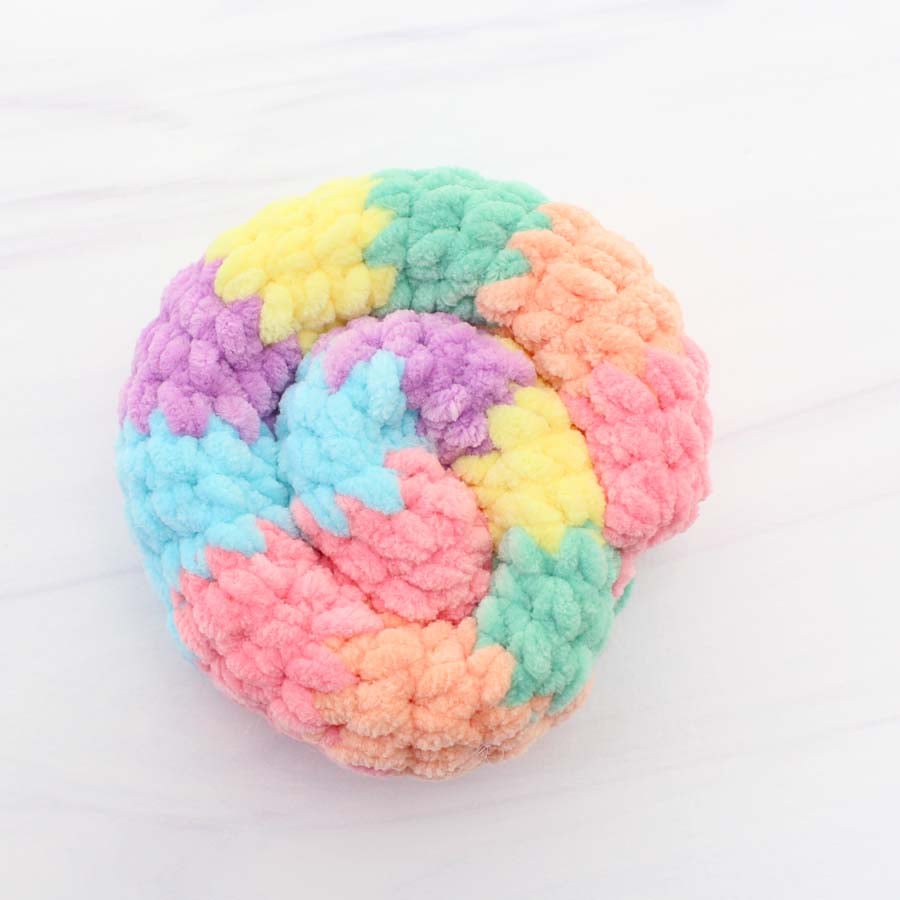
For the snail pictured, the shell was worked up in six colors. However, any number of colors can be used for working up the shell. To create the same striping design as pictured, follow the guide below for the color changes:
| Rounds 1-4: Pink Rounds 5-7: Turquoise Rounds 8-10: Purple Rounds 11-13: Yellow Rounds 14-16: Green Rounds 17-19: Orange Rounds 20-22: Pink | Rounds 23-25: Turquoise Rounds 26-28: Purple Rounds 29-31: Yellow Rounds 32-34: Green Rounds 35-37: Orange Rounds 38-40: Pink |
* To make the color changes a bit less noticeable in the shell, when changing colors, make the first stitch of the new color a slip stitch and then single crochet the rest of the round.
Stuff the shell tube as it is worked up. Keep the stuffing a couple rounds below where you are working so it does not get caught in the current round of stitches. Only gently stuff the tube to keep it soft with a bit of structure.
Round 1: Magic circle, ch 1, 6 SC into ring (6)
Round 2: 2 SC in each st around (12)
Rounds 3-40: SC in each st around (12)
Fasten off, leave a long enough tail for sewing. Flatten the end and sew closed by passing your yarn needle through the tops of the stitches.
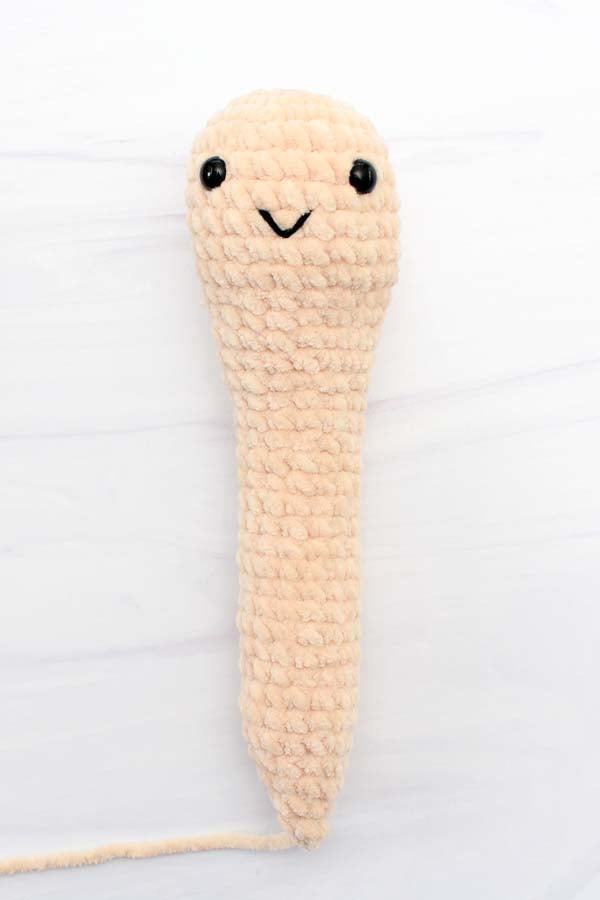
Head/Body
Worked from the top of the head to the bottom of the body.
Round 1: In body color, magic circle, ch 1, make 6 SC into ring (6)
Round 2: 2 SC in each st around (12)
Round 3: *2 SC in first st, SC in next st, repeat from * around (18)
Round 4: *2 SC in first st, SC in next 2 sts, repeat from * around (24)
Rounds 5-10: SC in each st around (24)
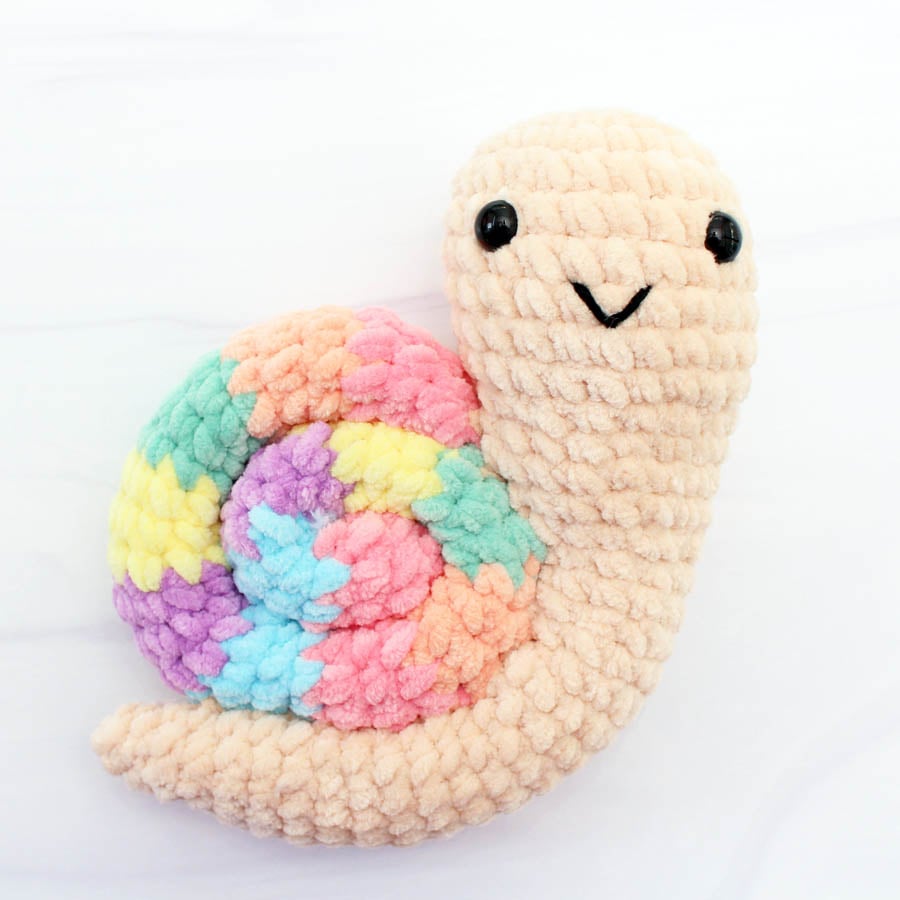
Insert safety eyes between rounds 6 and 7 approximately 5-6 stitches apart. Use a strand of black yarn and yarn needle to stitch on a “V” shaped mouth.
Stuff the head and continue stuffing as you go. Stuff the head fully and then gently stuff the rest of the body section as it is worked up. Keep the stuffing a few rounds below the top so it does not get caught in the stitches as you are working.
Round 11: *INV DEC, SC in next 2 sts, repeat from * around (18)
Rounds 12-14: SC in each st around (18)
Round 15: *INV DEC, SC in next 4 sts, repeat from * around (15)
Rounds 16-32: SC in each st around (15)
Round 33: *INV DEC, SC in next st, repeat from * around (10)
Round 34: SC in each st around (10)
Make sure to add enough stuffing before the opening gets too small.
Rounds 35: INV DEC around (5)
Fasten off, use your yarn needle to close the bottom. Weave in ends and cut yarn, leaving a tail for sewing.
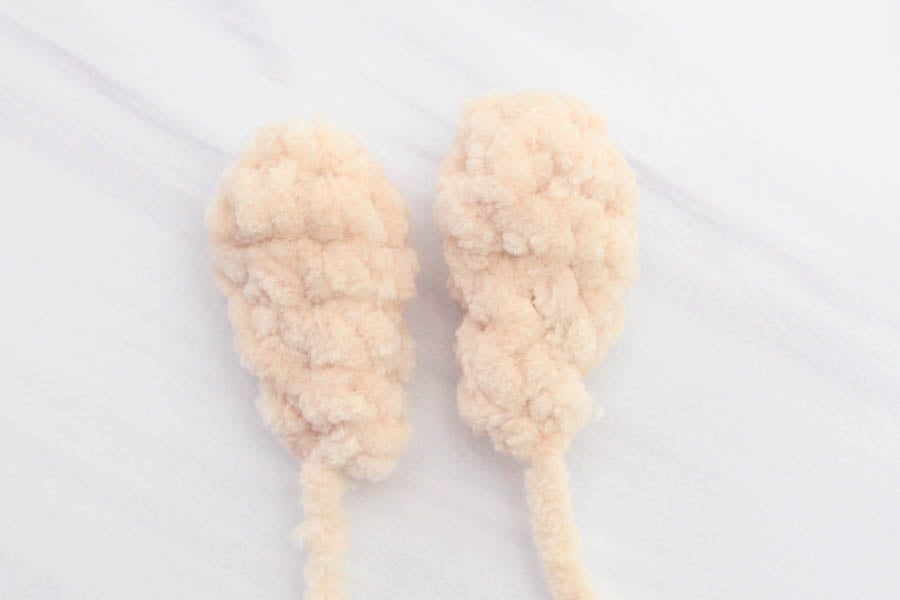
Antennae (make 2)
Round 1: In main body color, magic circle, ch 1, make 6 SC into ring (6)
Rounds 2-3: SC in each st around (6)
Round 4: INV DEC, SC next 4 sts (5)
Round 5: SC in each st around (5)
Fasten off with a slip stitch in next st. Leave a tail for sewing onto the head. Set aside for now.
Assembling your Snail Amigurumi
1. Roll Up the Shell
Beginning with the starting end, tightly roll up the tube until you get to the end where you finished off. Use your yarn needle to sew through the layers of the spiral to secure it all in place. This can be done by passing your yarn needle through the overlapping sections of the tube and sewing them together with a few stitches. When the spiral is secure from unraveling, weave in ends and cut yarn.
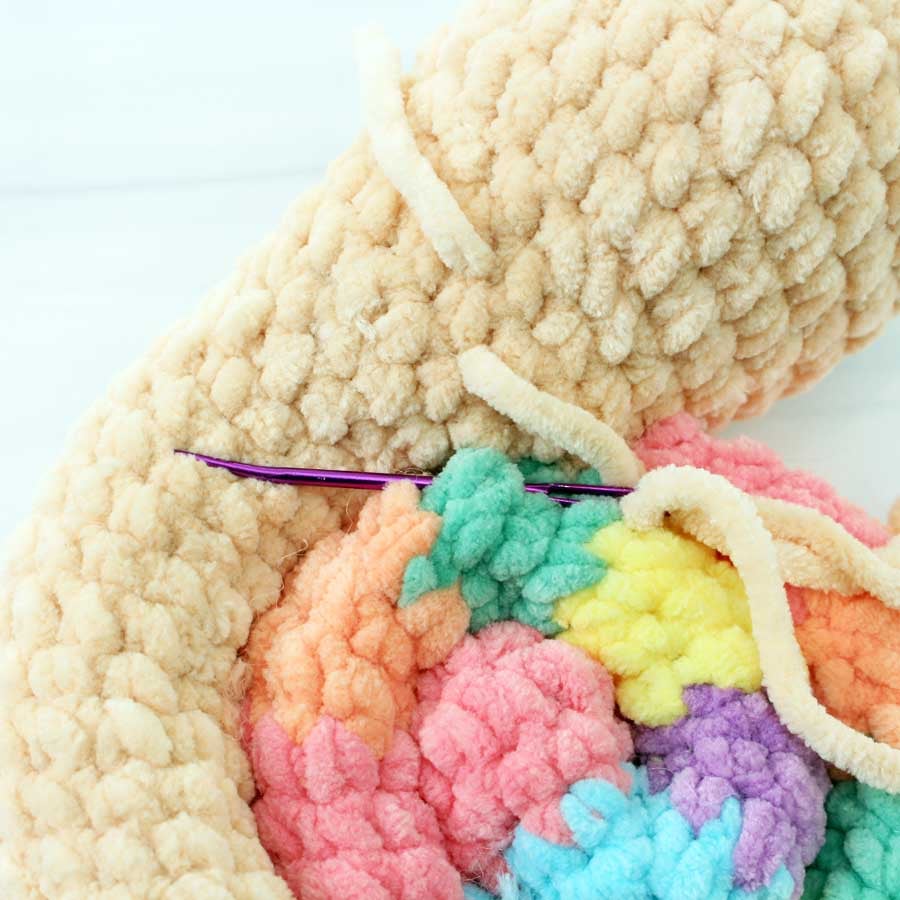
2. Attach the Shell to the Body
Thread a long strand of yarn in the head/body color onto your yarn needle. Line the shell up on the body with the end of the spiral tightly against the side of the body about 2-3 rounds below the mouth (or your desired shell placement) and then curl the body around and under the shell to make sure you are happy with the shell placement. Starting with the front of the snail facing you, pass the yarn needle through a stitch on the shell and then through a stitch on the body, securing them closer together. Repeat moving downwards along the shell and body until at the bottom. Stop about 1” from the end to have a little tail section. Flip the snail over and continue sewing up the other side of the body and shell until at the top of the shell. Weave in ends and cut yarn.
3. Sew the Antennae to the Head
Line up the antennae on top of the head in the second and third round from the top. Sew in and out of the bottom of each antenna until it is secured in place. Weave in ends and cut yarn.
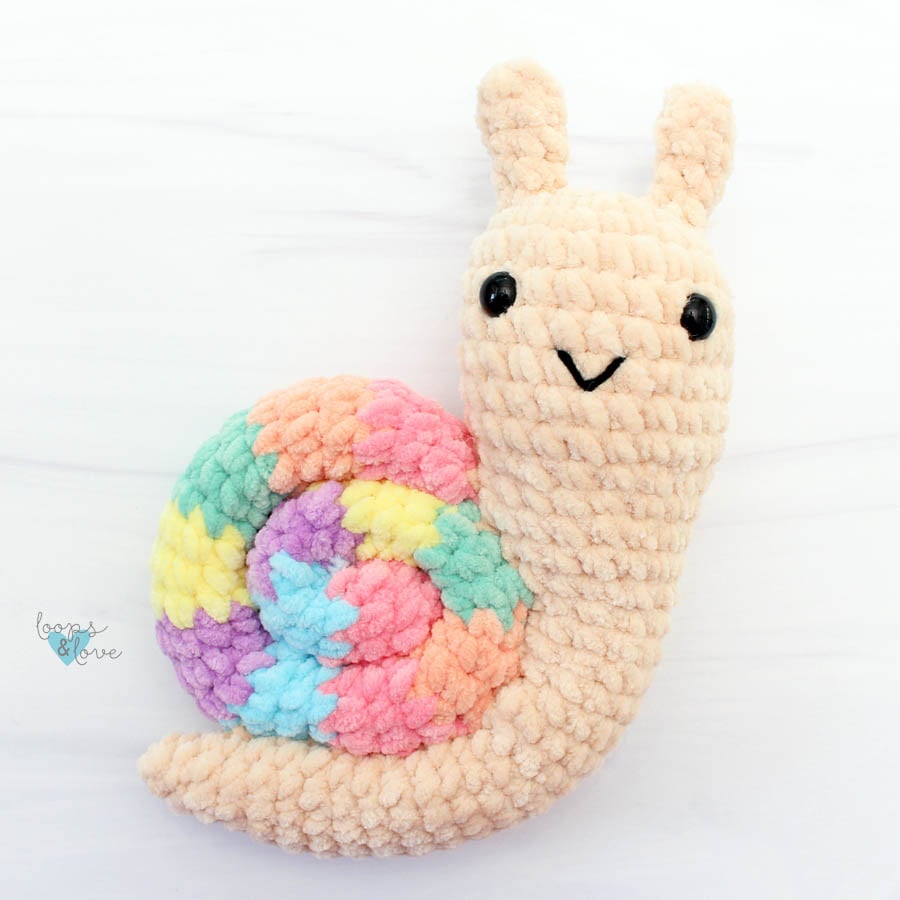
You’re all finished your soft and cuddly snail amigurumi!
**Want to be kept in the loop? Be sure to like Loops and Love Crochet on Facebook and join the Loops and Love Crochet Group! Don’t forget to follow @loopsandlovecrochet on Instagram! Remember to tag Loops and Love Crochet when you post your fnished projects on social media! I’d love to see them! **
*You may make and sell any items made from my patterns, but please link back to my blog or Loops & Love Crochet as the designer. Please do not copy this pattern or photos and share as your own, in part or in whole. Instead, link back to the Loops and Love Crochet blog (especially when selling items you make from my patterns). Thank you!
Janet
Tuesday 12th of May 2026
Hello, hope you are doing well. I'm looking at the Snail Free Pattern. There seems to be duplicate copies of the section HEAD/BODY. I am excited to get this pattern, I have a 4 year old great granddaughter and she will have a baby brother this August. So I will have the joy of making two of the little turtles. Thank you so much for allowing your followers the ability to get patterns free. Free patterns really help me out being retired and on social security. I love your patterns and the information you share about crocheting. Thank you, Janet Butner
Loops and Love Crochet
Wednesday 13th of May 2026
Thank you! I fixed that copy/paste error! Thank you so much for your lovely comment. I hope you enjoy the pattern!