Crochet Ragdoll Polar Bear Ornament
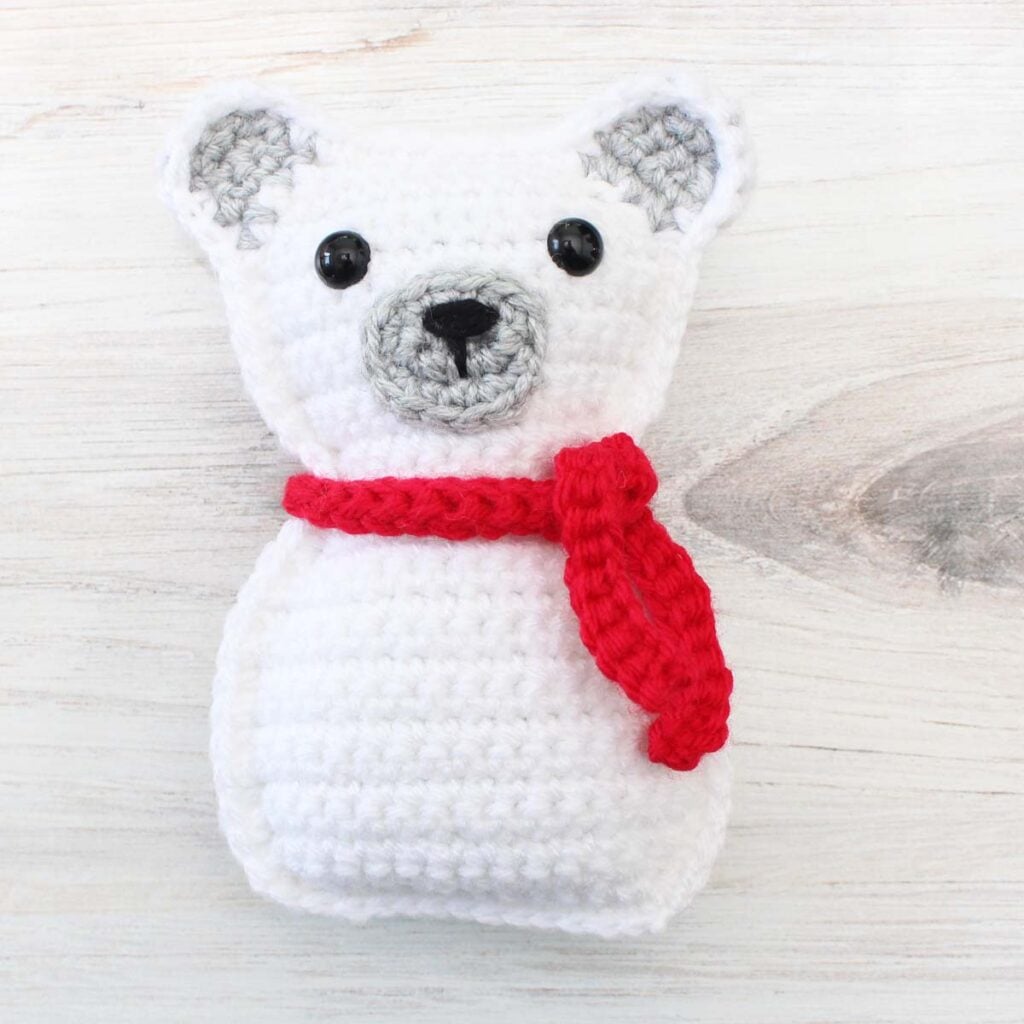
This fun Polar Bear Ornament (and optional Gift Card Holder) is the perfect combination of thoughtful and practical! Not only will it add to holiday tree decor, but it's also great for gifting, and it even includes a pocket on the back for a gift card or small treat! This adorable bear ornament will be enjoyed year after year, either in your home or the home of a special someone!
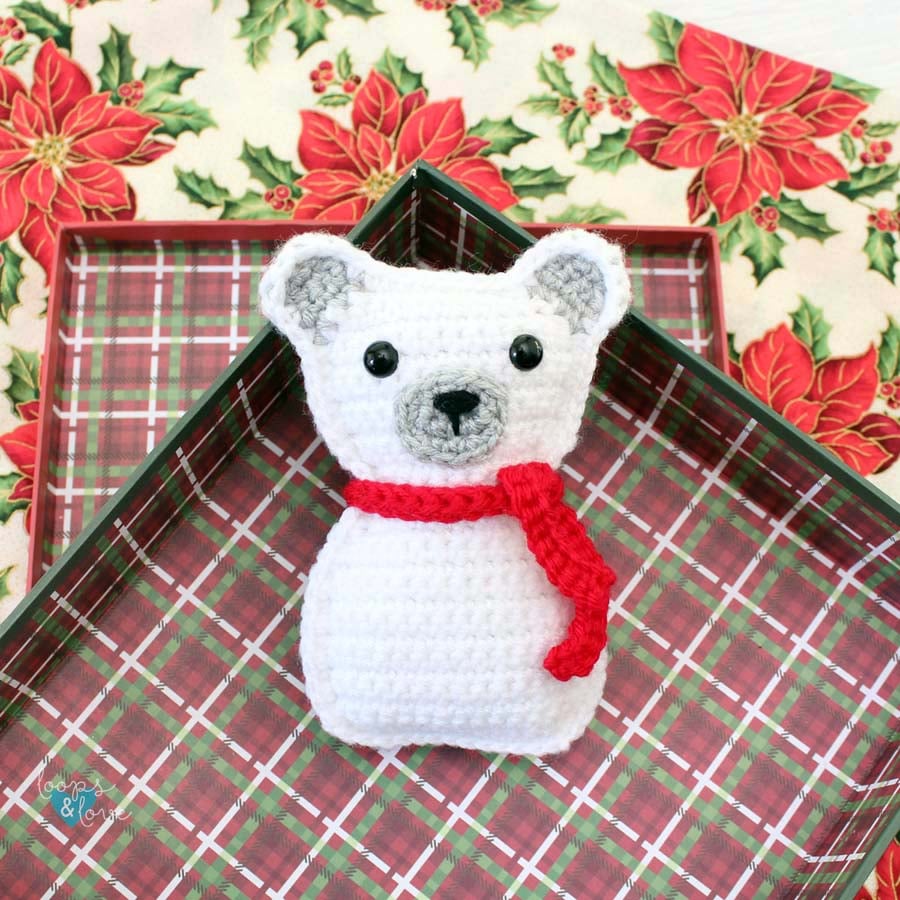
With his cozy scarf and sweet little face, this polar bear is ready to add a touch of handmade charm to your holiday gift giving. Tuck a gift card, candy cane, or other small treat into the pocket on the back, then hang it on the tree, attach it to a wrapped present, or tuck it into a stocking for an extra special surprise.
Whether you're making one for teachers, coworkers, family members, or friends, this quick crochet project is a fun way to personalize your Christmas gifts while creating a keepsake ornament they'll enjoy year after year!
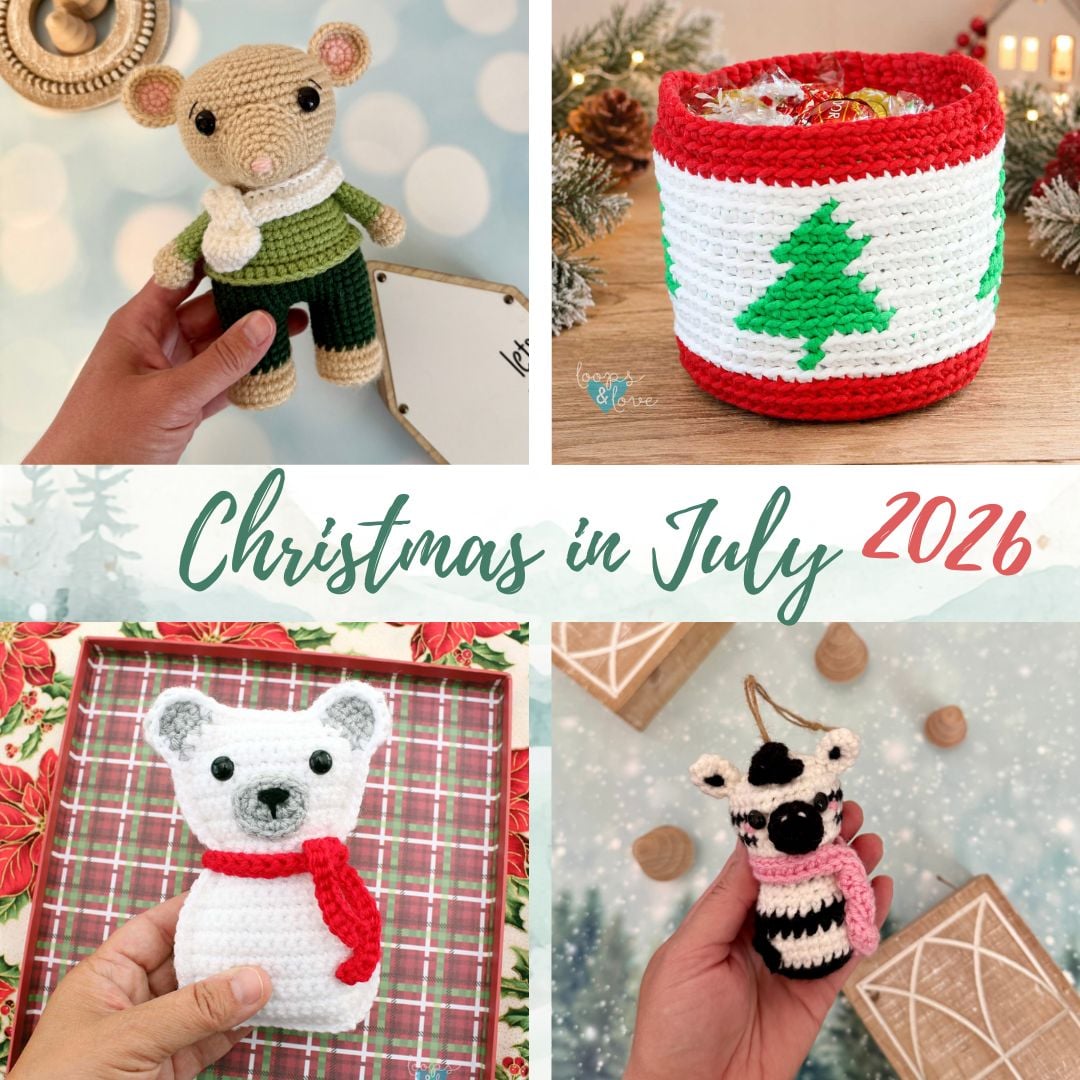
Christmas in July 2026!
I'm so excited to share this Polar Bear Ornament Gift Card Holder as part of our 7th Annual Christmas in July event! Every Tuesday in July, Stephanie from Grace and Yarn and I are sharing four brand-new free crochet patterns to help you get a head start on your holiday making. Once you've finished your polar bear, be sure to visit the Christmas in July Crochet Along page to explore the rest of this year's festive patterns as they're released. Plus, you can even check out the patterns released in all of our events over the last 7 years!
Ways to Use Your Polar Bear Ornament Gift Card Holder
This cute little polar bear is more than just an ornament! Here are a few fun ways to use it this holiday season:
- Gift Card Holder: Slip a gift card into the pocket on the back for a thoughtful handmade gift.
- Candy Cane Holder: Add a candy cane for a simple stocking stuffer or classroom gift.
- Small Treat Holder: Fill the pocket with chocolates, stickers, a tea bag, cash, or other small surprises.
- Christmas Ornament: Hang it on your Christmas tree as part of your holiday décor.
- Gift Topper: Attach it to a wrapped present for a gift decoration that doubles as an extra gift.
- Stocking Stuffer: Tuck it into a stocking for a fun handmade surprise.
Remember to like Loops and Love Crochet on Facebook and join the Loops and Love Crochet Group for sharing your finished projects! I'd also LOVE it if you followed @loopsandlovecrochet on Instagram! If you like crochet video tutorials, check out (and subscribe to) my Loops and Love Crochet YouTube Channel!
Disclosure: This post may contain affiliate links, which means I may receive a small commission if you click a link and purchase something that I have recommended. This is done at no extra cost to you. Thank you for supporting Loops & Love Crochet!
The Ragdoll Polar Bear Ornament crochet pattern is available for FREE on this website. If you'd like an ad-free, printable PDF version, you may purchase it for a small fee from my Etsy or Ravelry shops. Thank you so much for supporting Loops & Love Crochet!
Materials
- Worsted-weight (#4) yarn – Any worsted-weight #4 yarn can be used for this project. I used WeCrochet/Knit Picks Brava yarn in White, Dove Heather, Red, and Black. Approximately 70 yds are needed for this project, mostly in white, with a few yards of grey, black, and red for the details.
- Crochet Hook – 3.5mm crochet hook
- Safety Eyes – two 10 mm safety eyes
- Stuffing – any fiber-based stuffing
- Yarn needle – I use bent yarn needles for weaving in ends and sewing on parts.
- Embroidery thread (optional) - a small amount of black for the muzzle.
- Scissors for cutting yarn (these little ones are my favorite!)
Stitches Used
- Ch – chain
- Sl St – slip stitch
- SC – single crochet
- INC – single crochet increase – work 2 SC stitches into the same stitch.
- DEC – single crochet decrease – work a SC decrease over the next 2 stitches. Insert hook into the first stitch, pull up a loop, insert hook into next stitch, pull up a loop, yarn over and pull through all three loops on hook.
Gauge:
- Gauge is not critical for this pattern to turn out, however, for reference, 2 inches square is approximately 9 rows of 11 SC stitches.
Important Notes
- Worked in Rows – This pattern is worked up in rows. After each row you will chain 1 and turn. Make the first stitch of the next row in the same stitch as the chain 1.
- Right Side/Wrong Side – In ragdoll style patterns, there is often a “right side” and a “wrong side” to help make sure each part lines up correctly with the other parts when panels are joined together. In this pattern, both panels are the same when finished and will line up properly when stacked on top of each other for joining, whichever way you lay them. However, there are some notes in the pattern to help you keep the same side facing up when crocheting the ears so they are placed the same on each panel and also so both sides of the polar bear are the same when joined together.
- Video Tutorial – There is a video tutorial for another pattern (Ragdoll Penguin) that shows how to join ragdoll panels together. This would also be helpful for joining together the polar bear panels. You can find the video here on my YouTube channel.
Finished Size
- When complete, your polar bear will measure approx. 5.5” tall (from bottom to top).
The Pattern
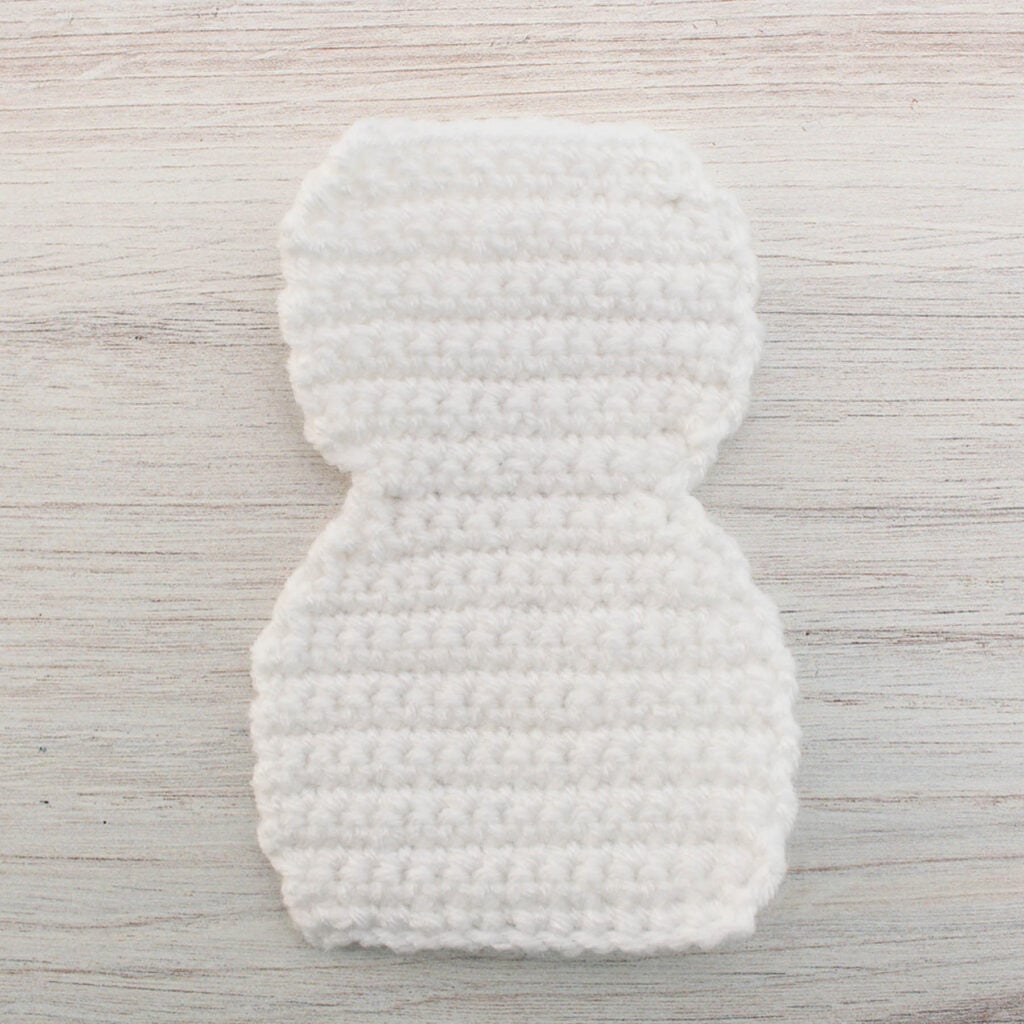
Polar Bear Body and Head Panel (make 2)
Head/Body panels are worked up from the bottom to the top in white yarn.
Row 1: Ch 13, INC in 2nd ch from hook, SC in next 10 sts, INC in last st, ch 1, turn (14)
Row 2: SC in each st across, ch 1, turn (14)
Row 3: INC, SC next 12 sts, INC, ch 1, turn (16)
Rows 4-10: SC in each st across, ch 1, turn (16)
Row 11: DEC, SC next 12 sts, DEC, ch 1, turn (14)
Row 12: SC in each st across, ch 1, turn (14)
Row 13: DEC, SC next 10 sts, DEC, ch 1, turn (12)
Row 14: DEC, SC next 8 sts, DEC, ch 1, turn (10)
Row 15: DEC, SC next 6 sts, DEC, ch 1, turn (8)
Row 16: INC, SC next 6 sts, INC, ch 1, turn (10)
Row 17: INC, SC next 8 sts, INC, ch 1, turn (12)
Row 18: INC, SC next 10 sts, INC, ch 1, turn (14)
Rows 19-24: SC in each st across, ch 1, turn (14)
Row 25: DEC, SC next 10 sts, DEC, ch 1, turn (12)
Row 26: DEC, SC next 8 sts, DEC, ch 1, turn (10)
Row 27: SC in each st across (10)
Fasten off, weave in ends. Repeat instructions above to work up the second panel.
With row 27 facing you, this will be the right side of the polar bear panel. This is helpful for working the ears in the next step, so the ears are placed in the same way on each panel.
Ears
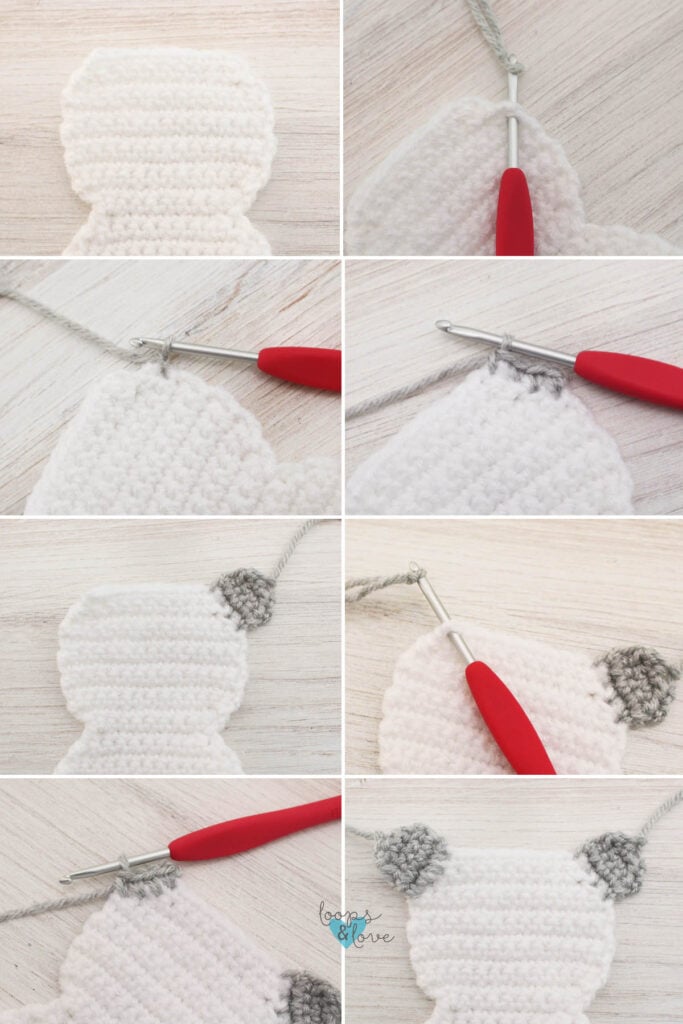
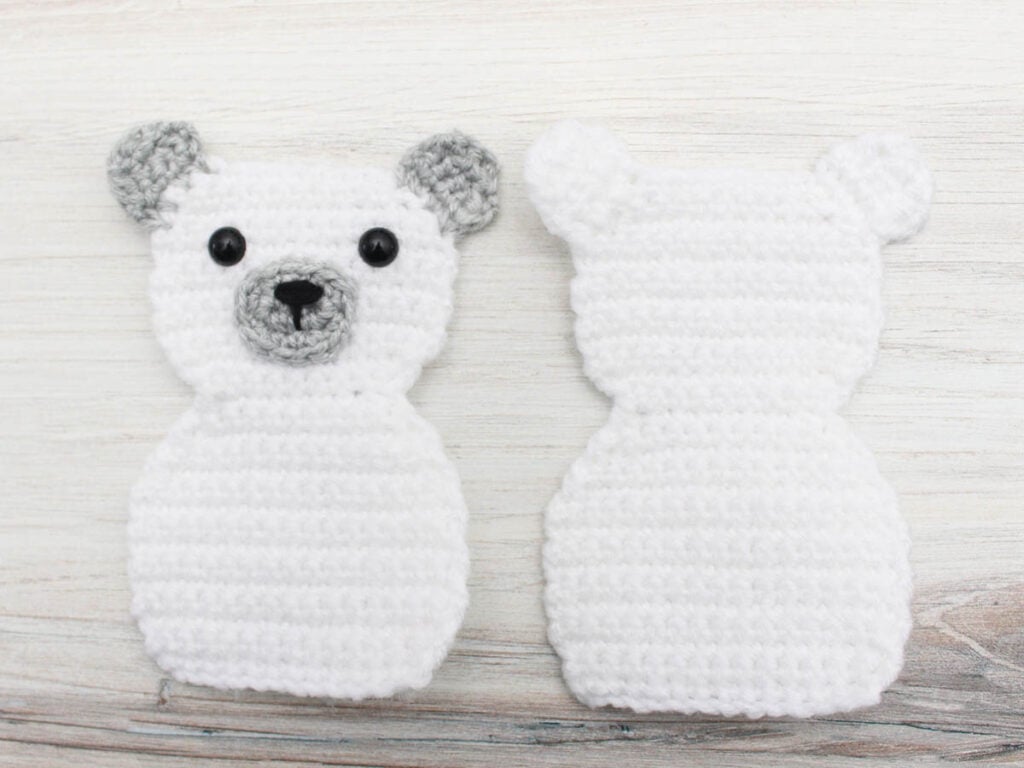
The ears are crocheted onto the head of the polar bear, one on each side. For the polar bear pictured, the ears on the front panel are grey and on the back panel they are white. When the panels are attached together, this gives the appearance of the inner ear being grey while the outside is white. See photos below for a visual of working up the ears.
Row 1: Keeping the “right” side of the polar bear panel facing you (the same side as when you finished row 27). Make a slip knot with your yarn and join by pulling the slip knot through the last stitch of the fourth row down from the top on the right side of the head (or left side if you are left-handed), ch 1, SC in the same stitch and in each of the next 3 stitches at the end of each row going back up towards the top right (or left if left-handed) corner, ch 1, turn. (4)
Row 2: INC, SC next 2 sts, INC, ch 1, turn. (6)
Row 3: DEC, SC next 2 sts, DEC, ch 1, turn. (4)
Row 4: DEC, DEC (2)
Fasten off, weave in tail and cut yarn.
For the second ear, repeat the rounds 1-4 above, except start by joining your slip knot in the top left corner stitch of the head this time (or right side, if you are left-handed). Make sure you are keeping the same side of the polar bear panel facing up as the “right side.”
Repeat the instructions again to add ears to the second panel but working with white yarn. This will be the back panel of the polar bear.
Set both polar bear panels aside for now while working up the muzzle.
Note that “right side” or “front” of each polar bear panel is still the side with the front of the stitches of row 27 (top row) facing you. This is the same side that was facing up when you started row 1 of the ears.
Muzzle
Work the muzzle in the same grey yarn as used for the ears.
Round 1: Ch 4, 2 SC in 2nd ch from hook, SC next st, 4 SC in last st. Continue around so you are working on the other side of the chain. SC in next st, 2 SC in last st (this is the same stitch as where you placed the 2 SC at the start of the round), join, ch 1 (10)
Round 2: *INC, SC in next st, repeat from * around, join to first st (15)
Fasten off and cut yarn leaving a long tail for sewing.
Use a strand of black yarn to stitch on the nose by passing yarn around 2-3 stitches on the nose repeatedly until desired nose thickness is reached. Then sew a vertical line from the center of the nose to a stitch a couple rounds below.
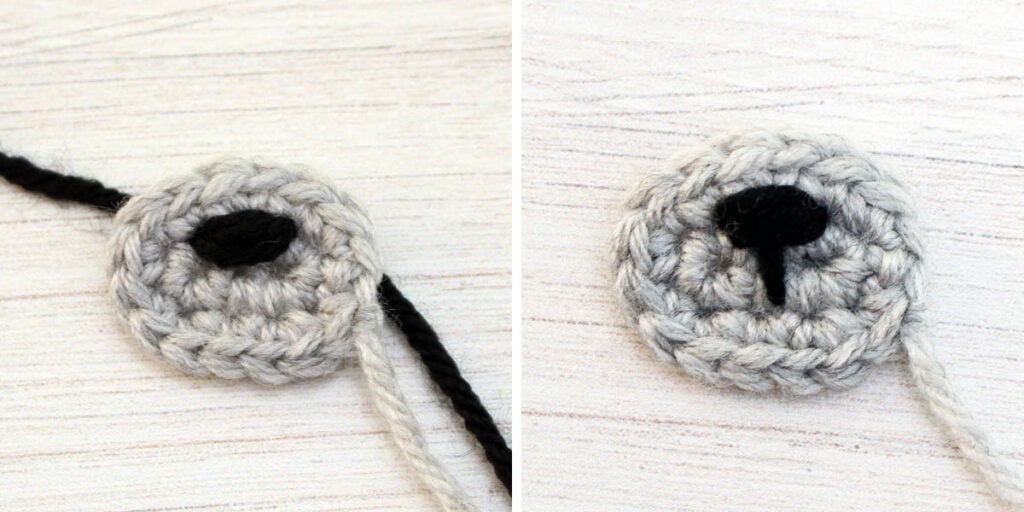
Adding the Polar Bear Facial Features
Working with the polar bear panel with the grey ears, and making sure that the “right side” or “front” of the panel is facing you, insert the safety eyes between rows 23 and 24 (4-5 rows down from the top) in the center of the face, approximately 6 stitches apart. Before securing the backs, test the muzzle placement with the eyes to make sure you like how it looks.
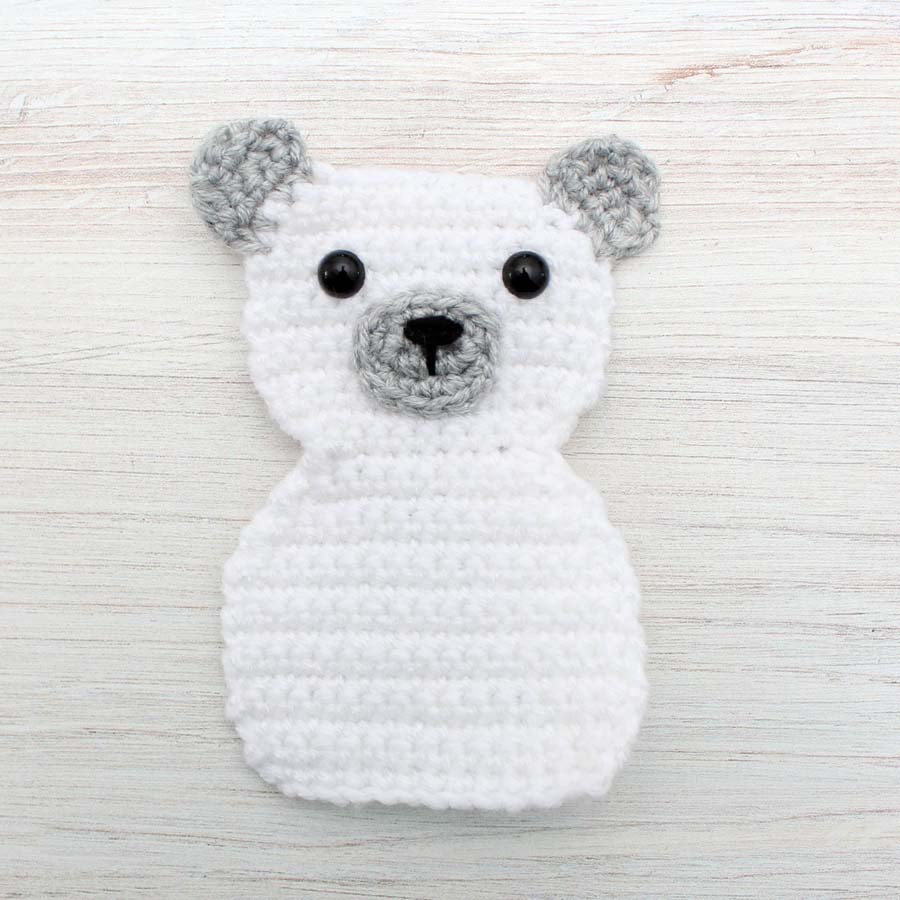
Sew the muzzle to the polar bear’s face between the eyes. Make sure the top of the muzzle approximately lines up with the bottom of the eyes and the vertical line below the nose is pointing straight down. Sew up and down through each stitch around the outside of the muzzle, passing up and down through stitches on the polar bear panel. When you’ve gone the whole way around the muzzle, weave in ends and cut yarn.
The polar bear facial features are now finished. Next, the two panels with be joined together and stuffed.
Joining the Polar Bear Panels
Layer the two polar bear panels on top of each other. If you’d like the stitches on the outside front and back of the polar bear to be facing the same way, make sure the “right side” of each panel is facing outwards (with the “wrong sides” facing each other).
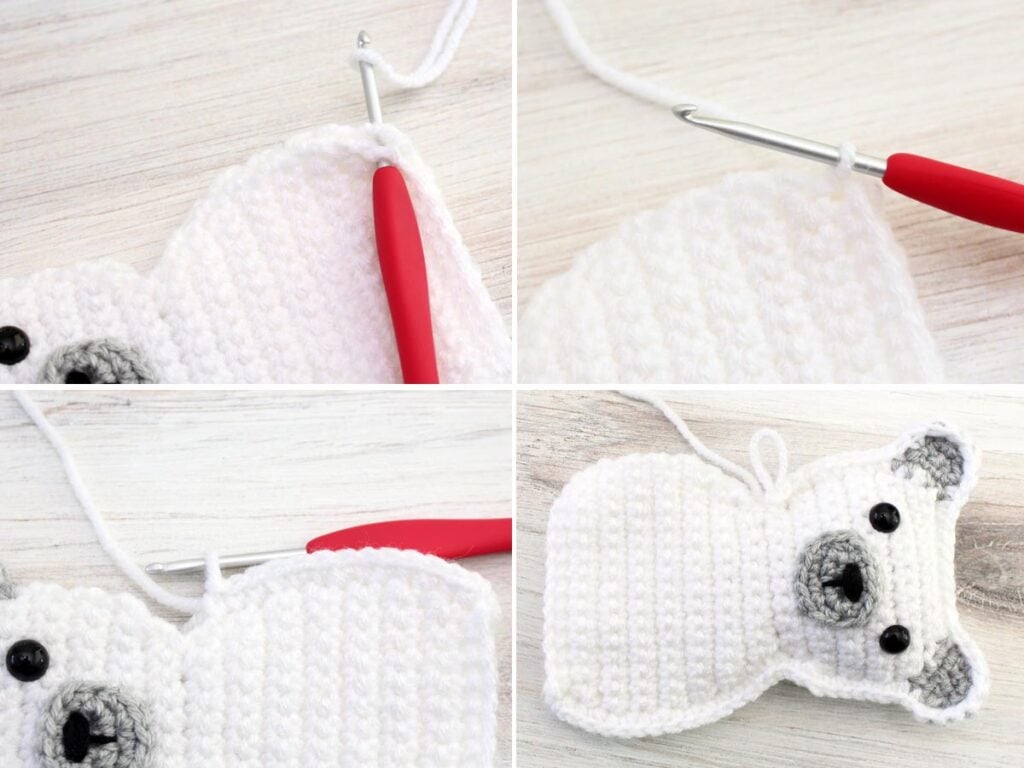
Make a slip knot with white yarn. Starting in the bottom right corner of the polar bear (bottom left if left-handed), insert crochet hook through the corner stitch, passing through the same stitch on both layers. Place the slip knot on your hook and pull it through to the front of your project, chain 1, and SC in the same stitch and in each stitch around the outside of the polar bear passing through both layers, travelling up the side, across the top (up and around each ear), back down the other side, and across the bottom. When you get back to the same corner stitch you started in, join with a slip stitch. Cut yarn and weave in all ends.
When joining the polar bear panels, start adding stuffing when you are about ⅔ of the way around. Stuff the head section first when you are finished crocheting around it (do not stuff the ears). Then slowly stuff the body as you continue to work the SC stitches around. Make sure you have added enough stuffing before the opening gets too small.
See photos below for a visual on joining the panels together.
Scarf
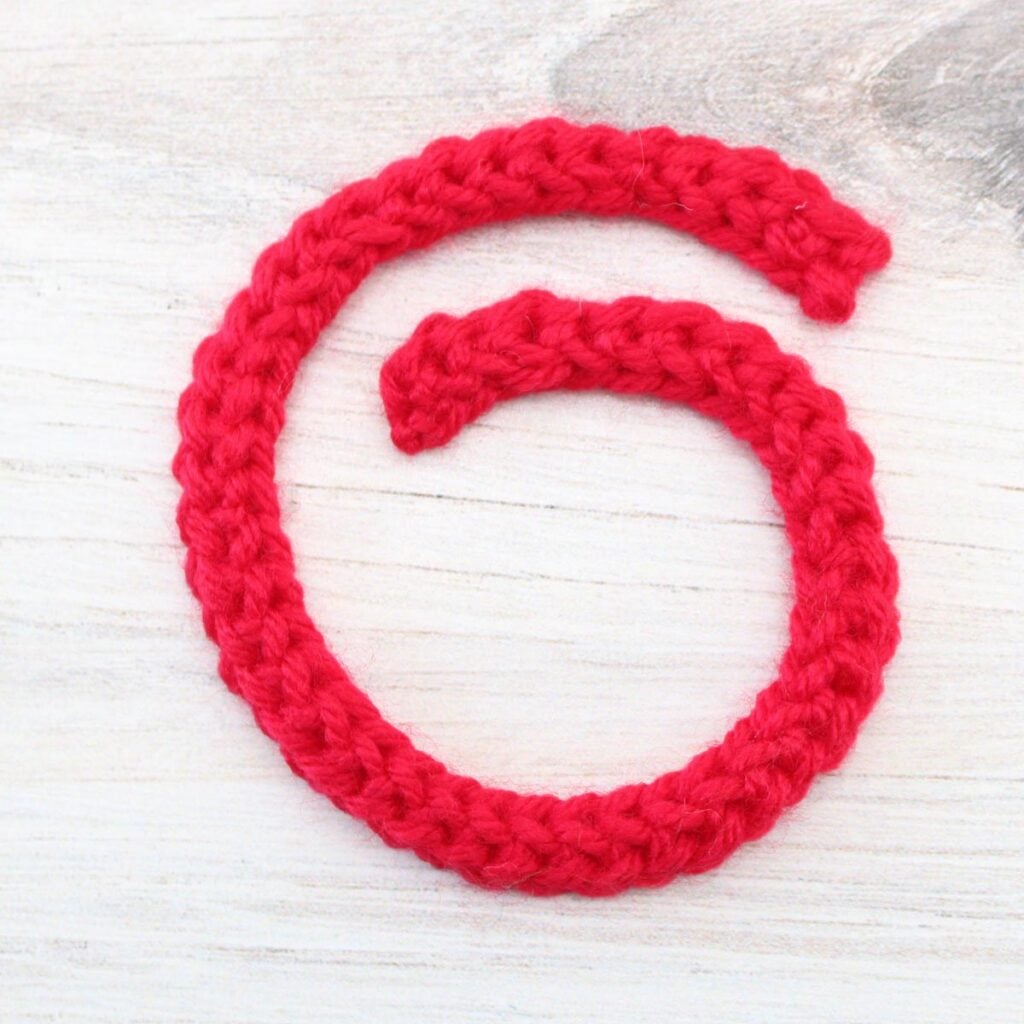
To give your polar bear a scarf, you will need a chain long enough to go around the polar bear’s neck and tie a knot. Please note that you may need to change the number of stitches in your starting chain depending on preferred scarf length and crochet tension.
Row 1: In an accent color (red pictured), ch 50, SC in 2nd ch from hook and in each ch across. Fasten off, weave in ends, and cut yarn.
Gift Pocket on Back
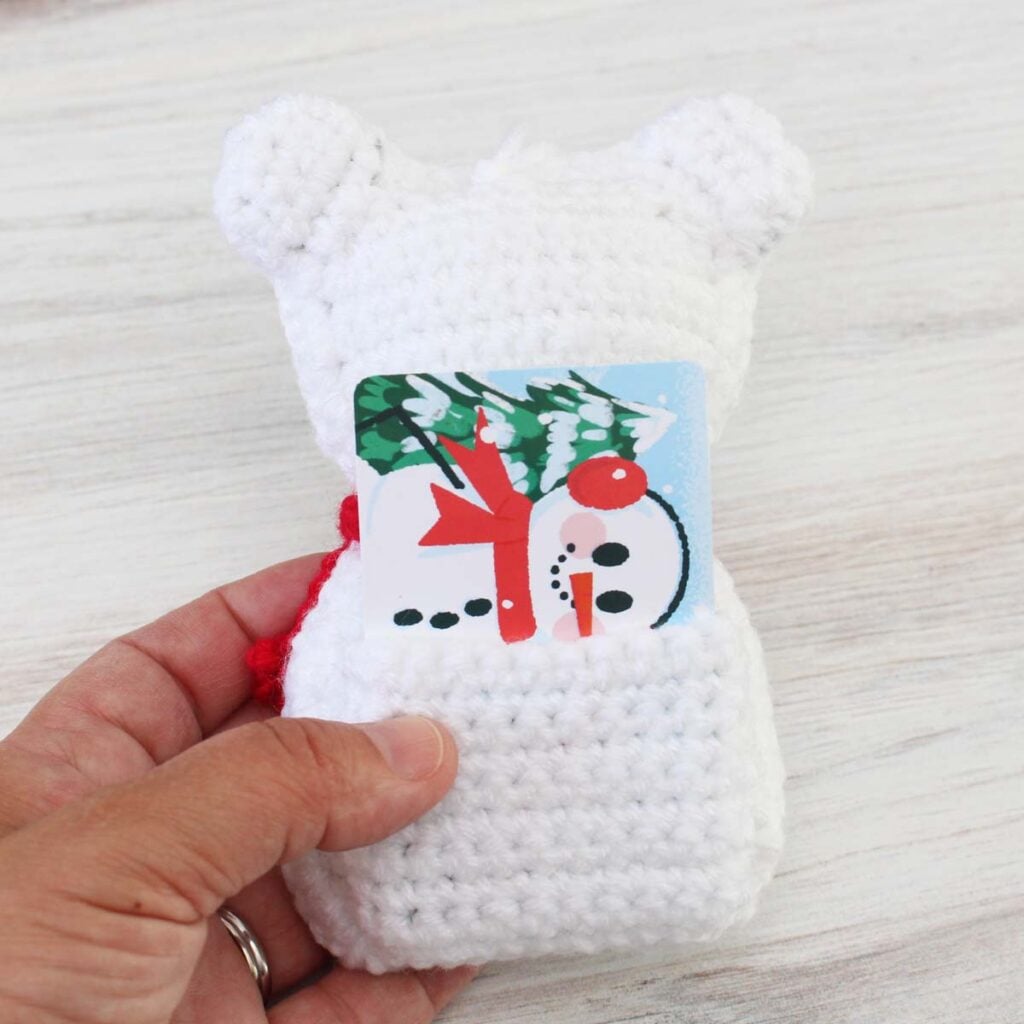
If you would like to make a pocket on the back for a gift card or small candy cane or treat, follow the instructions below.
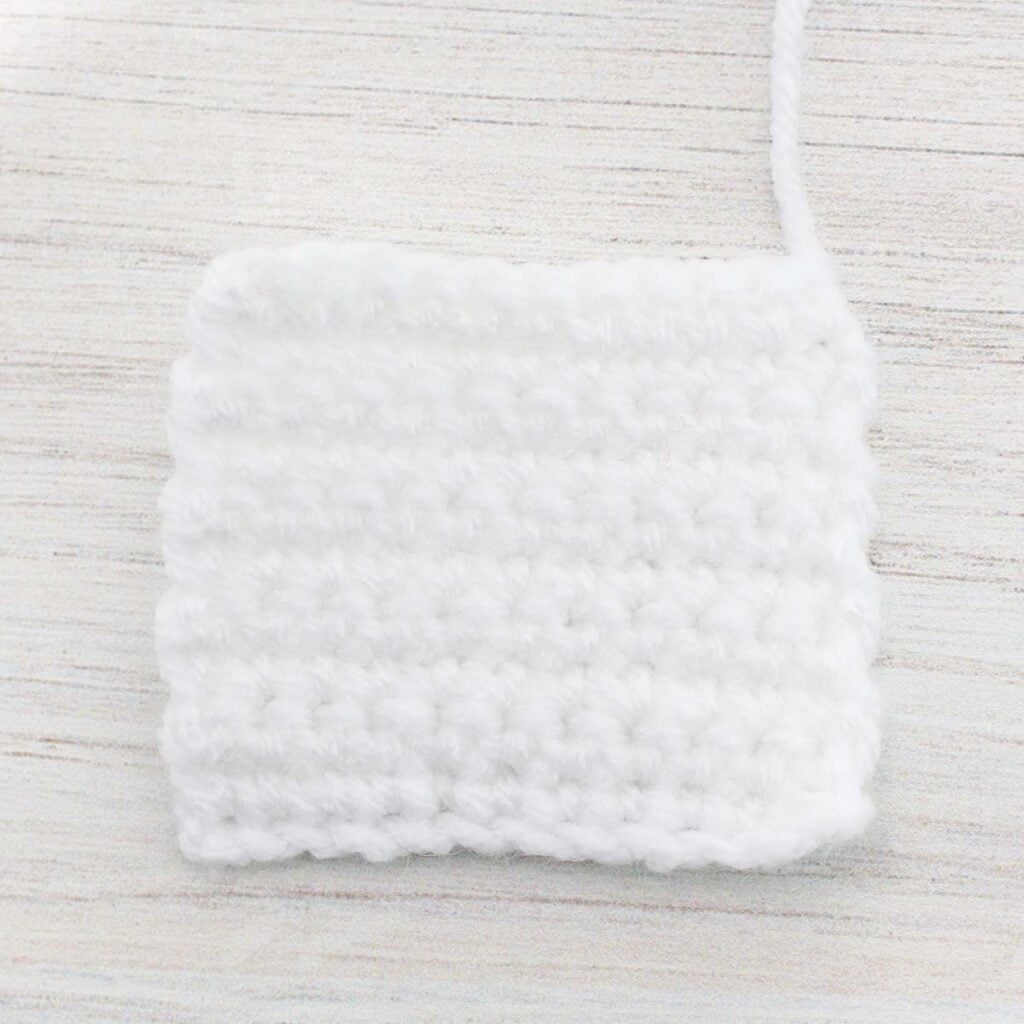
Row 1: In white yarn, ch 13, SC in 2nd ch from hook and in each st across (12)
Rows 2-11: SC in each st across (12)
Fasten off. Weave in ends. Leave a tail for sewing onto back of polar bear.
Position the pocket on the back of the polar bear, with the bottom of the pocket lined up one row up from the bottom. Starting in the top corner, use your yarn needle to sew the pocket onto the back by passing your yarn needle through the stitches around the outside of the pocket, passing through the stitches on the back of the polar bear. Keep the stitches to the back panel only, being careful not to sew right through to the front of the polar bear. Start at one of the top corners, then sew down one side of the pocket, across the bottom, and up the other side before weaving in the yarn tail. Remember to leave the top of the pocket open for the gift card or treat.
Hanging Polar Bear Ornament
If you are making this polar bear as an ornament for a Christmas tree or as a gift topper, you will want to add a loop to the top. Cut a strand of yarn approximately 6 inches long. Pass the yarn through the back of the polar bear in a center stitch at the top. Tie yarn in a knot and then slide the yarn through the stitch so the knot is at the base of the loop and hidden on the back of the polar bear.
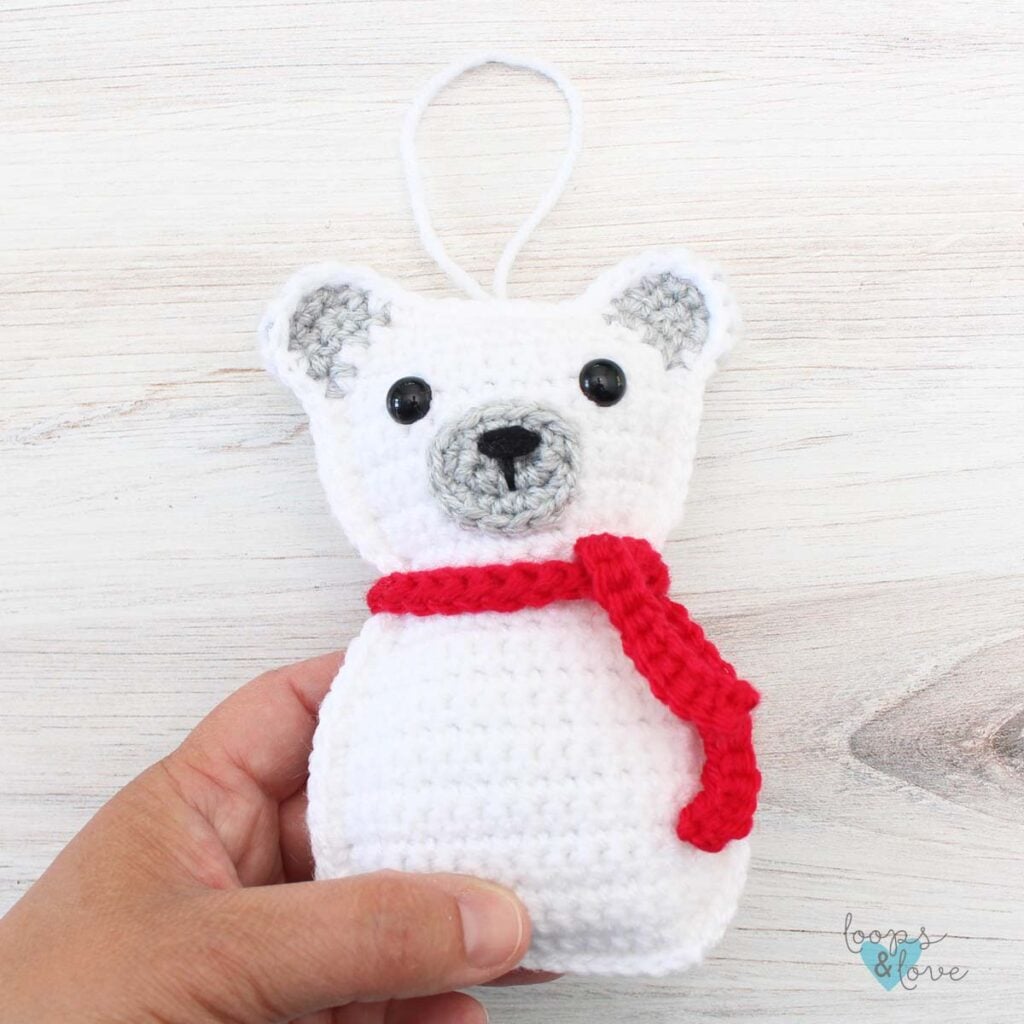
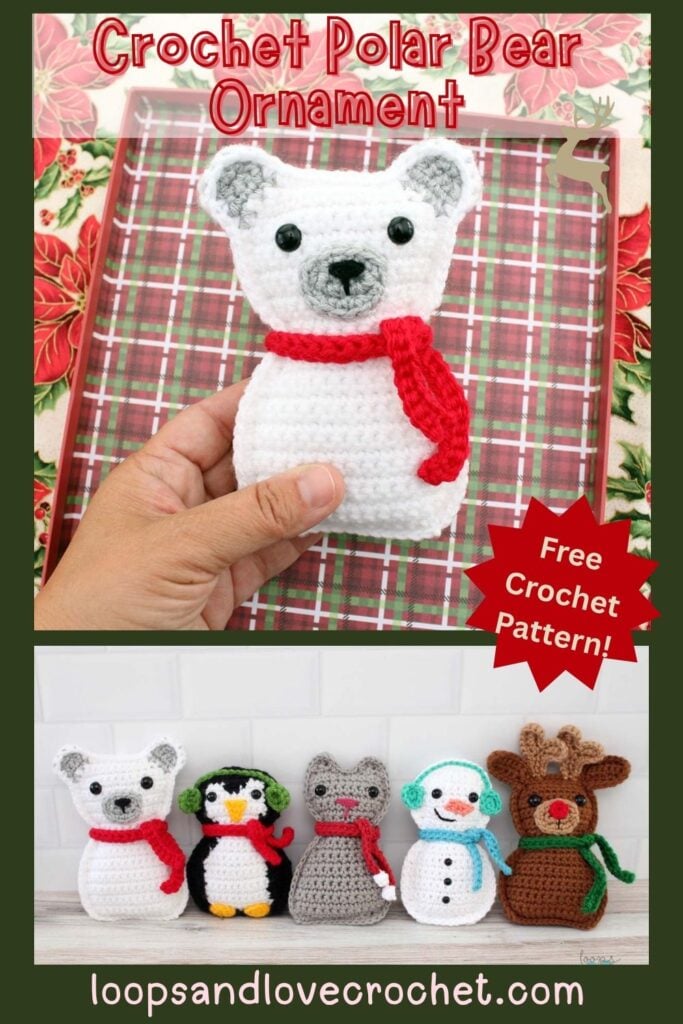
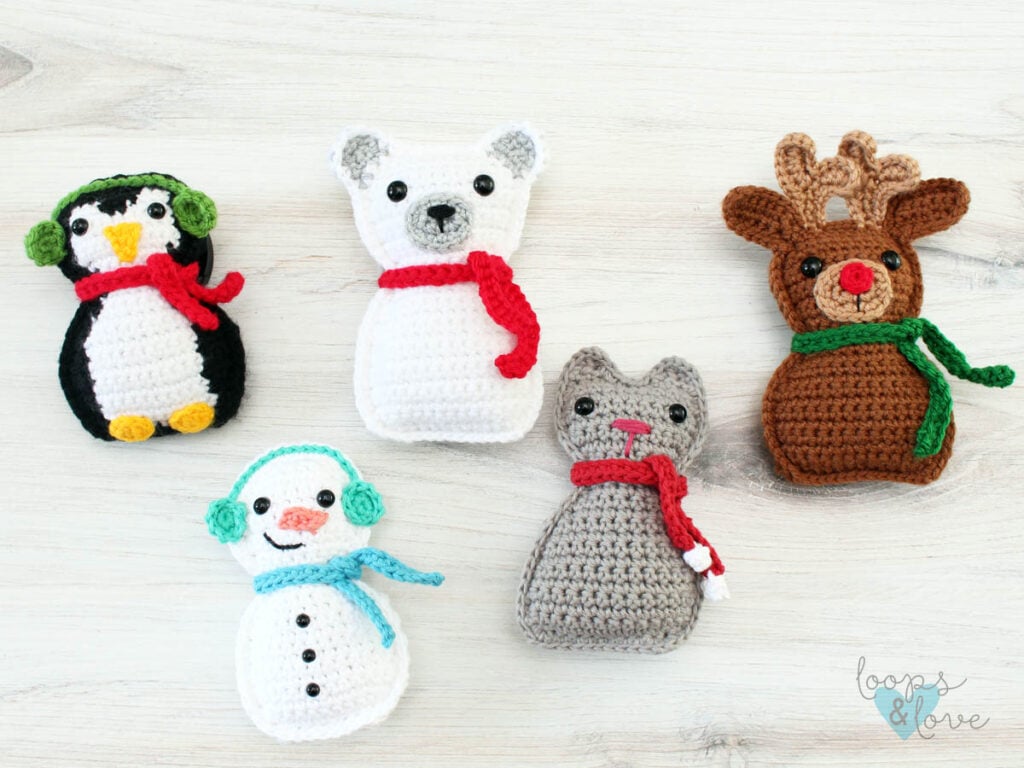
That's it! You're all finished your Polar Bear Ornament! I hope you love it! Be sure to check out our other ragdoll crochet ornaments, if you want to make more!
**Want to be kept in the loop? Be sure to like Loops and Love Crochet on Facebook and join the Loops and Love Crochet Group! Don't forget to follow @loopsandlovecrochet on Instagram! Remember to tag Loops and Love Crochet when you post your finished projects on social media! I'd love to see them! **
*You may make and sell any items made from my patterns, but please link back to my blog or Loops & Love Crochet as the designer. Please do not copy this pattern or photos and share as your own, in part or in whole. Instead, link back to the Loops and Love Crochet blog (especially when selling items you make from my patterns). Thank you!