xTool Omni O1 Review: My Experience with UV Printing
Curious about UV printing and all the creative possibilities it offers? In this post, I’m sharing my experience with the xTool Omni O1 UV Printer, from setting it up to my first printed projects. I'll walk you through what I've learned, my favorite features, and what you should know if you're thinking about trying UV printing too!
Getting Started with UV Printing
I've been having so much fun exploring new ways to create and personalize projects lately! Along with creating crochet designs, I've recently ventured into the world of 3D printing, and I've been loving all the possibilities for making custom gifts, accessories, and other fun creations.
When xTool reached out with the opportunity to try their Omni O1 UV printer, I was excited to give it a try! UV printing was completely new to me, but I loved the idea of being able to add colorful designs directly onto different materials. I was especially interested in seeing how I could combine UV printing with some of my 3D printed projects. There are just so many possibilities!
Now that I have had the chance to get familiar with the machine and try out several projects, I'm excited to share what I've learned! While there has definitely been a bit of a learning curve, my experience has been positive so far.
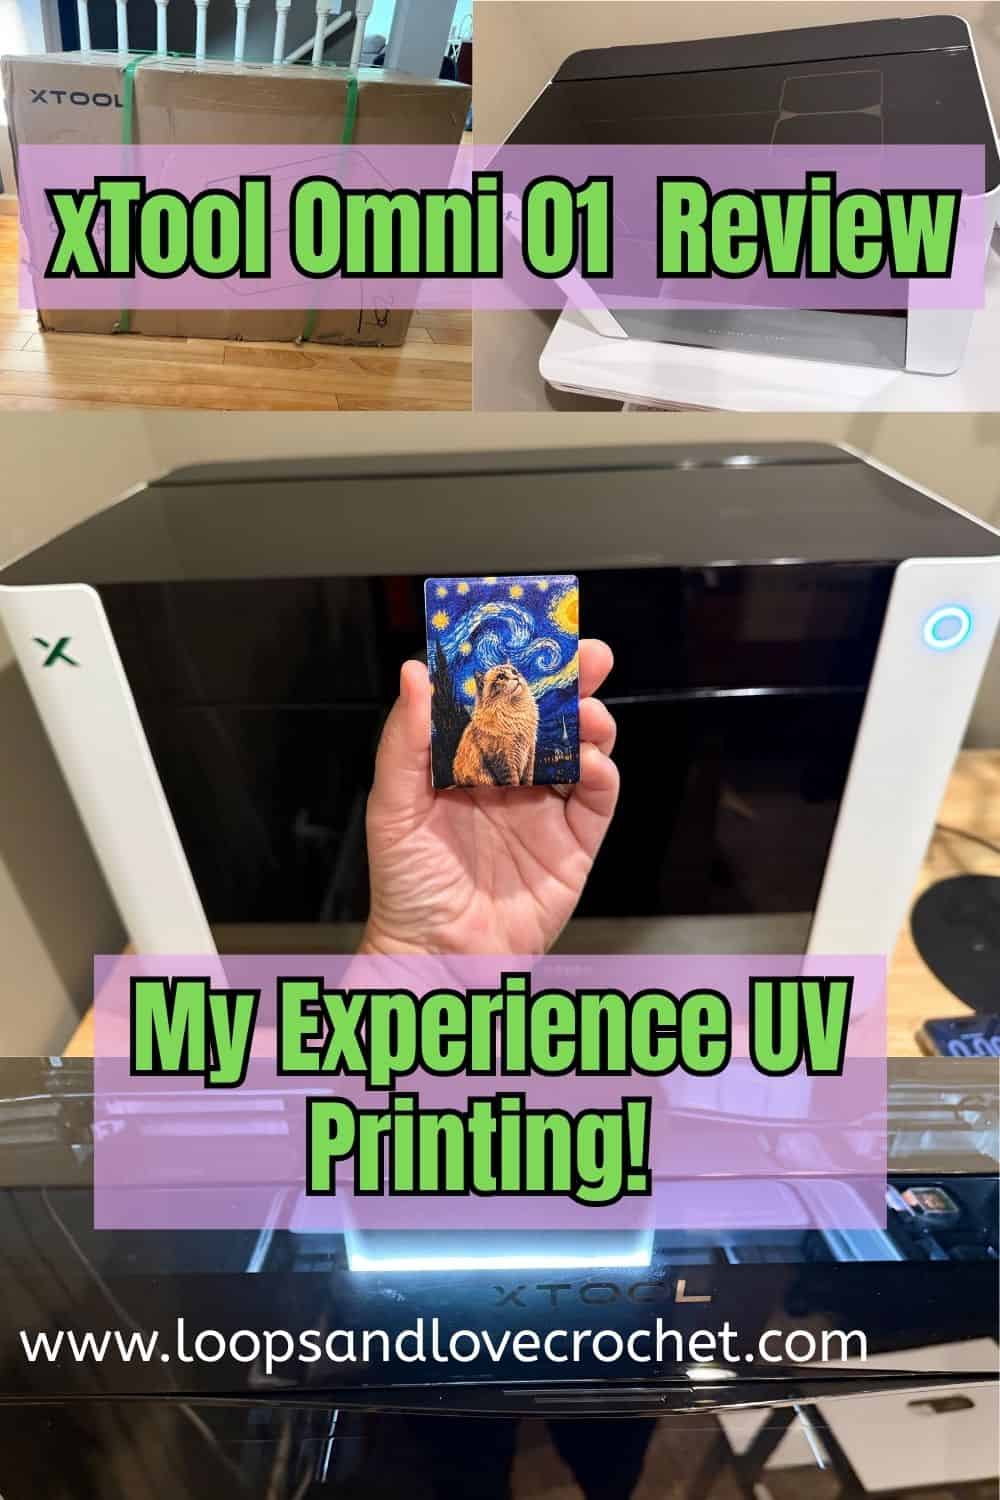
Pin this post to your favorite Pinterest board to come back to it later!
Disclosure: xTool provided me with the Omni O1 UV printer and accessories in exchange for sharing my experience. All opinions are my own.
What Is the xTool Omni O1 UV Printer?
If you've never heard of UV printing, it's actually quite a neat tool! Unlike a regular printer that prints onto paper, a UV printer can print designs directly onto a variety of surfaces. It uses special inks that are cured using UV light during the printing process.
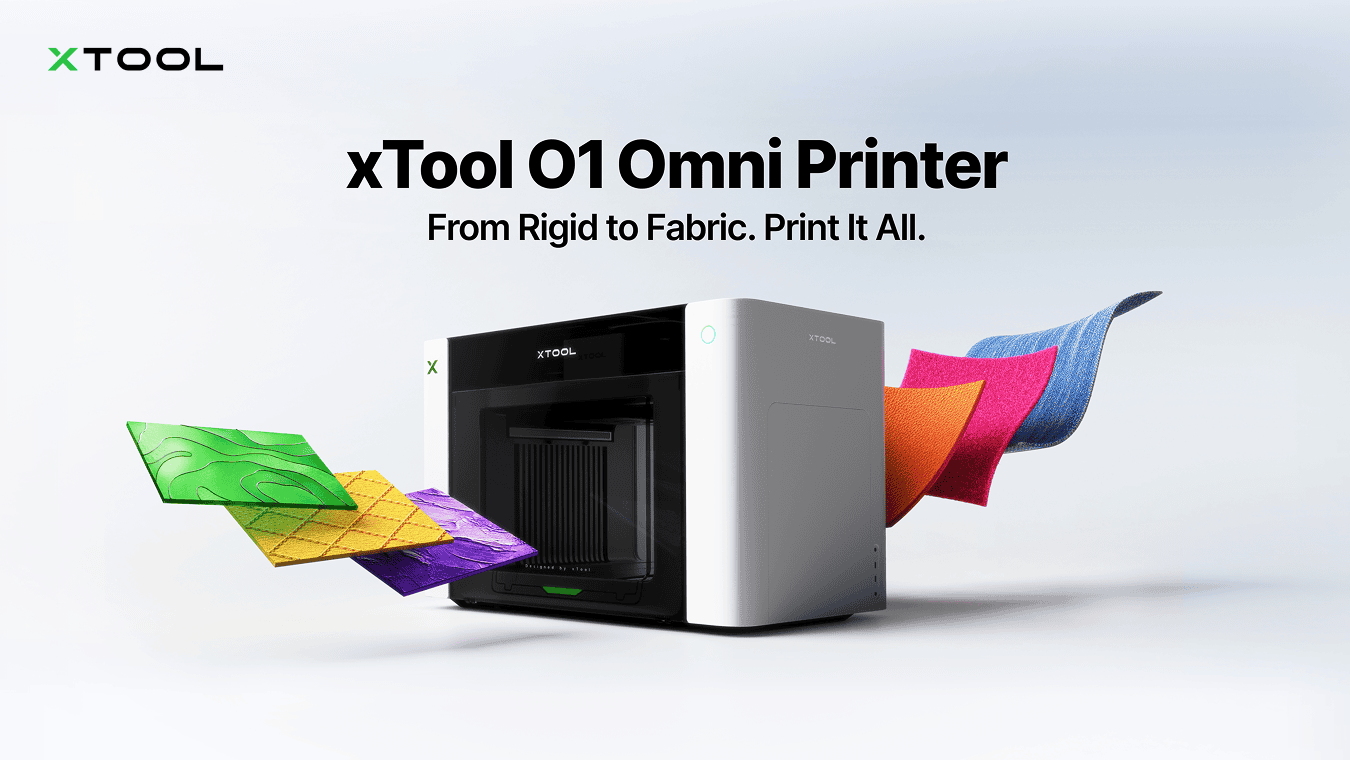
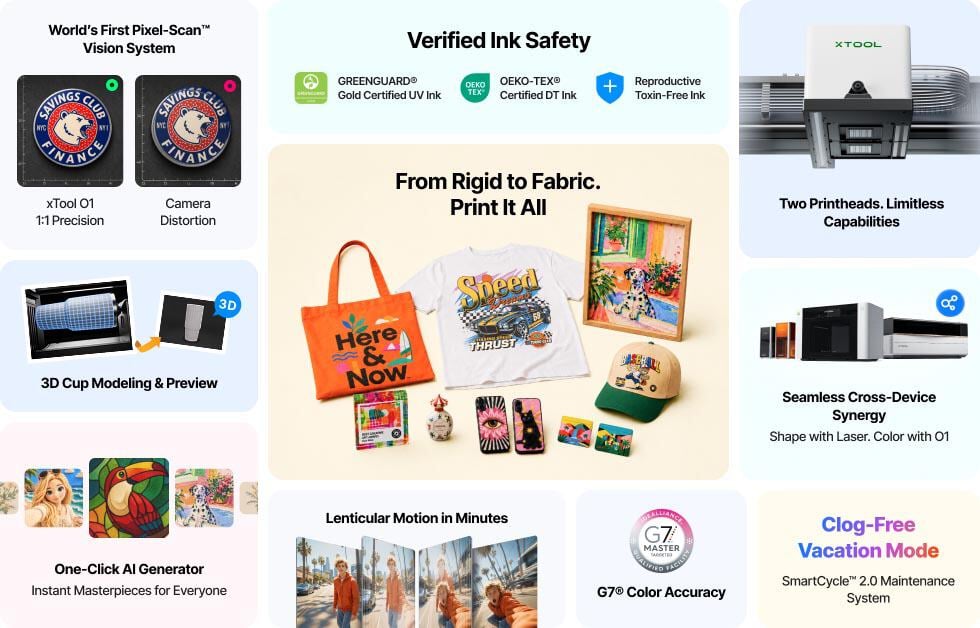
The xTool Omni O1 UV Printer is so much more than just an ordinary printer. This printer has 4-in-1 versatility with UV, UV DTF, DTG & DTF printing capabilities, depending on the model of the printer you choose.
One of the things that interested me most about the Omni O1 was the ability to print full-colour designs directly onto items without having to use vinyl, stickers, or other transfers. This opens up so many possibilities for creating personalized gifts, home decor, accessories, and other fun projects.
xTool Omni O1 Features and Specifications
There are 3 versions of the xTool Omni O1 UV Printer that each do slightly different things, which I'll go into more detail about below. When selecting the model that is best for you, you'll need to think about what type of projects you intend to make with it and what your needs are. Regardless of which model you choose, the Omni O1 has some pretty impressive features that will make it useful for a variety of creative projects.
Some of the standout features of all models of the xTool Omni O1 are:
- Printing resolution of up to 720 × 1440 dpi which allows for detailed designs, fine lines, and small text. This is especially helpful when creating personalized items with names, lettering, or detailed graphics.
- Built-in vision system that scans the surface of your item to help position your design accurately. With a positioning accuracy of up to 0.2 mm, it's designed to make lining up prints easier, even when working with smaller objects.
- Standard printing area is 13 × 4.8 inches, but this can be expanded to 13 × 16.5 inches with the larger printing bed. This gives you room to work on everything from small accessories and ornaments to larger signs and decorative pieces. Both the smaller and larger bed sizes are included with your printer!
- Ability to create raised, textured designs up to 7 mm high. Instead of just printing a flat image, you can add dimension to your projects using layers of ink.
- and so many more features you can read about here!
An important thing to note is that the machine itself is fairly large and weighs around 90 pounds, so it's definitely something you'll want to have a dedicated workspace for! I used a plastic collapsible table initially, but quickly realized that it wasn't strong enough for the weight of the printer when it was wobbly and dipping in the center. We ended up buying a more sturdy table to hold our Omni O1 UV Printer and it actually fits our 3D printer too!
Which Model Should You Choose?
As I said above, the xTool Omni O1 UV Printer comes in 3 different versions. While xTool promotes this printer as a 4-in-1 or all-in-one printer due to ability to print UV, UV DTF, DTG & DTF projects, this is not fully painting the correct picture. There are three different versions of this printer and they all have different abilities and do different types of projects.
When choosing your printer model, you'll need to evaluate your needs and types of projects you want to print and decide between the Single UV, Dual Head UV, or UV + DT Fabric models. I've included a brief explanation of each one, however you'll want to read more detailed information on each model on the xTool website here. It is also important to note that once you choose the printer version, you can't change it. For example, you can't just buy new materials to make the single UV into the dual UV version.
Single UV Edition
This is the most basic and affordable option, designed for printing colourful designs directly onto hard surfaces like wood, acrylic, glass, metal, and ceramic. It's a great starting point for anyone interested in creating personalized gifts, signs, ornaments, and other custom items.
Dual-Head UV Edition
This is the version I'm using! It includes two UV printheads, allowing for additional printing options, including flexible white ink and fluorescent colors. This makes it possible to work with a wider variety of materials, including leather and canvas, and experiment with more advanced printing effects.
UV + DT Fabric Edition
This version combines UV printing with fabric printing capabilities. Along with printing on hard surfaces, it can print designs directly onto clothing using DTG (direct-to-garment) printing or create DTF (direct-to-film) transfers for fabric. This would be a good option for someone interested in personalizing T-shirts, tote bags, and other fabric items, as well as printing on the variety of printed surfaces mentioned in the Single and Dual-Head versions. Honestly, I would only select this version if you really wanted to print on fabric. It has two printheads, but one is dedicated only to the fabric inks and the other is the single UV printhead. So if you chose this model, you would not have the flexible white ink or the fluorescent colors.
Why I chose the Dual-Head UV Printer
I did go back and forth on which version to choose. I had never tried UV printing so I was thinking I should stick with the Single UV version, but then was also tempted by the UV + DT Fabric version as it seemed like a great way to have it all. Realistically, for my needs, I decided that I wasn't super interested in the fabric printing at this time, but ended up choosing the Dual-Head version because I liked the idea of the fluorescent inks and also printing on a wider variety of materials. I didn't want to select the Single UV version and then, once I became more knowledgeable and experienced with printing, regret it later. Anyway, I am super happy with my choice and have been really enjoying it so far!
All three versions offer plenty of creative possibilities, so choosing the right one really depends on the types of projects you plan to make! While I haven't explored all the features yet, I'm looking forward to experimenting with more of the printing options as I get more familiar with the machine.
Unboxing and Set Up Process
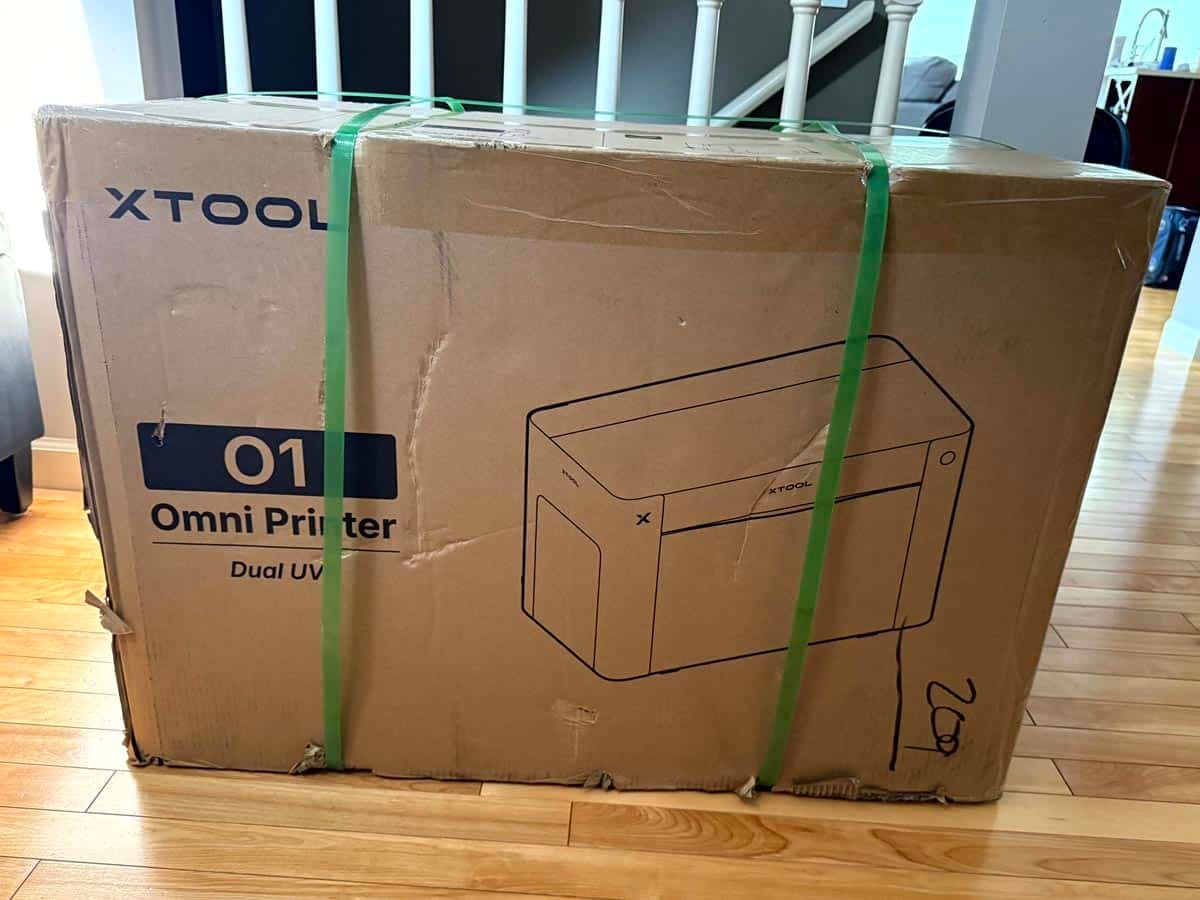
I was definitely excited when the Omni O1 arrived. It was very well packaged with the boxing in great condition when it was delivered. Actually, it was so well packaged that it even survived an unexpected fall.
Because I wasn't going to be home when it was delivered, I had selected "leave in a safe place" in my doorstep delivery preferences on the website. The delivery people that left it on my doorstep balanced it on an empty plastic container about 2 feet tall, instead of placing it right on the doorstep. As soon as they left, it slowly bent the container (it's heavy!) and, when the container couldn't take any more, the printer flipped right over, landing on its side with a pretty good thud. I watched this all on our doorbell camera and was pretty worried about what I would find when I got home. I was relieved to see the box was undamaged and then when I opened it up, the Styrofoam inside was in perfect shape and it's very well padded inside for extra protection.
Having never used a UV printer before, there was a lot that was completely new to me and I'll admit that getting everything set up felt a little overwhelming at first! After unboxing and unpackaging the printer and all of the included materials for it, I was able to follow the instructions to complete the set up smoothly. The scariest part was manually extracting the inks from each of the ports using provided syringes, but there are detailed instructions and videos to show each step to help along the way.
My First UV Printing Experience
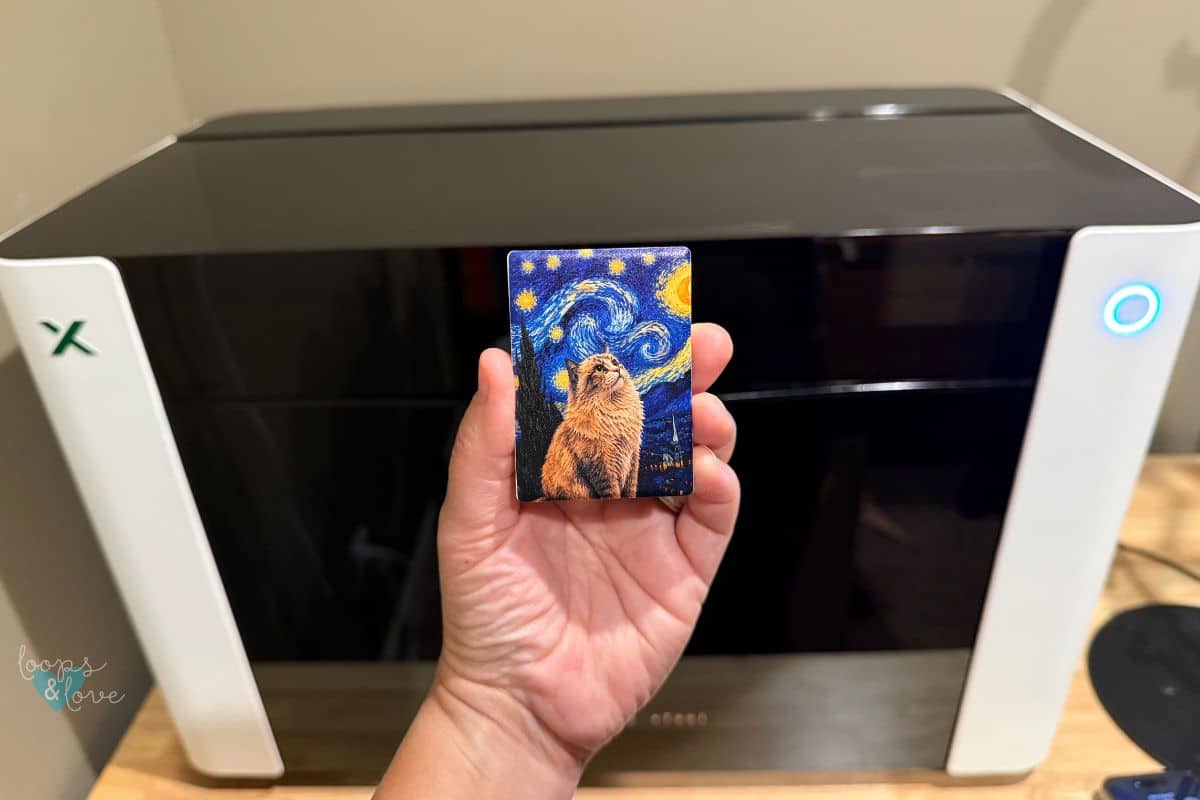
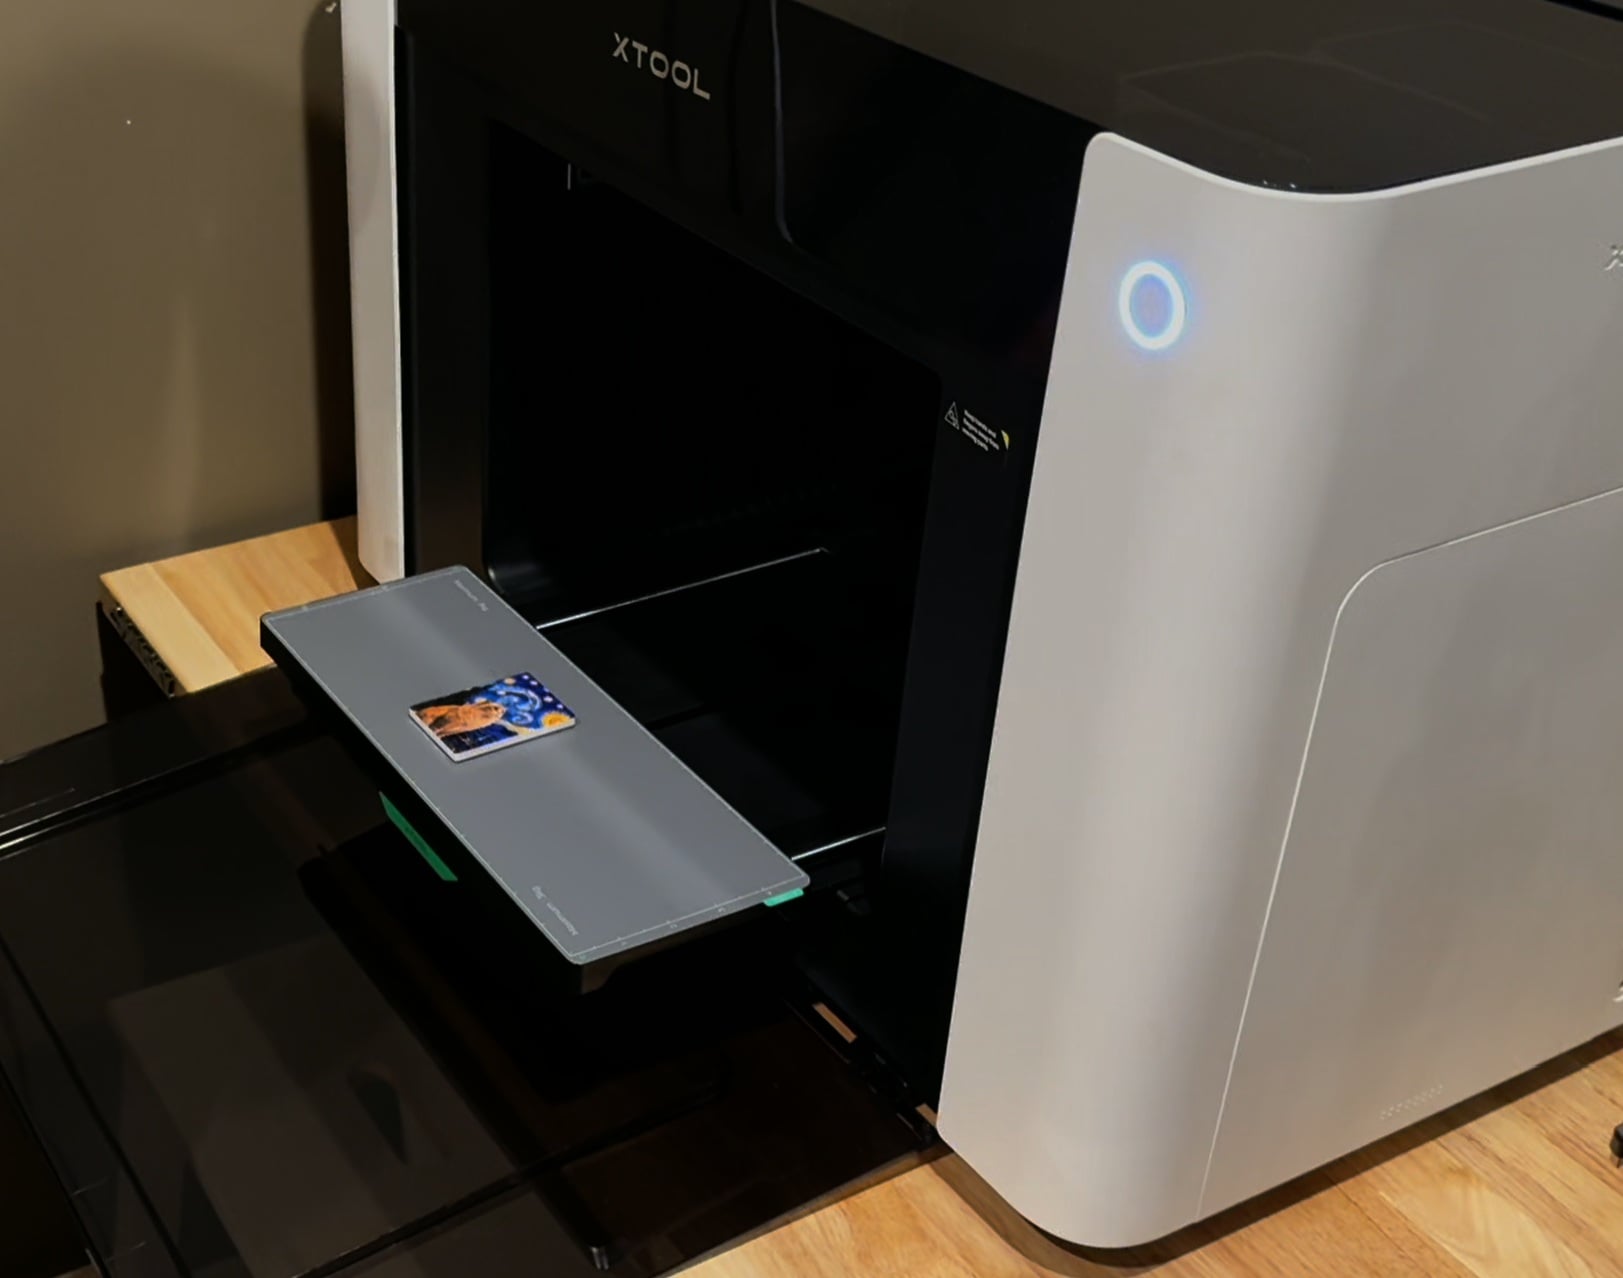
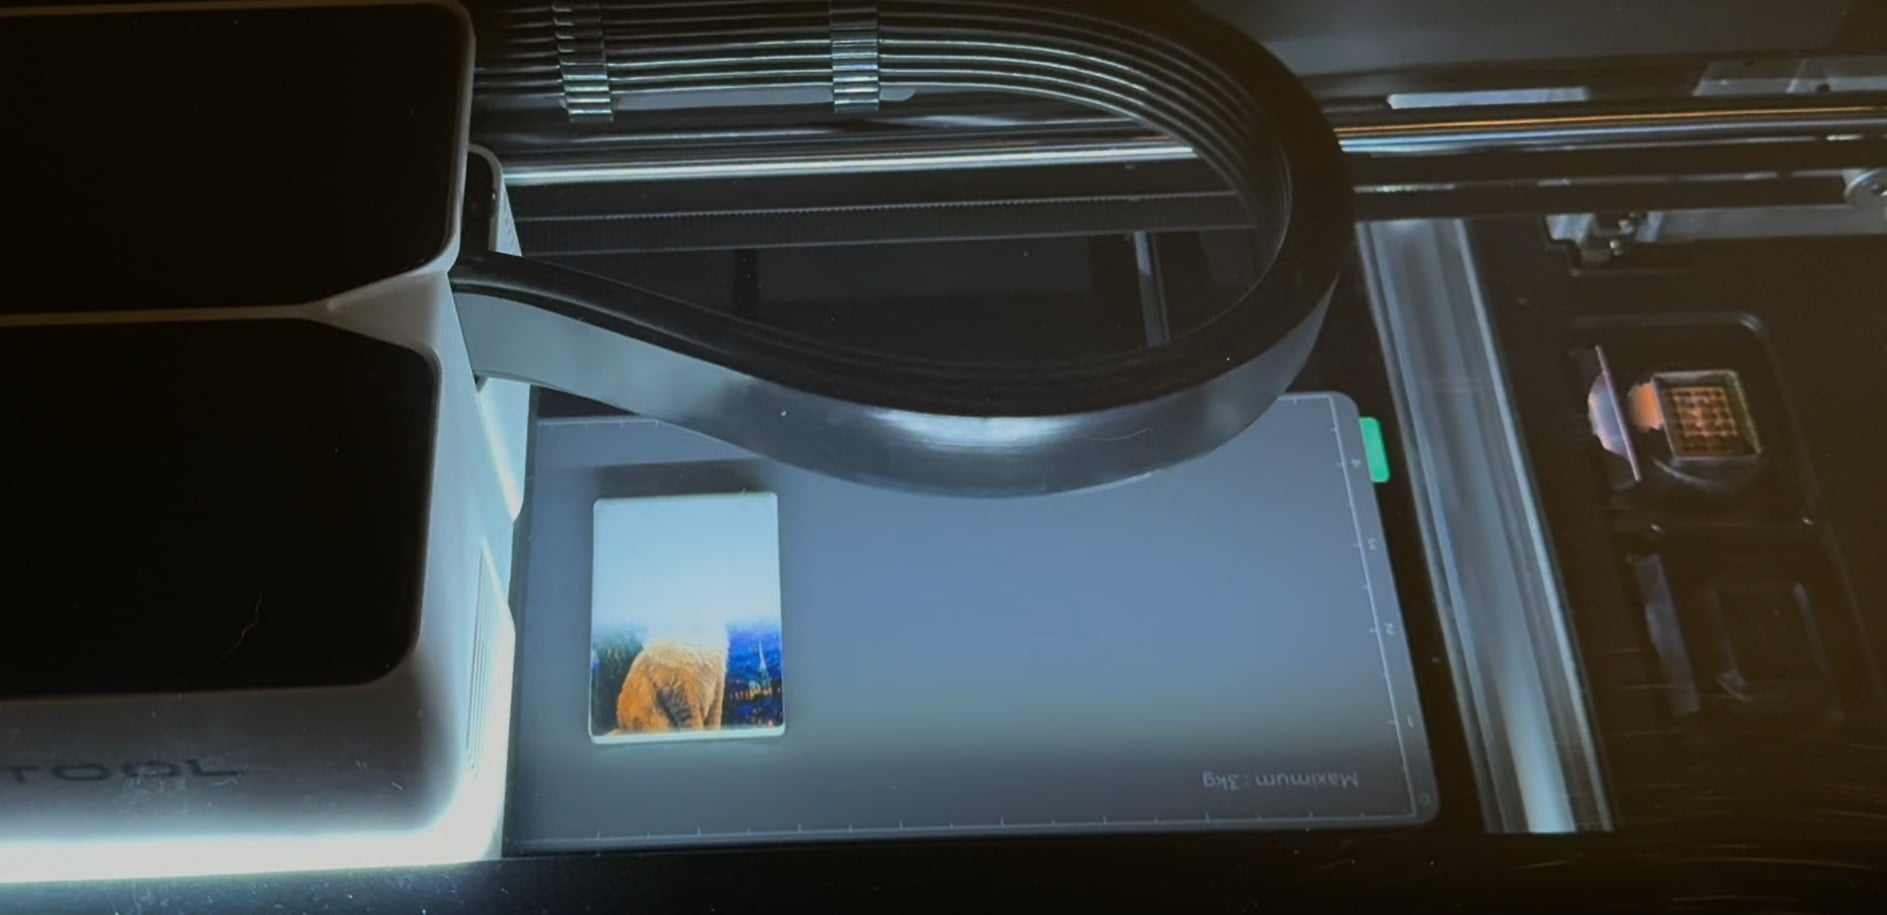
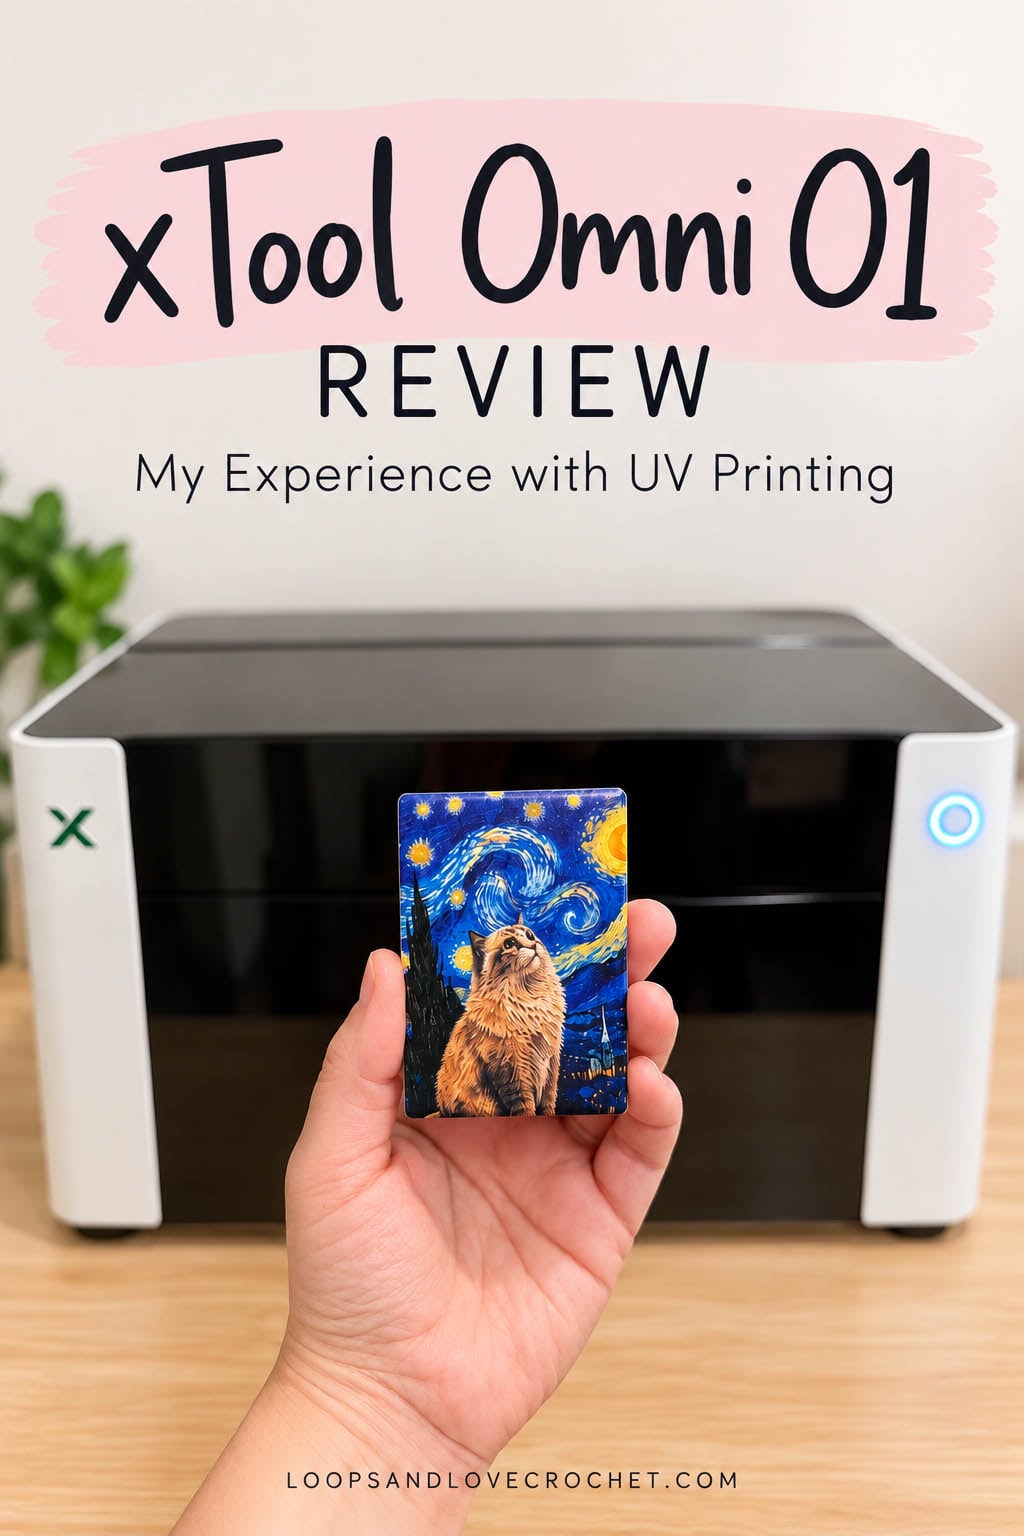
After the set up process is complete, the xTool Studio software automatically opens and prompts you to print your first project, a ceramic magnet, using the tutorial feature. I chose a fun cat picture and took out one of the rectangular ceramic magnets included in the package.
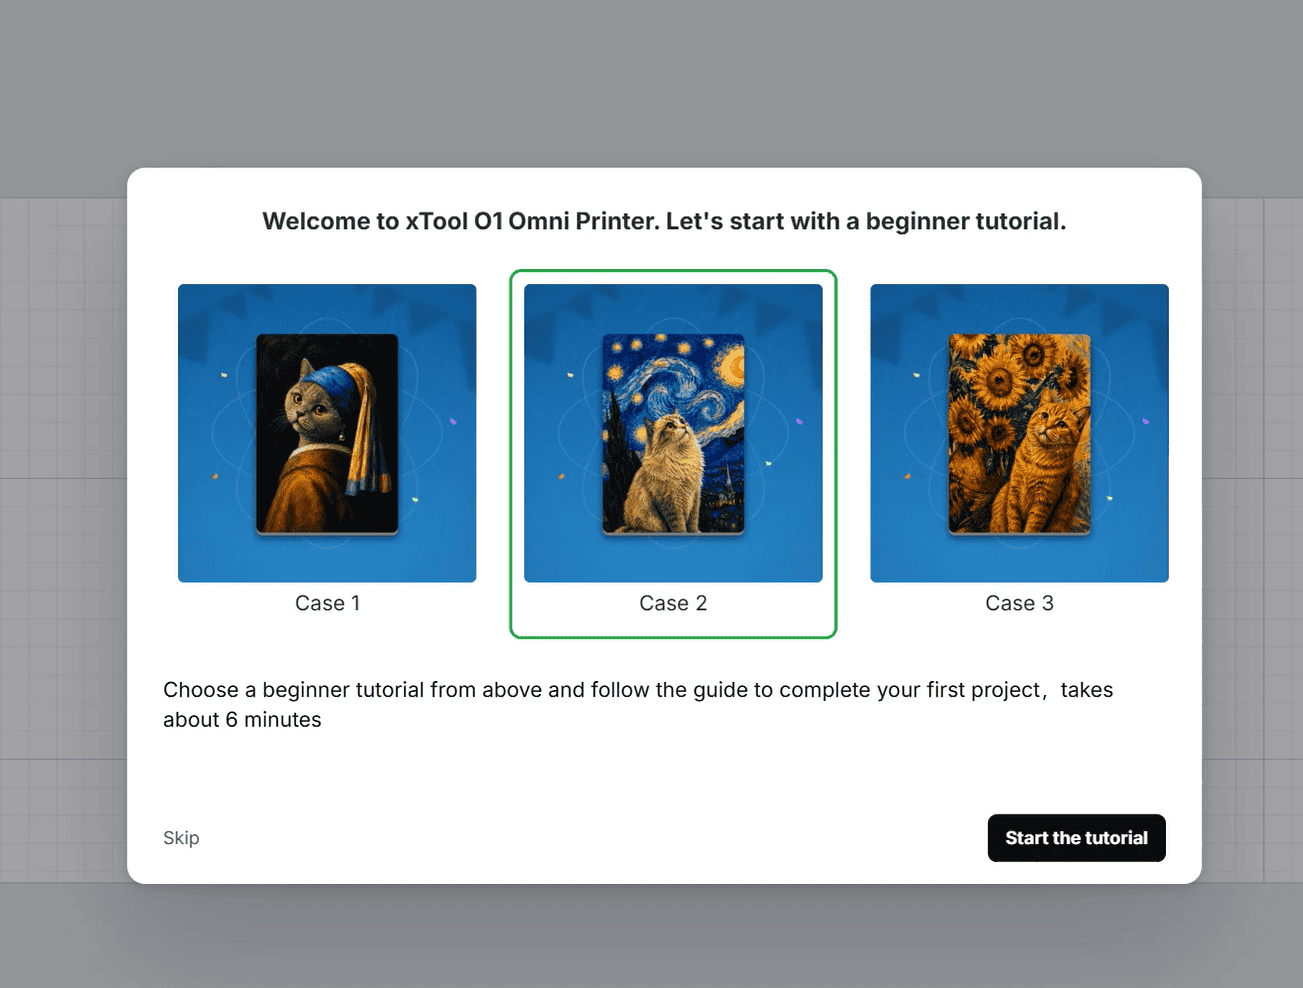
Let me tell you, this first project print was so much easier than I thought it would be! Plus, one of the most fun parts of trying a new crafting machine is finally getting to see it in action. The tutorial wizard guides you through it all and makes it very straightforward.
First, you'll be prompted to place the small base plate inside the printer and place the magnet on the plate. You'll be prompted to select either flatbed or rotary mode. Next, the tutorial will ask you to click "Scan" to scan the item in the printer. An image of the magnet will popup on the screen exactly how it is inside the printer. Clicking "Smart Mask" automatically detects the edges of your project so the printer knows where to stop printing and help prevent overspray. From here, I could just drag the cat image right onto the magnet and click print.
The magnet took about 5 minutes to print and looked awesome! The color and print quality was amazing and the edges of the magnet were perfectly clear.
Since I was completely new to UV printing, I expected there to be a learning curve. While there is one, I also was impressed with how easy the first print is and actually printing a few more simple projects too. I know I have more to learn and want to dive into more complex projects, but I am finding this printer very beginner friendly in the meantime!
Projects I've Made with the xTool Omni O1
This is probably my favourite part of trying out the Omni O1! I love experimenting with different projects and seeing what I can create.
So far, in addition to my cat magnet, I've also printed on a Yeti can cozy, a 3D printed pencil box, and some family photos on canvas. I am currently experimenting with 3D printing a shape and UV printing on it. I'd love to design some custom personalized Christmas ornaments. I'll share more about these projects and give you a closer look at them as well as new ones I come up with in future blog posts.
Is the xTool Omni O1 Beginner-Friendly?
As someone who had never used a UV printer before, this was one of my biggest worries when I first started! However, I'm happy to say that my worries were not necessary. The Omni O1 has been manageable for me as a beginner, although there was definitely a lot to take in during the initial setup.
Once I started working through the instructions and experimenting with my first projects, things became less intimidating. I wouldn't say there's absolutely no learning curve, but I also haven't experienced any major challenges so far. Like most crafting machines, I think it's something that becomes easier and more familiar the more you use it.
Final Thoughts on the xTool Omni O1
Overall, I've really enjoyed my experience with the xTool Omni O1 so far!
Trying a completely new type of crafting machine has been a fun experience, and I'm excited about all the creative possibilities it opens up. I especially love being able to combine UV printing with my 3D printed projects to make personalized items and can't wait to dive more down that route! I do not have a laser cutter at this time, but this would also be a perfect complementary machine to the xTool Omni O1 because printing wooden cutouts and UV printing on them is also great way to complete projects.
While the initial setup felt a little overwhelming, I haven't run into any major challenges, and I've been learning more with each project. I'm still exploring everything the Omni O1 can do, and I have lots of ideas for future projects!
The xTool Omni O1 is definitely an investment, so it's worth thinking about how you plan to use it before making the purchase. For anyone who enjoys creating personalized gifts or is interested in starting or expanding a small business, there are so many possibilities! From custom ornaments and accessories to personalized products and home decor, there are lots of items you could create to sell. While the printer does come with ongoing costs for ink and maintenance, I think it has some exciting potential for turning a creative hobby into an additional source of income. I'm looking forward to exploring more of these possibilities myself!
If you're interested in learning more about the xTool Omni O1, you can check it out here! And if you have any questions about my experience, feel free to leave a comment below!
**Want to be kept in the loop? Be sure to like Loops and Love Crochet on Facebook and join the Loops and Love Crochet Group! Don't forget to follow @loopsandlovecrochet on Instagram! Remember to tag Loops and Love Crochet when you post your finished projects on social media! I'd love to see them! **