How to UV Print on Tumblers | xTool Omni O1
I've been having so much fun experimenting with different projects using my xTool Omni O1 UV printer! One of the things I was most excited to try was printing directly onto tumblers and water bottles.
Using the rotary attachment, I can add colorful designs right onto the surface of my favorite drinkware without needing vinyl or transfer stickers!
Today, I'm sharing a couple of my recent projects, along with a look at the process of UV printing on tumblers using the xTool Omni O1.
Disclosure: I received the xTool Omni O1 from xTool as part of a collaboration. This post may contain affiliate links, which means I may earn a small commission if you make a purchase through my links, at no additional cost to you.
Supplies for UV Printing on Tumblers
Here's what I used for these projects:
- xTool Omni O1 UV Printer
- xTool OR1 Rotary Attachment
- Yeti Tumbler or Water Bottle
- Digital design or artwork created in Canva
- xTool Studio software
- Appropriate cleaning supplies and primer, depending on the surface
If you're new to the xTool Omni O1, you can read more about my experience with the printer in my xTool Omni O1 Review.
How to UV Print on Tumblers with the xTool Omni O1
The rotary attachment makes it possible to print directly onto curved surfaces. Instead of moving the tumbler by hand, the rotary holds and rotates it during printing.
Here's a quick look at the process I followed!
Step 1: Prepare Your Tumbler
Before printing, make sure your tumbler is clean and free from dust, oils, or fingerprints. Surface preparation is important for helping the ink adhere properly. Depending on the material, you may also need to apply a suitable primer.
For the tumbler and water bottle pictured, I cleaned the surface with rubbing alcohol on a cotton ball. I did not use primer for these projects because I read that the primer can affect the powder coating that Yeti uses on their drinkware. Because I was not printing a full wrap, I didn't want the rest of my tumbler surface to be affected by the primer.
Step 2: Set Up the Rotary Attachment
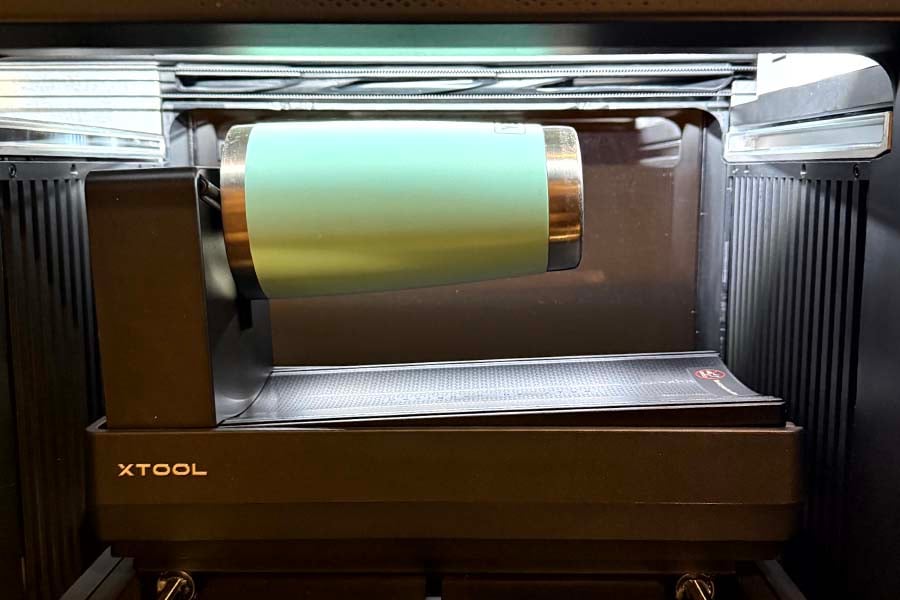
Next, install the rotary attachment and secure your tumbler in place. The rotary attachment sits right on top of the base of the printer, without the base base installed. Then place your cup on to the stand and tighten the knob until it's securely held. If you are using a large or heavy tumbler or water bottle, there is a support that you can slide on to hold up the other end. This will help speed up the print time for heavier objects.
In xTool Studio, select the rotary printing mode and follow the calibration and setup instructions. The program automatically knew I had the rotary installed and asked if I'd like to switch modes.
I love that the rotary attachment makes it possible to print around the curved surface of a bottle, including larger designs that wrap around the sides!
Step 3: Add and Position Your Design
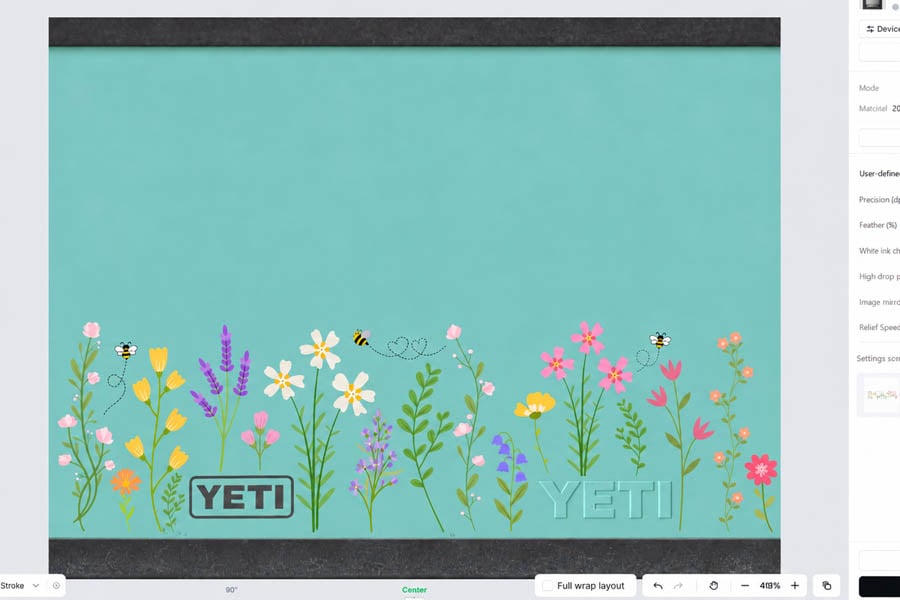
Once your tumbler is installed onto the rotary, click the modeling feature to scan your object. Make sure you check the box that includes the image of your tumbler for image alignment assistance. Make sure the front door of your Omni O1 is open because the rotary moves around and rotates while the printer is scanning your tumbler.
Note that whichever part of your tumbler you have facing up in the rotary is going to be the start of the scan. If you want to center something over a logo, like the Yeti symbol, I would not center that to the top when the cup is in the rotary because it will be right at the edge of your scan and your image will need to be split. If you model/scan your item and then aren't happy with the placement or need to change it, that's easy. Just take your cup out and rearrange it before clicking to model again.
Once the modeling is done, the image will pop up on your screen. The image is a flat version of your round tumbler. You'll be able to see the whole printing area including all logos
Import your design into xTool Studio and adjust the size and placement to fit your tumbler.
For my projects, I wanted the designs to complement the existing colour of each bottle. I also paid attention to the placement of the Yeti logos so the designs wouldn't interfere with them.
Take your time checking the preview before printing, especially if you're creating a design that wraps around the bottle.
Step 4: Print Your Design
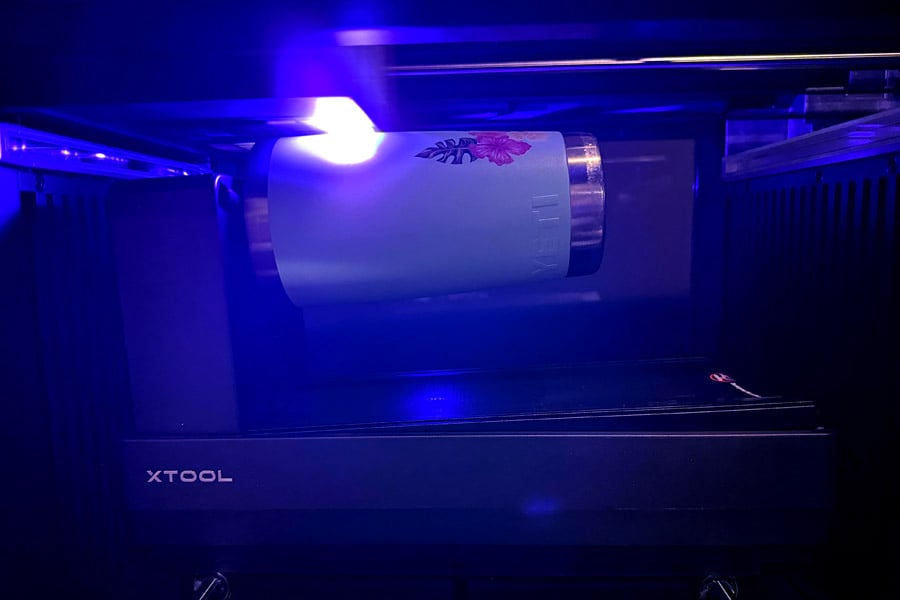
Once everything is positioned and ready, it's time to print!
The Omni O1 uses UV ink that cures during the printing process. Depending on your design and settings, you can use white ink, colour ink, and a varnish layer to create your finished look.
For my sea turtle tumbler, I used a varnish layer over the design. I really like the finished appearance and how the colors stand out against the seafoam background.
My ink settings were 1 layer of white, 1 layer of color, and 1 layer of varnish. The print took about an hour.
Make sure you wear the provided UV protection glasses when peeking at your print! It's fun to watch, but be careful!
My Finished UV Printed Tumblers
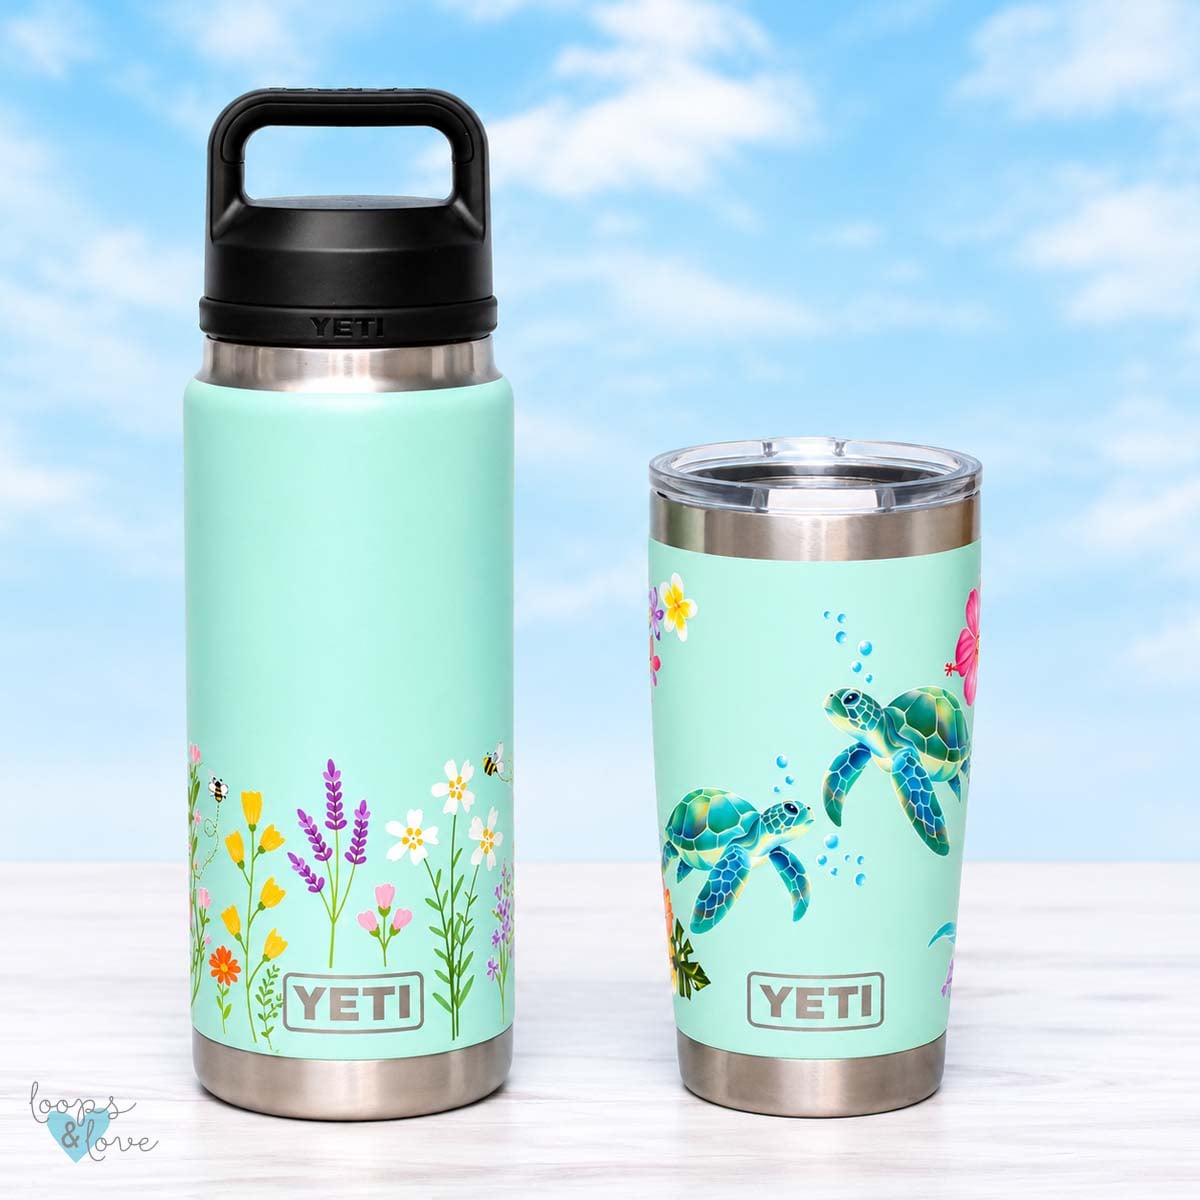
Here are two of my favorite drinkware projects so far!
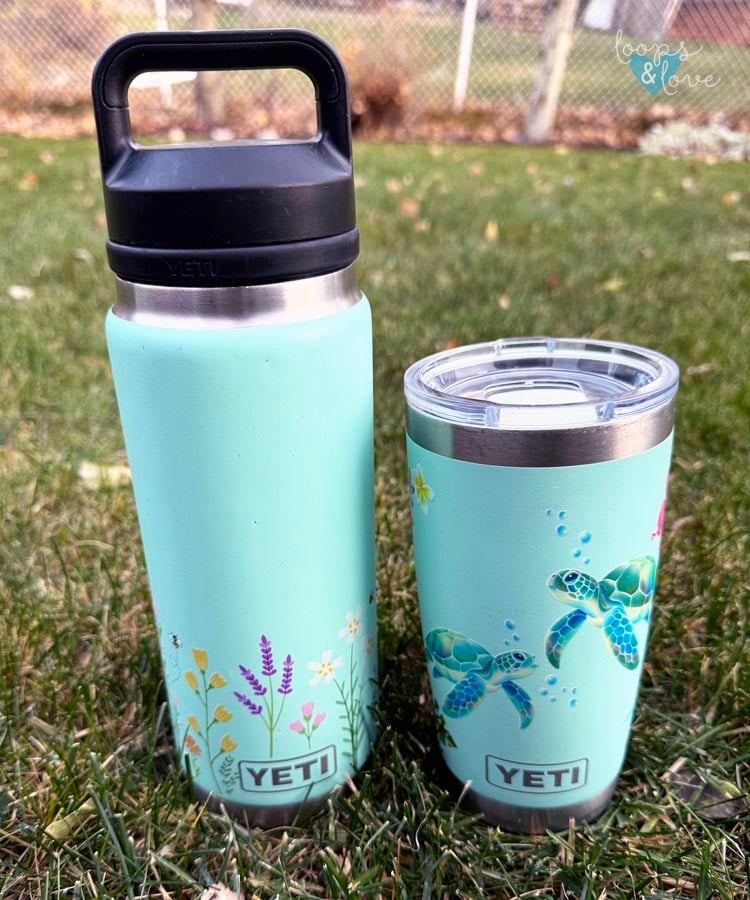
I decided to print on two of my Yeti products that I use regularly at home and for work. You can see some wear in the photos below, which is just because these are already well loved. However, I think the UV printing on them gave them a refresh and new life!
wildflower Water Bottle
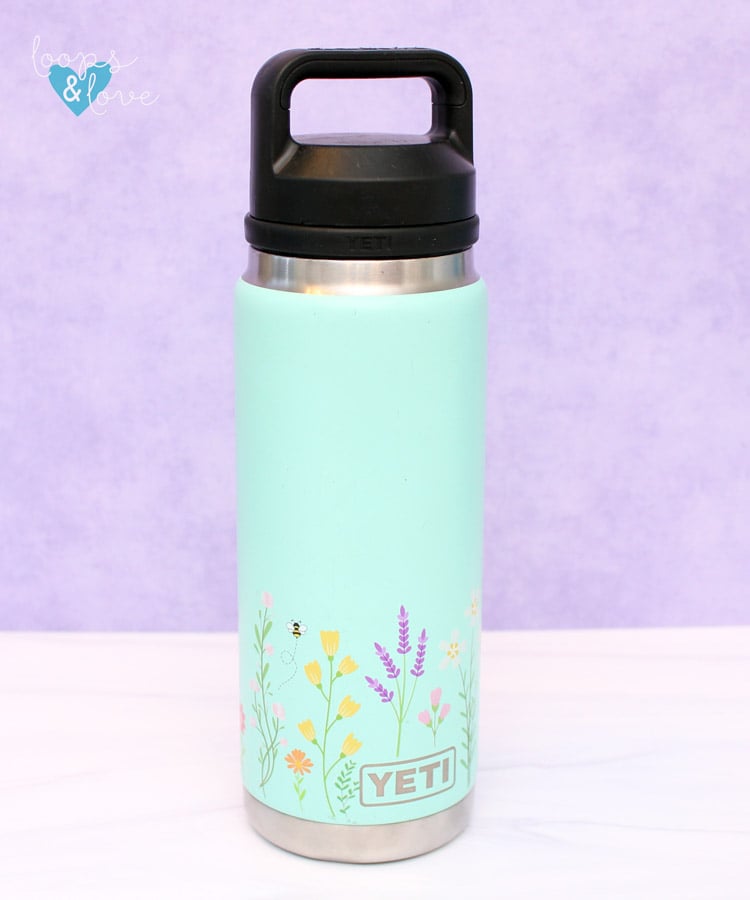
For my water bottle, I decided to go with a colorful wildflower design with lots of pretty flowers and a few cute little bees! I wanted the flowers to wrap around the bottom of the bottle, leaving the top part plain. I haven't decided if I'm going to add my name to this bottle or leave the top blank. That's another neat thing about the Omni O1. I can always put it back on the rotary and in the printer to add to the design!
I created this image in Canva and did careful measuring to work around the Yeti logos so they would not be printed over. I love how it turned out! The different colors look so vibrant against the seafoam background!
Sea Turtle Tumbler
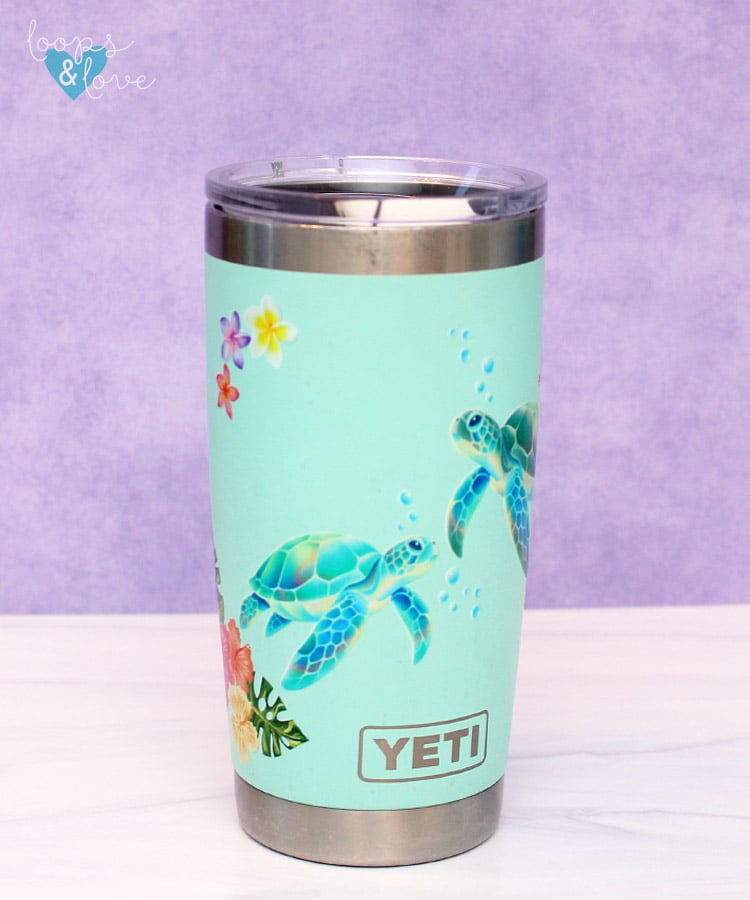
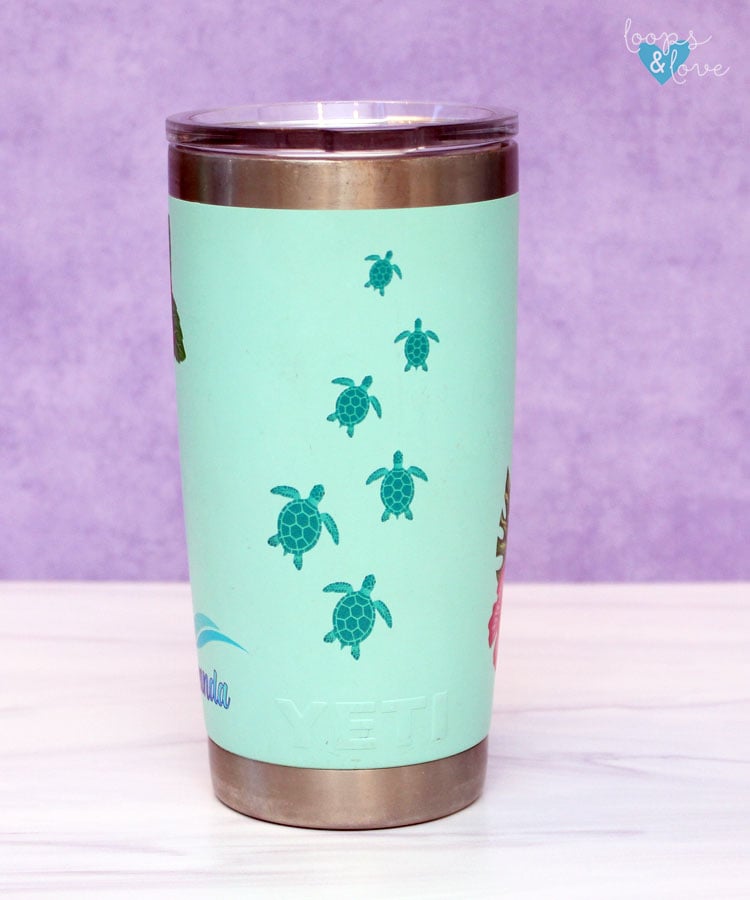
For my seafoam Yeti tumbler, I chose a design featuring sea turtles, tropical flowers, and bubbles. Our family has vacationed to Hawaii a few times and it's one of my favorite places.
I created this Hawaiian themed design in Canva. I love sea turtles so I knew they had to be part of the design. The bright tropical flowers added to the vibrancy of the design and also leaned more into the Hawaiian theme.
Once this printed, I had a bit of a space at the back and I wanted to fill. This is where the collection of baby sea turtles came in. I added them as if they are swimming up the cup and getting further away (smaller and smaller) for a little perspective too. I think they are the cutest part of the tumbler!
I absolutely love the combination of the seafoam background with the colorful flowers and turtles! I'm so excited to bring this to work every day. I've already received compliments!
One thing I've enjoyed about UV printing is being able to customize items I already own. It's a fun way to give everyday objects a completely different look!
A Few Tips for UV Printing on Drinkware
After experimenting with a few different projects, here are some things I'd recommend:
- Check your placement carefully. Make sure your design is positioned exactly where you want it before starting.
- Consider the background colour. Your tumbler's original colour can make a big difference in how the finished design looks.
- Prepare the surface properly. Follow the manufacturer's cleaning and primer recommendations for your material.
- Experiment with your finish. I like using varnish to give my designs a finished appearance. This an also help with the durability of the design too.
- Handwash your printed drinkware. Avoid the dishwasher, and keep UV ink away from rims and surfaces that contact food or drinks.
Final Thoughts
I've really enjoyed using the xTool Omni O1 to personalize my tumblers and water bottles! The rotary attachment opens up so many possibilities for creating custom gifts, adding names or designs to everyday items, and experimenting with different creative projects.
I'm looking forward to trying even more designs!
If you'd like to learn more about the printer and see some of my other projects, check out my xTool Omni O1 Review! You can also learn more about the xTool Omni O1 to see its features and accessories.
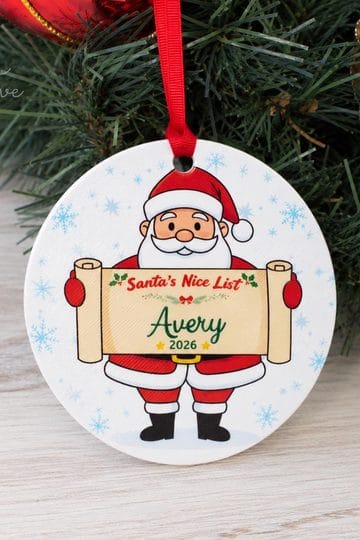
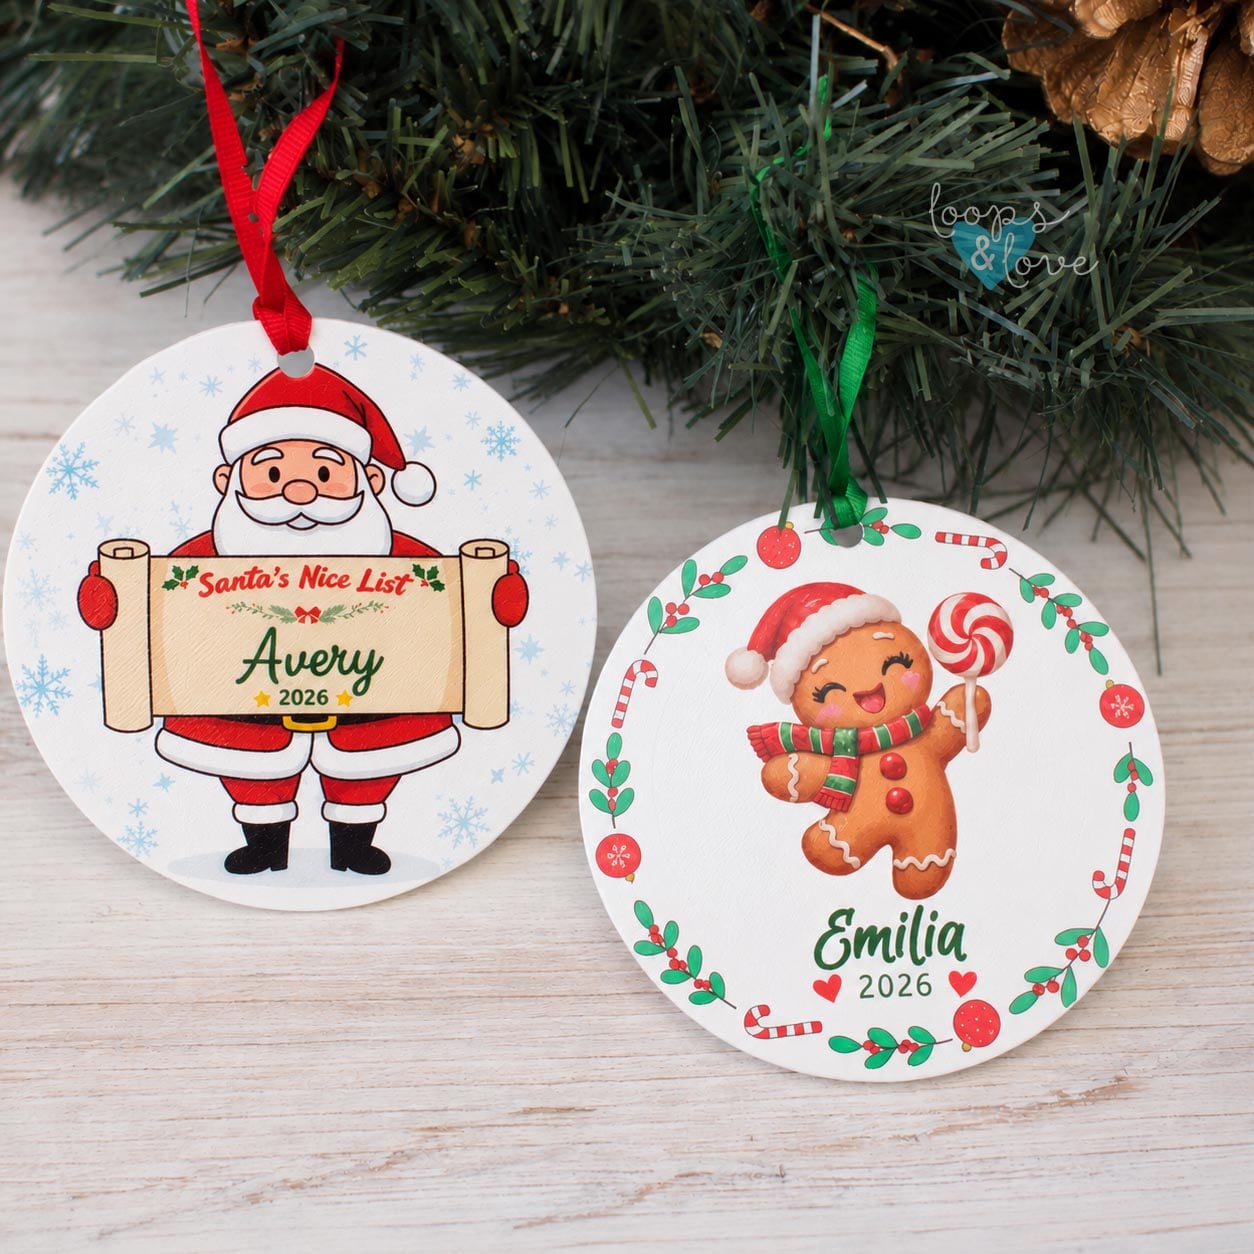
For more xTool projects, please check out my post on using the xTool Omni O1 to make personalized Christmas ornaments!
**Want to be kept in the loop? Be sure to like Loops and Love Crochet on Facebook and join the Loops and Love Crochet Group! Don't forget to follow @loopsandlovecrochet on Instagram! Remember to tag Loops and Love Crochet when you post your finished projects on social media! I'd love to see them!